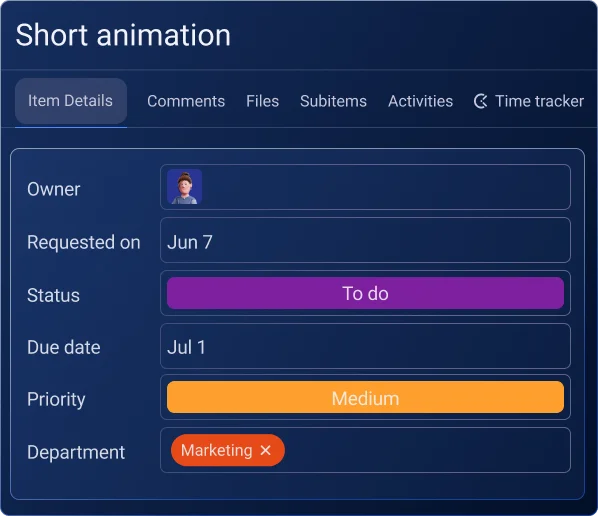
Clarify project objectives
Keep your team aligned around your goals. Make sure everyone understands what needs to be done, when it needs to be done, and who is responsible for each task.
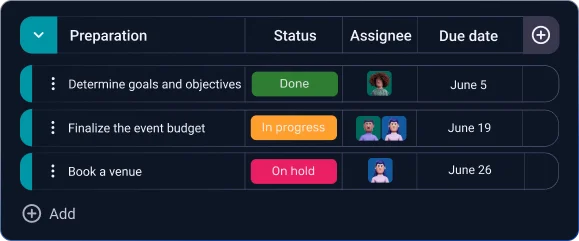
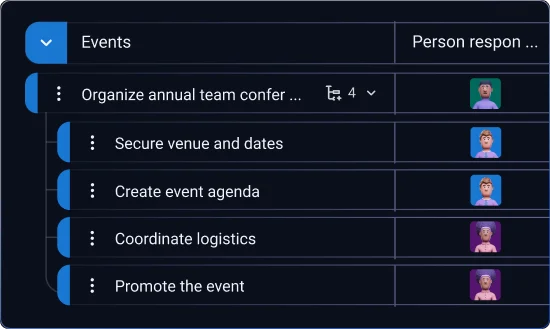
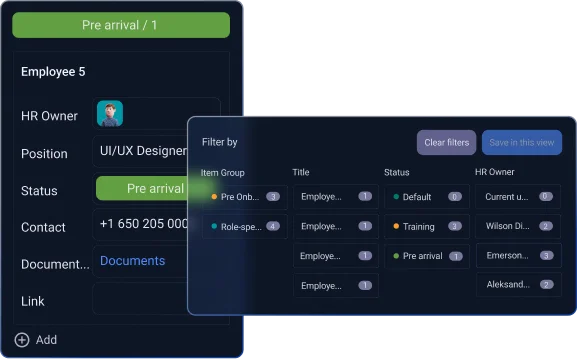
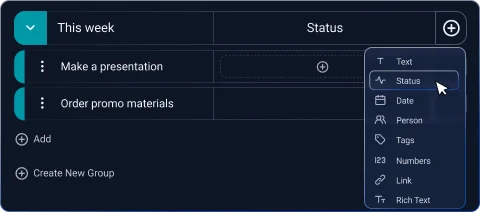
Plan in detail
Break down the entire project into smaller, more manageable Items. Get even more granular with Subitems to ensure you cover all bases.
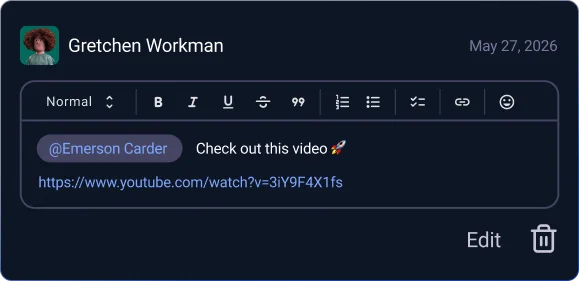
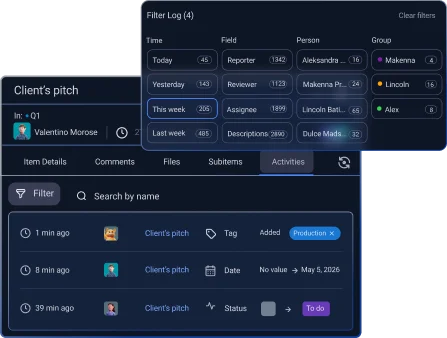
Coordinate communication
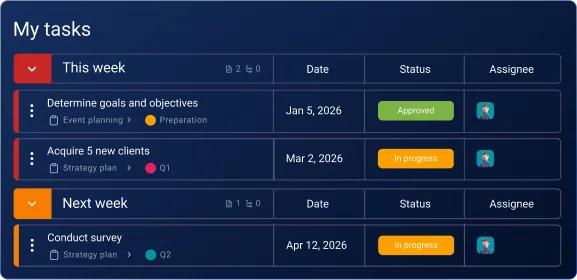
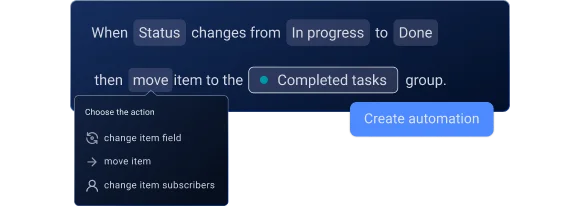
Make collaboration a breeze with structured frameworks. Share updates and communicate directly in task cards for easy coordination and greater efficiency.
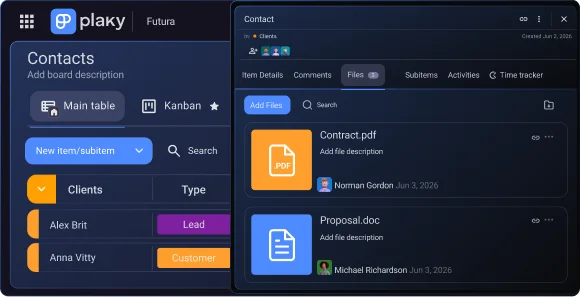
Centralize resource management
Use Items to depict various kinds of resources, from people and tasks to equipment. Share all resource-related files, like invoices, assets, and docs, in corresponding Item cards.
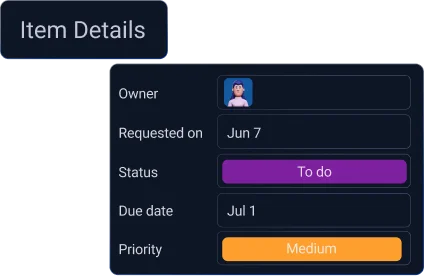
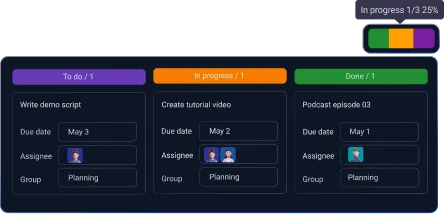
Track progress
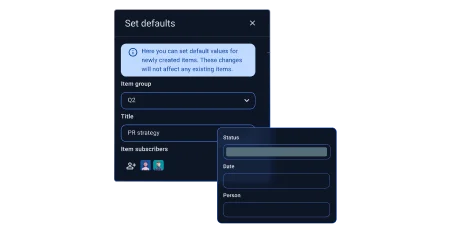
Know whether you’re making headway with your project. Use different Fields, like Status and Timeline, to visualize where your tasks stand.