Frequently asked questions
What is a board in Plaky?
Boards in Plaky are highly customizable project management hubs that store all project-related tasks, files, and correspondence.
Can I create boards for free in Plaky?
Yes! Plaky users can create an unlimited number of project boards on all plans.
What board views can I choose from?
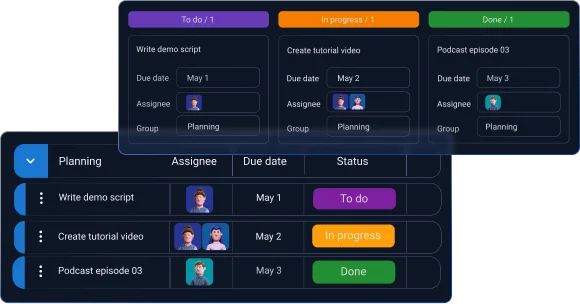
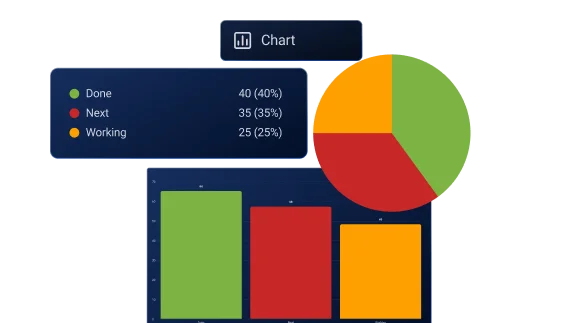
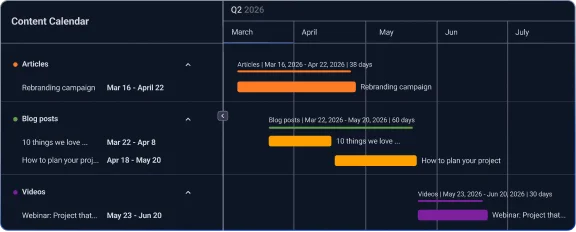
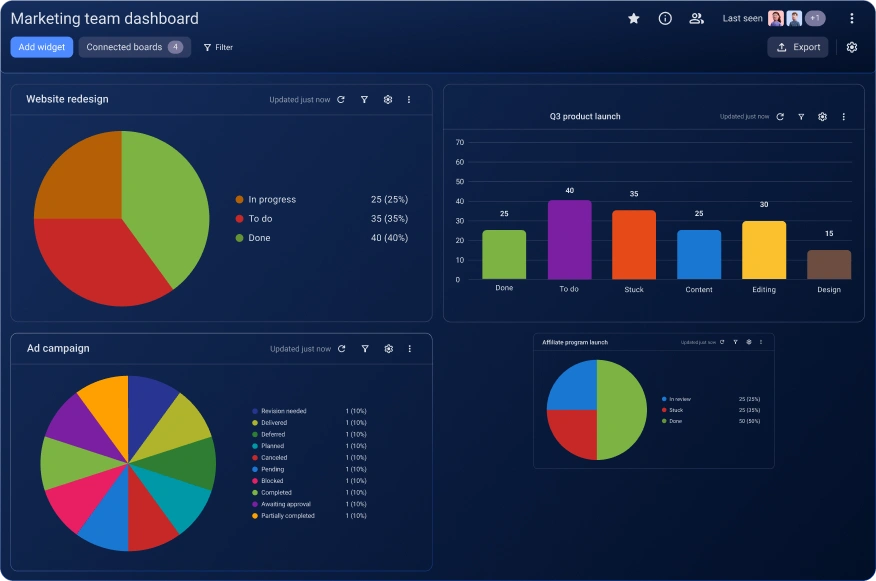
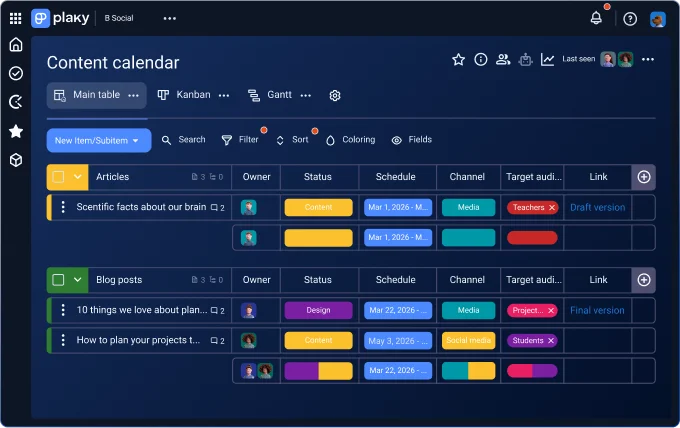
The default board view in Plaky is the Table view. Apart from that, users can generate Kanban, Gantt, and Chart views, depending on their subscription.
How do I customize my boards?
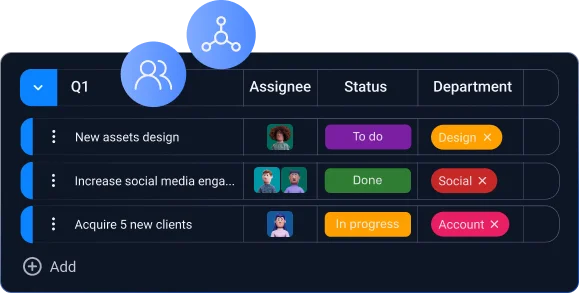
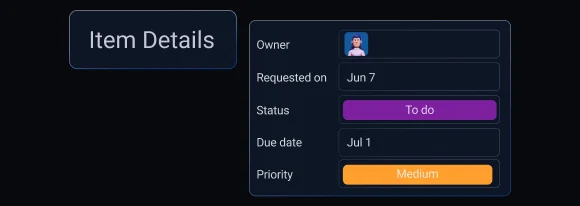
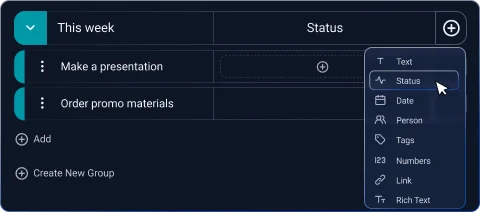
One of the main ways of customizing Plaky boards is via Board Fields. Fields contain different information about your tasks and ultimately determine the board’s structure.
Apart from adding or deleting Fields, you can also rearrange them, as well as use filters and sorting to manipulate the displayed information.
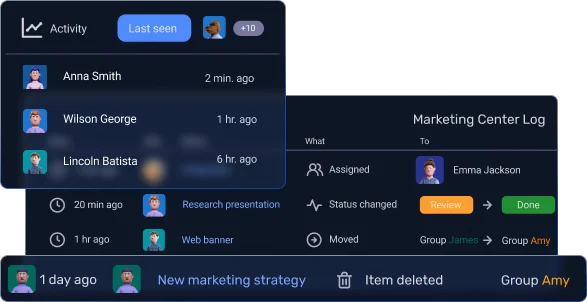
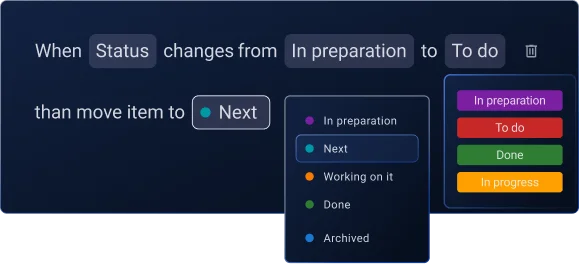
If you’re on the paid plans, you can also use Board Automations to set up automatic actions based on various triggers.
Can I create a board from a template?
Yes, you can. Click the + sign in the left sidebar and choose New Board > Create from template. This will open up the Template Center, where you can choose from a variety of industry-specific templates to jumpstart your project.
Can I import a project board from another app?
Yes, you can. Click the + sign in the left sidebar and choose New Board > Create from file. This will open up the CSV file import window, where you can add your CSV file and map the data.
How can I automate my boards?
If you’re subscribed to one of Plaky’s paid plans, you can use Board Automations to automate your workflow. Automations consist of triggers and actions that you can set up to eliminate repetitive tasks you’d otherwise manually update.
Who can access my boards?
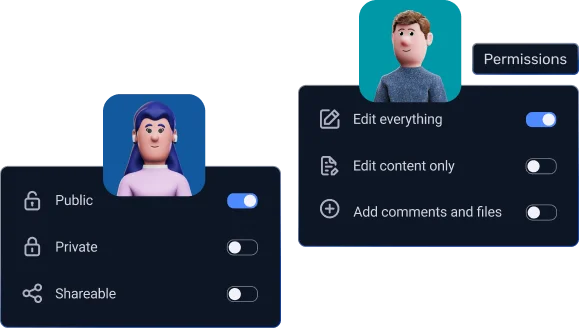
Boards can be public or private in Plaky. Public Boards are visible to anyone in a particular Space, whereas private Boards are only accessible to the Board Owner and any users they invite to the board.
Private Boards is a paid feature on Plaky’s PRO and ENTERPRISE plans.
Manage your project boards with ease