Starting a new game development project is always exciting — the sparkly new idea gets your creative juices flowing, and a fresh beginning breathes new life into your project team.
But then, the actual production comes along — and things are never as simple as expected.
Sounds familiar?
Game development can get chaotic unless you have a clear vision and map to follow. Luckily, the 7 stages of game development are there to guide you through the process of bringing your game to life.
Table of Contents
What are the stages of video game development?
The 7 stages of game development are:
- Planning,
- Pre-production,
- Production,
- Testing,
- Pre-launch,
- Launch, and
- Post-launch.
1. Planning
Developing any game starts with some good old-fashioned brainstorming.
You have an idea for a video game? Great!
- What’s it about?
- What genre is it?
- What’s the theme?
- What are the key game mechanics you want to incorporate?
- Which art style will you use?
- What’s the mood of the story? (The music will heavily depend on this.)
- Who are the characters and what are their motivations?
- What’s the game’s “fun factor” going to be?
Once you figure out the direction of your game, you can move on to market research to pinpoint your competitors and target audience. Determine what your audience wants, what your competition is doing that’s worth copying, and what you want to avoid.
And finally, define the thing that makes your game unique. You don’t have to reinvent the wheel but do try to make at least 1 aspect of your game stand out enough to make it memorable, recognizable, and unmistakably yours.
For example, you could say that Roguebook is just another Slay the Spire roguelike deckbuilder clone. However, the concurrent use of 2 characters and the unique, ink-based stage exploration make it truly stand out in a saturated subgenre.
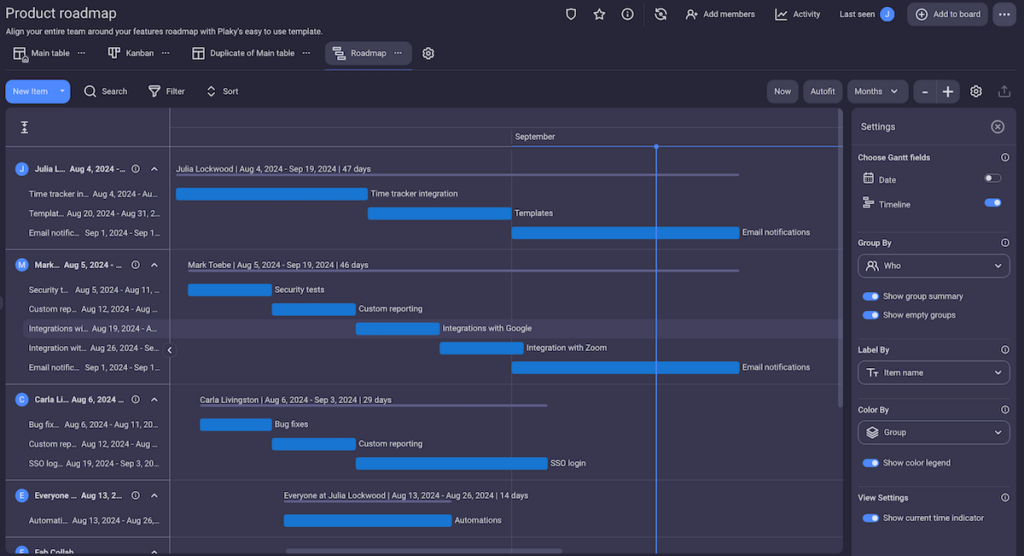
But, the planning stage is not all fun and games, so to speak — this is also the part where you wake up your inner project manager to hire a game development team, create a rough project timeline, and allocate the budget (provided that you have one).
Visualize timelines with Gantt chart softwareIf you’re an independent game developer, you might consider crowdfunding as an option for funding your game. Otherwise, you’ll have to pitch your idea to a publisher, and for that, you’ll need Proof of Concept.
Proof of Concept (POC) refers to the tests, prototypes, and simulations developers create to make sure that the game that sounds amazing in theory will actually be amazing in practice.
Imagine it like a very bare-bones demo.
The initial Proof of Concept is typically used as part of the pitch for a game publisher. Developers can also choose to create multiple Proofs of Concept throughout the game’s life cycle to make sure that the game mechanics, physics, fun factors, etc., work as imagined.
2. Pre-production
Pre-production is where you lay the foundation for actual game development and start fleshing out ideas.
Writers work on worldbuilding, write scripts, and develop the story, characters, and character arcs.
Art designers pin down the mood of the game, decide on the color palette, create concept art, design the interface, etc.
Sound designers begin working on the music and sound effects.
Developers create the game’s physics and core mechanics and occasionally make prototypes to figure out if everything will work as intended.
Engineers design the software the game will run on and make sure the rest of the team understands what it can and can’t support.
During the pre-production stage, the team will also create the Game Design Document (GDD). The GDD contains information about the game’s story, theme, features, characters, mechanics, etc. It exists to put everyone on the same page and serves as a single reference point for the team throughout production.
That said, at this point, the developers are still testing ideas and mechanics in the process that some call the Pre-Alpha. This means that the decisions made in pre-production aren’t set in stone, so the contents of the GDD may change throughout the game development process.
Pre-Alpha
During the Pre-Alpha, the game is still in its early stages. It doesn’t look even close to what it’s supposed to look like — the developers are still testing ideas and game physics, but there might be more polished environmental elements and 3D models included. At this point, the testing will most likely remain in-house.
Depending on the game studio, the Pre-Alpha may have a different name or be performed at a different time (e.g., during production).
3. Production
The production stage is where the game comes together.
In theory, this should be the simplest stage of game development — you’ve created the plan, and now you execute the plan. In practice, this is often the longest and most difficult part.
Developers do their coding magic and then re-do it and re-re do it until everyone is satisfied with the game.
Art designers bring their concepts to life and create the character models, environments, and other elements that will actually appear in the game.
Sound designers hear the ambient music, sound effects, voice acting, etc., in action and decide if anything needs changing.
Level designers make sure the levels are engaging, the layouts make sense, and the game feels cohesive and immersive.
Project leads are there to organize work, make sure everything goes according to plan, the game stays on schedule, the teams collaborate seamlessly, and everyone is aware of their roles and responsibilities.
Most project leads rely on specialized project management software for game development for this part since it allows them better visibility into the project and what everyone is working on. Moreover, all game development teams and their tasks are in the same place, everyone has access to the same files, comments, and feedback, and they can collaborate across teams without missing a beat.
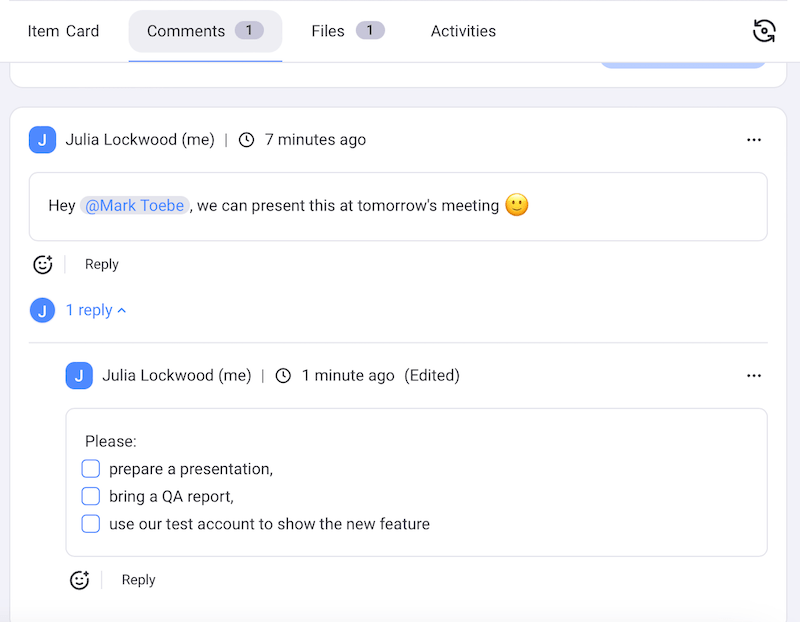
💡 PLAKY PRO TIP
If you want to plan and produce a video game, you’ll need a good way to organize your thoughts and tasks. Here are some of the best software options for video game developers that won’t break the bank:
4. Testing
Once the game has been completed, it’s time to thoroughly test it for bugs.
The first phase of testing is internal — the QA testers check every inch of the game to make sure that:
- The game mechanics work,
- The characters, environments, rendering, and interfaces behave as intended,
- The players can’t exploit said mechanics or environments, or pass through solid objects,
- The story, characters, and voice acting are consistent,
- The game is just the right amount of difficult,
- The players don’t feel lost or confused about what they’re supposed to do,
- The game is actually fun to play,
- The game doesn’t crash when there’s too much happening on the screen,
- The game works equally well on different hardware and software,
- The game meets legal standards, etc.
While the testing stage can be pretty fun, it’s important to take it seriously and keep careful track of each bug you find.
Ideally, you will have a single space for bug tracking and reporting. Then, according to the bug’s category, the right person is assigned to it, and the task is ready to move through the pipeline.
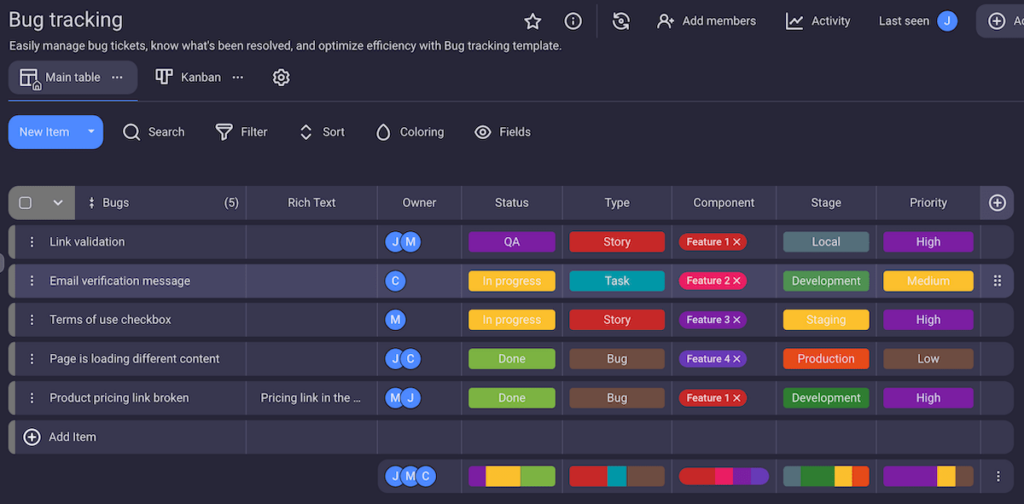
When the bugs are fixed, and you feel like the game is ready for launch — don’t trust that feeling. Now it’s time to let actual players have a go at the game.
Regardless of the capabilities and meticulousness of your QA team, you can be sure that Alpha testers will find ways to break the game that you couldn’t have dreamed of.
That said, production and testing aren’t really separate stages. They’re more of an iterative cycle that goes on and on until everyone is satisfied with how the game has turned out.
Alpha release
The Alpha release happens midway through development when most of the game’s core elements are complete.
The game is now playable and looks decent, but it’s far from done. It may still be lacking things like sound and textures, and it’s definitely still full of bugs.
This is the moment when developers will have select players test the mechanics and performance, comment on the fun factor, and look for game-breaking bugs.
Early access
Genuine early access gives players the opportunity to play the game well ahead of its release and provide feedback, which the devs then use to improve it (e.g., while developing BG3, the entire reaction mechanic was completely reworked because the players did not like the dev’s vision of it.)
While a lot of developers and publishers wrongly use the term early access as a marketing scheme, this is a great way to make players a part of the production process while also securing some extra funds.
5. Pre-launch
Congratulations! If you’ve reached pre-launch, your game is mostly complete. Now is the time to start generating some hype around it. This can mean:
- Running marketing campaigns,
- Sponsoring YouTube videos or events,
- Reaching out to game journalists and influencers,
- Engaging with the community,
- Attending gaming events and conventions such as Gamescom, PAX, EGX, DreamHack, etc.,
- Creating promotional materials such as teasers, trailers, posters, banners, or even knick-knacks like pins, badges, stickers, T-shirts, etc.
Large game development studios often start with marketing much earlier, sometimes releasing trailers years before launch. On the other hand, independent game developers and indie studios with limited budgets may focus on only some of the above and much closer to the release date.
Nevertheless, spreading the word about the game and getting people interested is crucial this close to launch for both big and small titles. But, this kind of marketing requires careful planning — preferably done in reliable, user-friendly software.
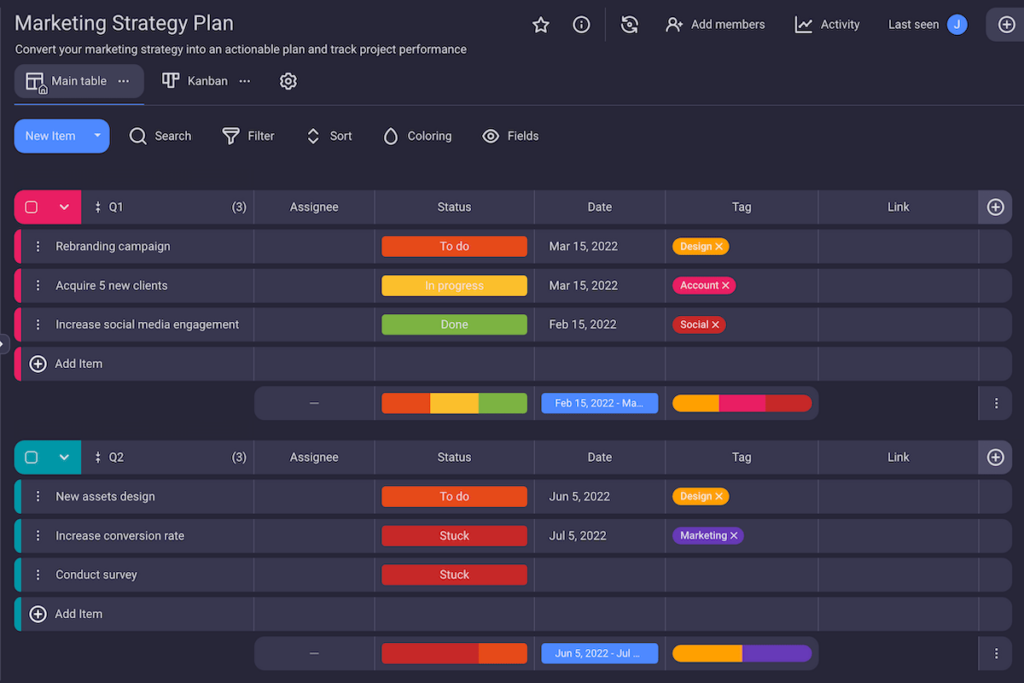
With project management software like Plaky, you can create separate boards for different aspects of your game development project, all within the same workspace where you manage it. This way, you can have everything in one place and easily accessible by both you and the rest of your team.
Even creating boards like the one in the image above is extremely easy because you don’t have to start from scratch — just choose a template you like from the free template library, make adjustments to fit your particular needs, and you’ll be ready to roll in minutes.
Get Plaky's marketing strategy plan templatePre-launch is also the stage where you perform final testing and iron out fine wrinkles. This usually means releasing the game’s Beta version for players to try out and report bugs and exploits the QA team and Alpha testers missed.
But keep in mind that the launch date is slowly approaching and you won’t be able to fix everything — so you’ll have to prioritize.
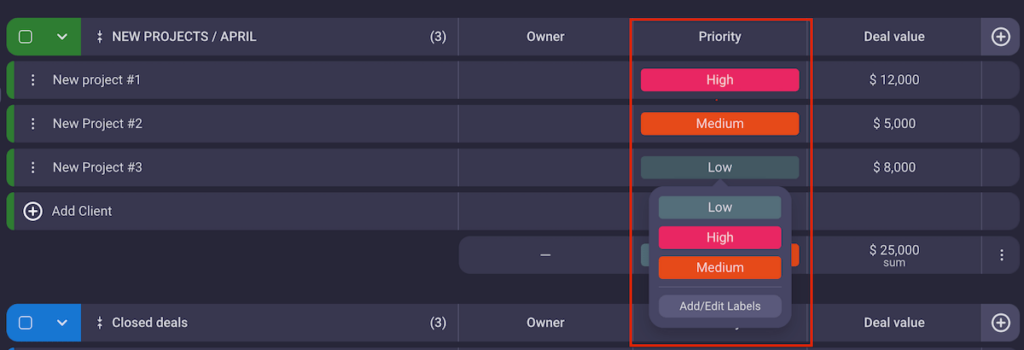
💡 PLAKY PRO TIP
The most effective way to prioritize tasks is to determine their impact on the project and the effort needed to complete them. Here’s how to do it:
Beta release
The Beta release happens when the game is 99% complete and usually lasts between 2 and 6 weeks.
The main point of the Beta release is to have a large number of players test the game one final time before release and catch things that QA and Alpha testers missed.
The developers want to see if there are any exploits or glitches that can ruin the game’s flow or fun factor. This is also the time to perform stress tests.
6. Launch
Finally, it’s go time. Your game is finished and ready for purchase and download on all the intended platforms.
Unfortunately, though you can allow yourself to celebrate, you still can’t relax because there’s more to be done.
After the official launch, you’ll have to closely monitor all the platforms where the game was released, as well as any and all support channels you have for the game, including social media.
If players have any technical difficulties, these are the most likely places you’ll receive complaints. So, make sure to stay on top of the early feedback so that you can fix the problems quickly and avoid any immediate negative press.
You might also want to track your KPIs in real time to gather data about server performance, player behavior, player count, playtime, etc.
7. Post-launch
The post-launch is an ongoing game development stage. This is where you continue to keep a close eye on player feedback so that you can keep improving the game through patches and updates with bug fixes, adjustments, and player-requested features.
To stay in touch with your players’ wishes and continuously put out great content, we recommend scouring the internet and staying present in your game’s community spaces. When you come across valuable feedback, add it to the backlog and tag relevant people so that it doesn’t get overlooked.
If you feel like you have more stories to tell, consider releasing one or more DLCs to expand upon the base game and keep the game alive.
Organize your game development process with Plaky
Video game development is by no means easy, so you need reliable tools that everyone in your team can use — and that won’t make your process more complicated than it already is.
That’s where Plaky comes in.
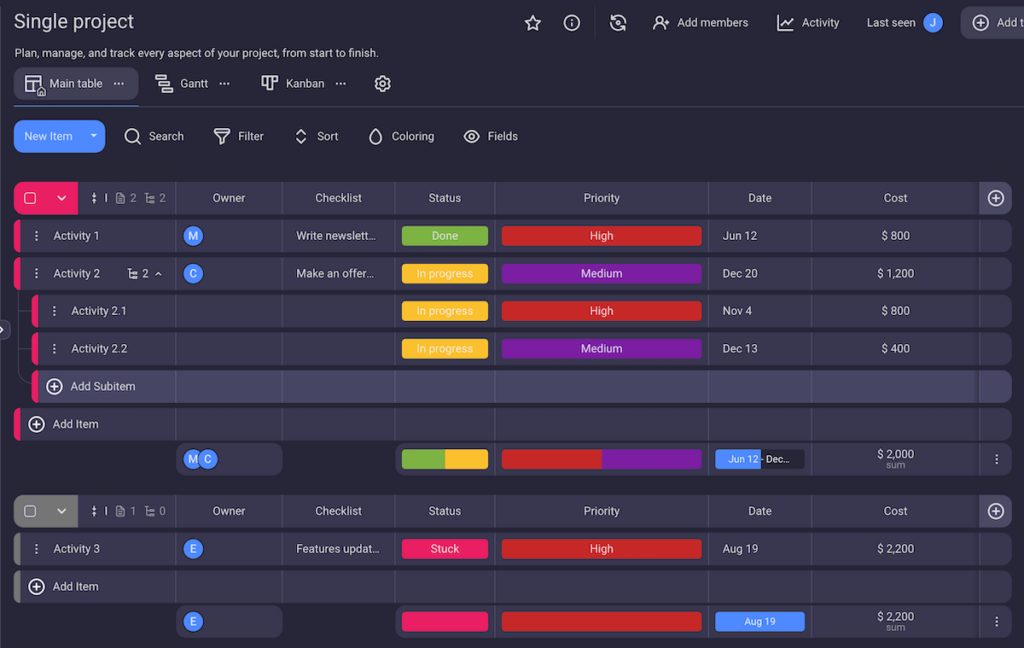
Plaky offers great value to independent and small indie game developers who are looking for a simple and affordable way to manage game production.
Create a free Plaky accountWith Plaky, you can manage and organize your game development stages in a coherent way. For example, you can:
- Structure your tasks as lists in Table view,
- Break them down into smaller tasks with the subitems feature, and even
- Add or remove your own customizable fields to show only and exactly the information you want to see.
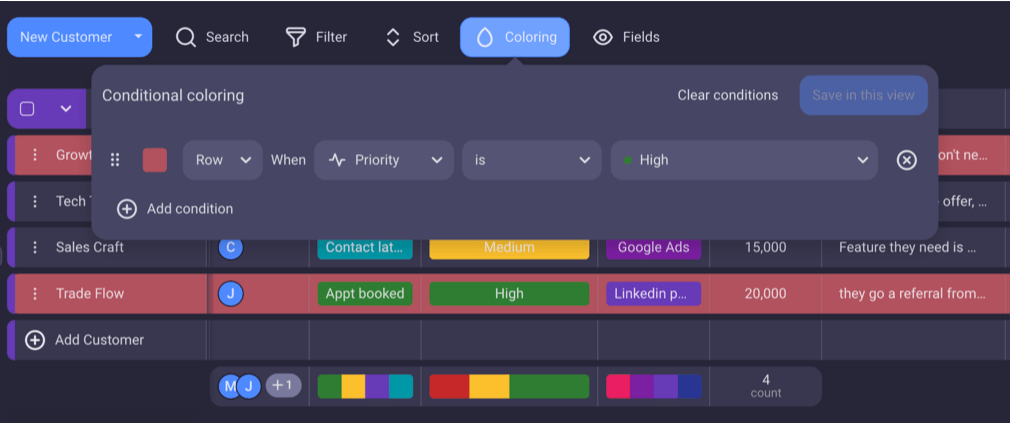
And if you need to highlight any information, use the conditional coloring feature to make important dates, tasks, or statuses pop.
Once game production and testing start, you’ll want to switch to managing your tasks in Sprints, which is where Plaky’s Kanban view comes in handy.
If you already have your Table view in place, the Kanban view will take all that information and present it in the form of item cards.
From there, you can go into settings and choose to restructure your Kanban view any way you like — no need to create one from scratch.
To see Plaky’s Table, Kanban, and Gantt views in action, check out this demo video.
In fact, you don’t have to start anything from scratch thanks to Plaky’s board templates. Simply go to Plaky’s project template center, find the template you need, and start using it for free.
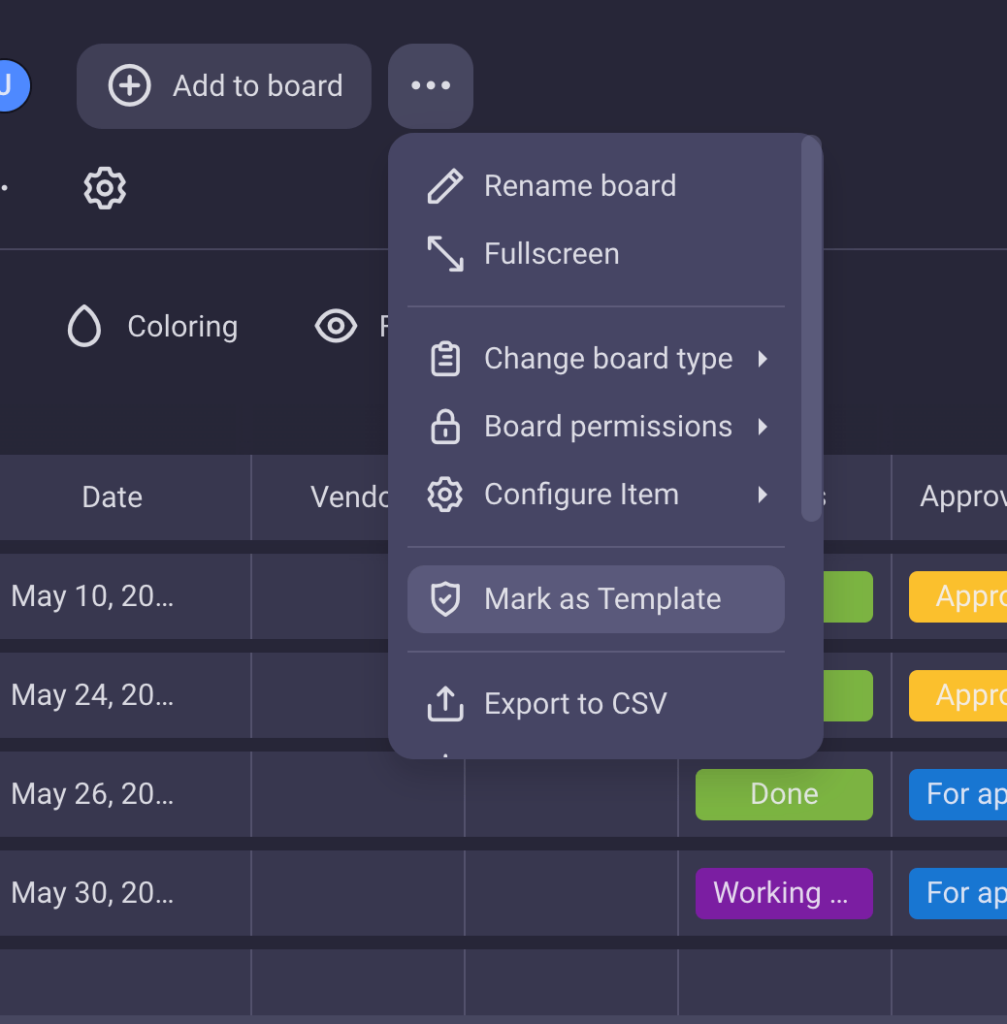
You can even create your own custom templates for similar or repeating projects. So the next time you start working on a new video game, you can jump right into action, without wasting time on board configurations.
Oh, and did we mention that Plaky’s free plan offers a plethora of useful features, including unlimited users, spaces, boards, items, and views?
Better yet, you can find even more advanced organization and customization options on Plaky’s paid plans that you can upgrade to as your company grows.
Give Plaky a go. Create a free account and customize your game production process to fit your specific needs.
Try Plaky for free


