
Create a custom Board Automation
Plaky Automations are a great way to improve your workflow by removing unnecessary and time-consuming tasks. With custom Automations, you can swiftly update your project status, rearrange deadlines, assign tasks, and more without a single click.
In this article, we will guide you through the process of creating a custom automation step-by-step.
If you are new to Automations, please check our article to get started.
Step #1: Create a new automation #
You can only create automations on the web app. However, all the automations that are created on the web app also apply to mobile apps.
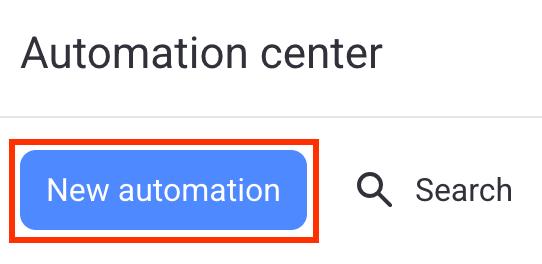
The Automation Center is your central hub for creating and modifying automations. To open the Automation Center, simply click on Automations in the top right corner of your Board.

When you open the Automation Center, you can create a new Automation by clicking on the New automation button.
Step #2: Choose a trigger #
When building a custom Automation, the first step is to define an Automation trigger. Triggers are events that happen on your Board and automatically start a selected action.
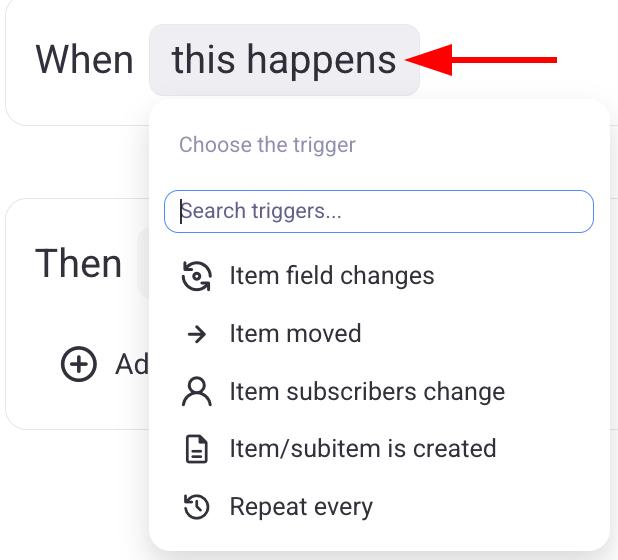
To select a trigger, click the When this happens field. Plaky lets you select between 5 different types of triggers:
- Item field changes
- Item moved
- Item subscribers change
- Item created
- Repeat every
Let’s look at these triggers in more detail.
Item field changes #
The Item field changes trigger is activated when a Board Field changes from one value to another. For example, a trigger can activate an automation when a Status Field changes from “To do” to “In progress.”
The following Item fields can be selected as triggers:
- Item Title
- Status
- Tag
- Text
- Rich Text
- Person
- Number
- Link
- Date
- Timeline
Depending on what Item field you select, the trigger will give you different options to choose from. In the example below, we show how the pop-up window will appear when you select the Status field.
Item moved #
The Item moved trigger is activated when an Item is moved from one Item group to another. For example, an Item can be moved from the “Backlog” group to the “To do” group. This will activate a trigger and start an automation.
Item subscribers change #
The Item subscribers change trigger is activated when a user is added or removed as a subscriber to an Item. For example, you can create a trigger that activates the automation whenever a member of your team is added (e.g., HR adding a Finance member) to an Item.
Item created #
The Item created trigger is activated when a user creates a new Item/subitem on the Board. For example, you can make an automation that notifies a user when an Item is created.

Repeat every #
The Repeat every creates a recurring trigger that activates on a certain day and time. For example, you can create a recurring trigger that activates every 10th of the month.
Click on the highlighted fields to customize your trigger.
Step #3: Add conditions #
Once you have set a trigger, you can add conditions that must be met before the automation is started. Conditions are optional, and it is up to you to choose whether you want to add them to the automation.
To add a condition, follow these steps:
- Click on the + Add a condition button
- Select the type of condition you want
- Fill out the highlighted fields
You can add up to 5 conditions to your automation.
Step #4: Pick actions #
The final step in creating a custom automation is to pick an action. Actions are performed every time a trigger is activated and when a specific condition is met (if conditions apply). For example, when an Item field changes, the Item can automatically be moved to another group, or a subscriber can be added.
Plaky lets you select between 5 different types of actions:
- Change item field
- Move item
- Change item subscribers
- Send notification
- Create Item/Subitem
To pick an action, follow these steps:
- Click on the Then do this field
- Select the type of action you want
- Fill out the highlighted fields
Once you have completed all the steps, click on the Create automation button in the bottom right corner to create your automation.
You can add up to 5 actions to your automation.