
Create your Board
Plaky Board is a place where your team’s tasks, workflows, and processes are visualized. It helps you stay organized and keep track of your work, whether it’s one task or a complex project. What’s more, highly interactive features enable faster, smoother communication among Team Members, so everyone is informed of each other’s projects, tasks, and progress.
To add a new Board:
- Click + under the Space menu
- Choose New Board from the dropdown
- Now choose Create from scratch, Create from file, or Create from template
If creating from scratch:
- Enter Board name
- Enter description (optional)
- Select Space
- Toggle if you want the Board to be private (optional)
- Click Create Board to complete the action

This newly-created Board can be configured and adjusted to suit your needs.
You can create the Board from scratch from the Home screen page, or by choosing Board Template that suits your needs and requirements.
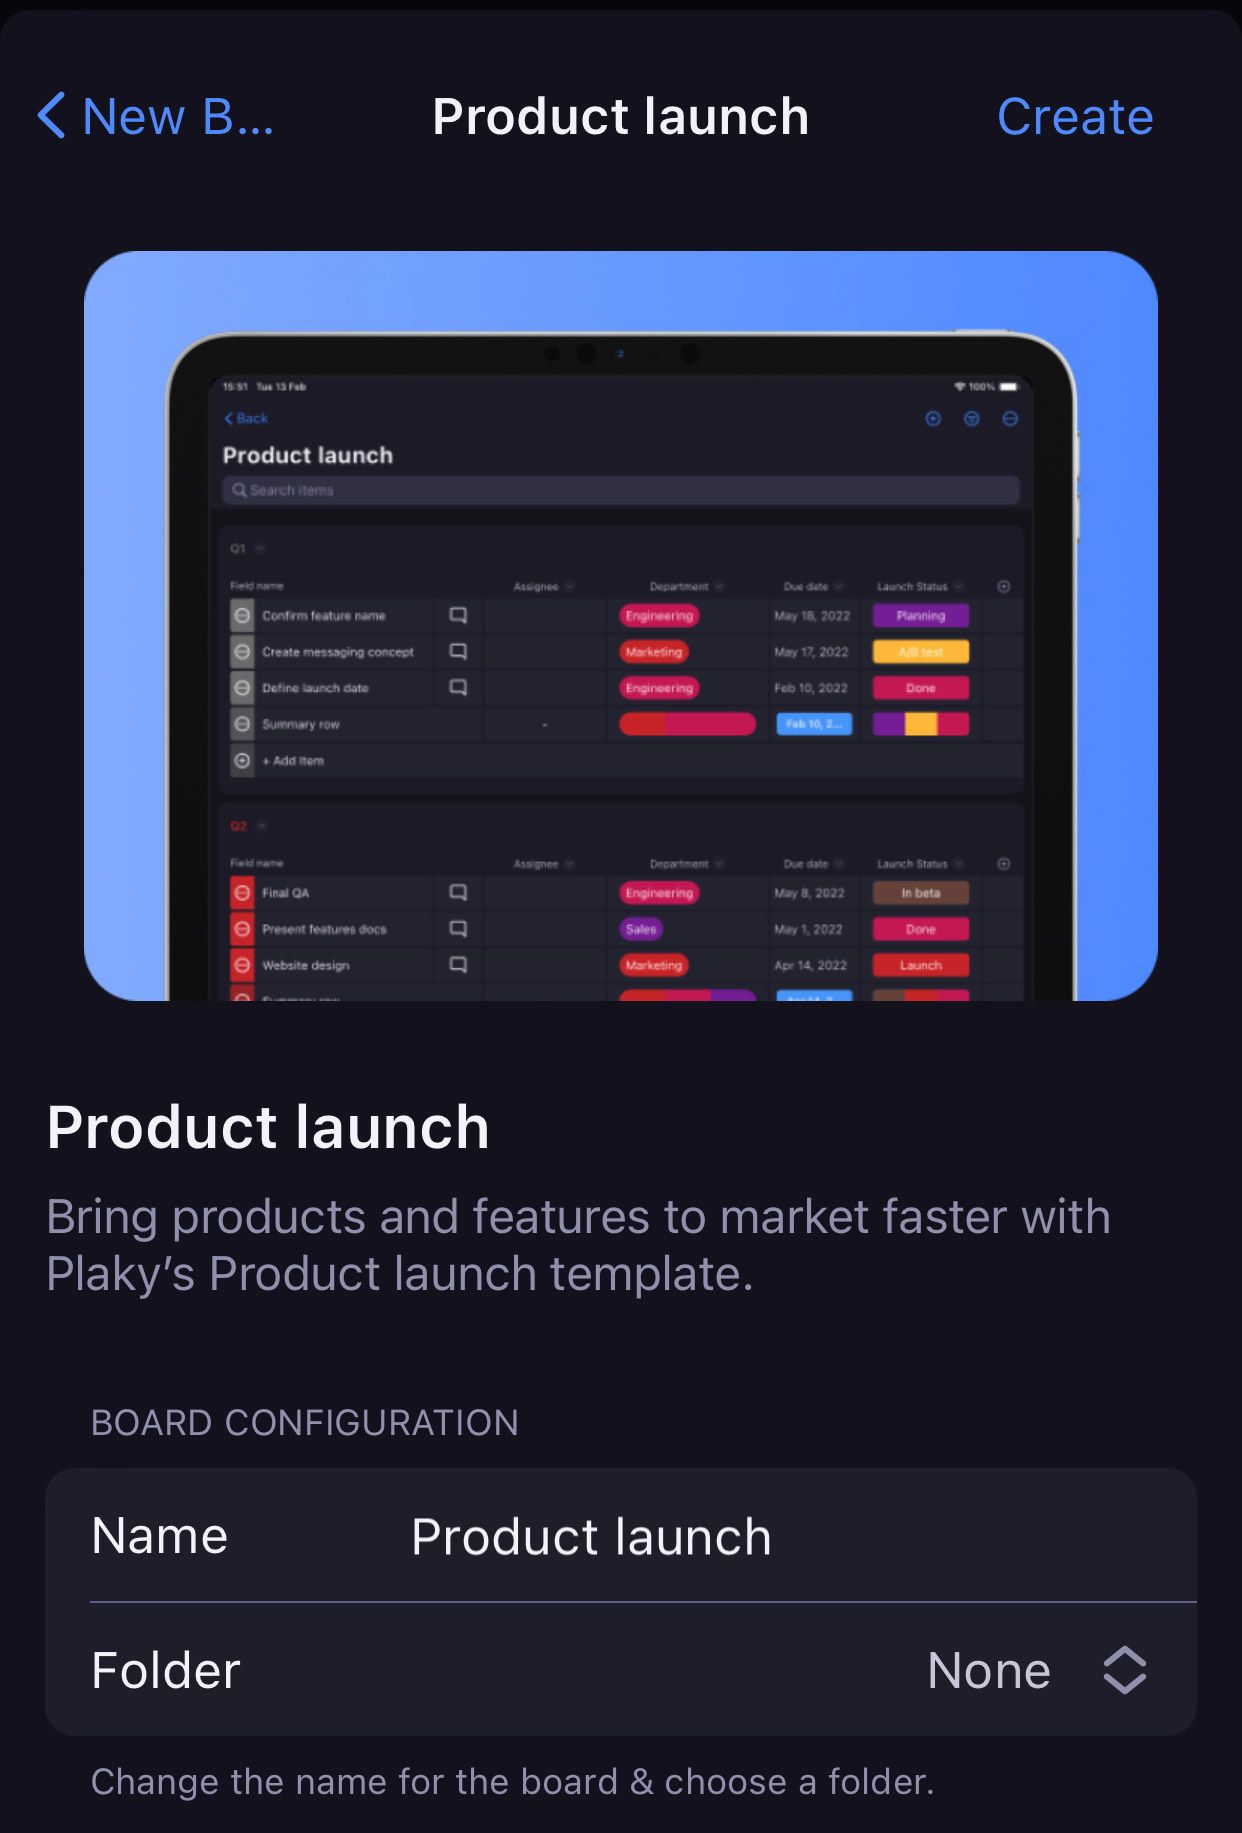
For example, choose Product launch template if you’d like to keep track of your progress and better prioritize your tasks.
To create Board:
Tap on the + button at the top right corner of the Home screen.
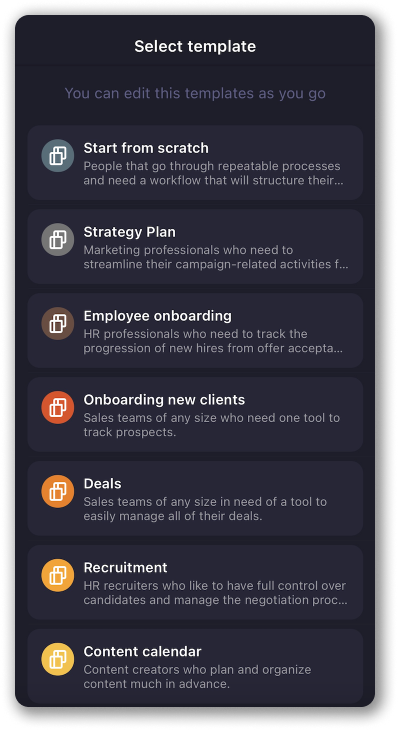
Choose the template you’d like to use and tap on Choose this template to complete the action.
OR
Choose Start from scratch, and you will get a Board created with one default Item within a default Item group, that you can further edit and customize.
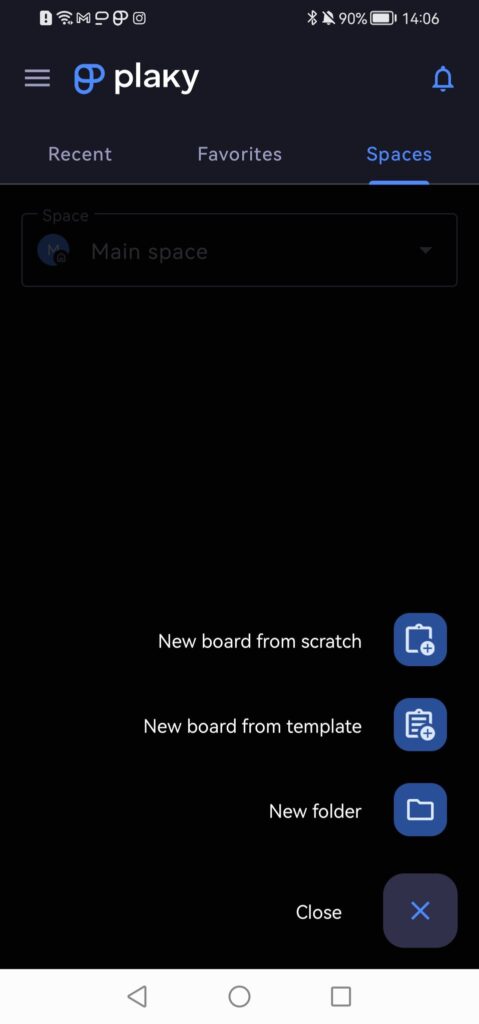
- Tap on the + icon in the bottom right corner
- Select Create Board from Scratch or Create Board from Template
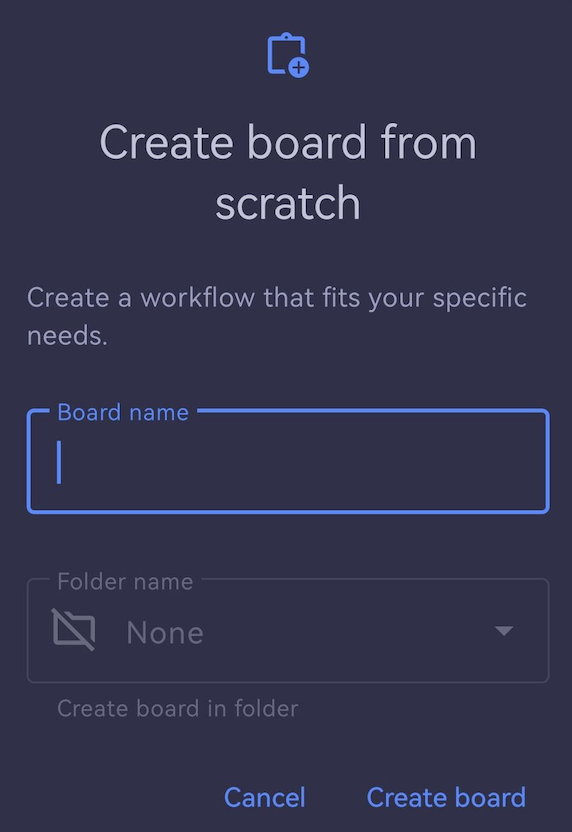
If creating from scratch:
- Enter Board name
- Select the Folder (optional)
- Tap on Create to complete the action
To customize the Board to suit your needs, you can add the following when creating the Board:
- Board description
- Board view
- Board fields
Add description #
You can (optionally) add the description to the Board you and your Team are using. This can be a brief description of a project, instructions, guidelines, or anything else you find suitable, so that your team has a deeper, clearer understanding of the Board’s purpose.
Here’s how to do this.
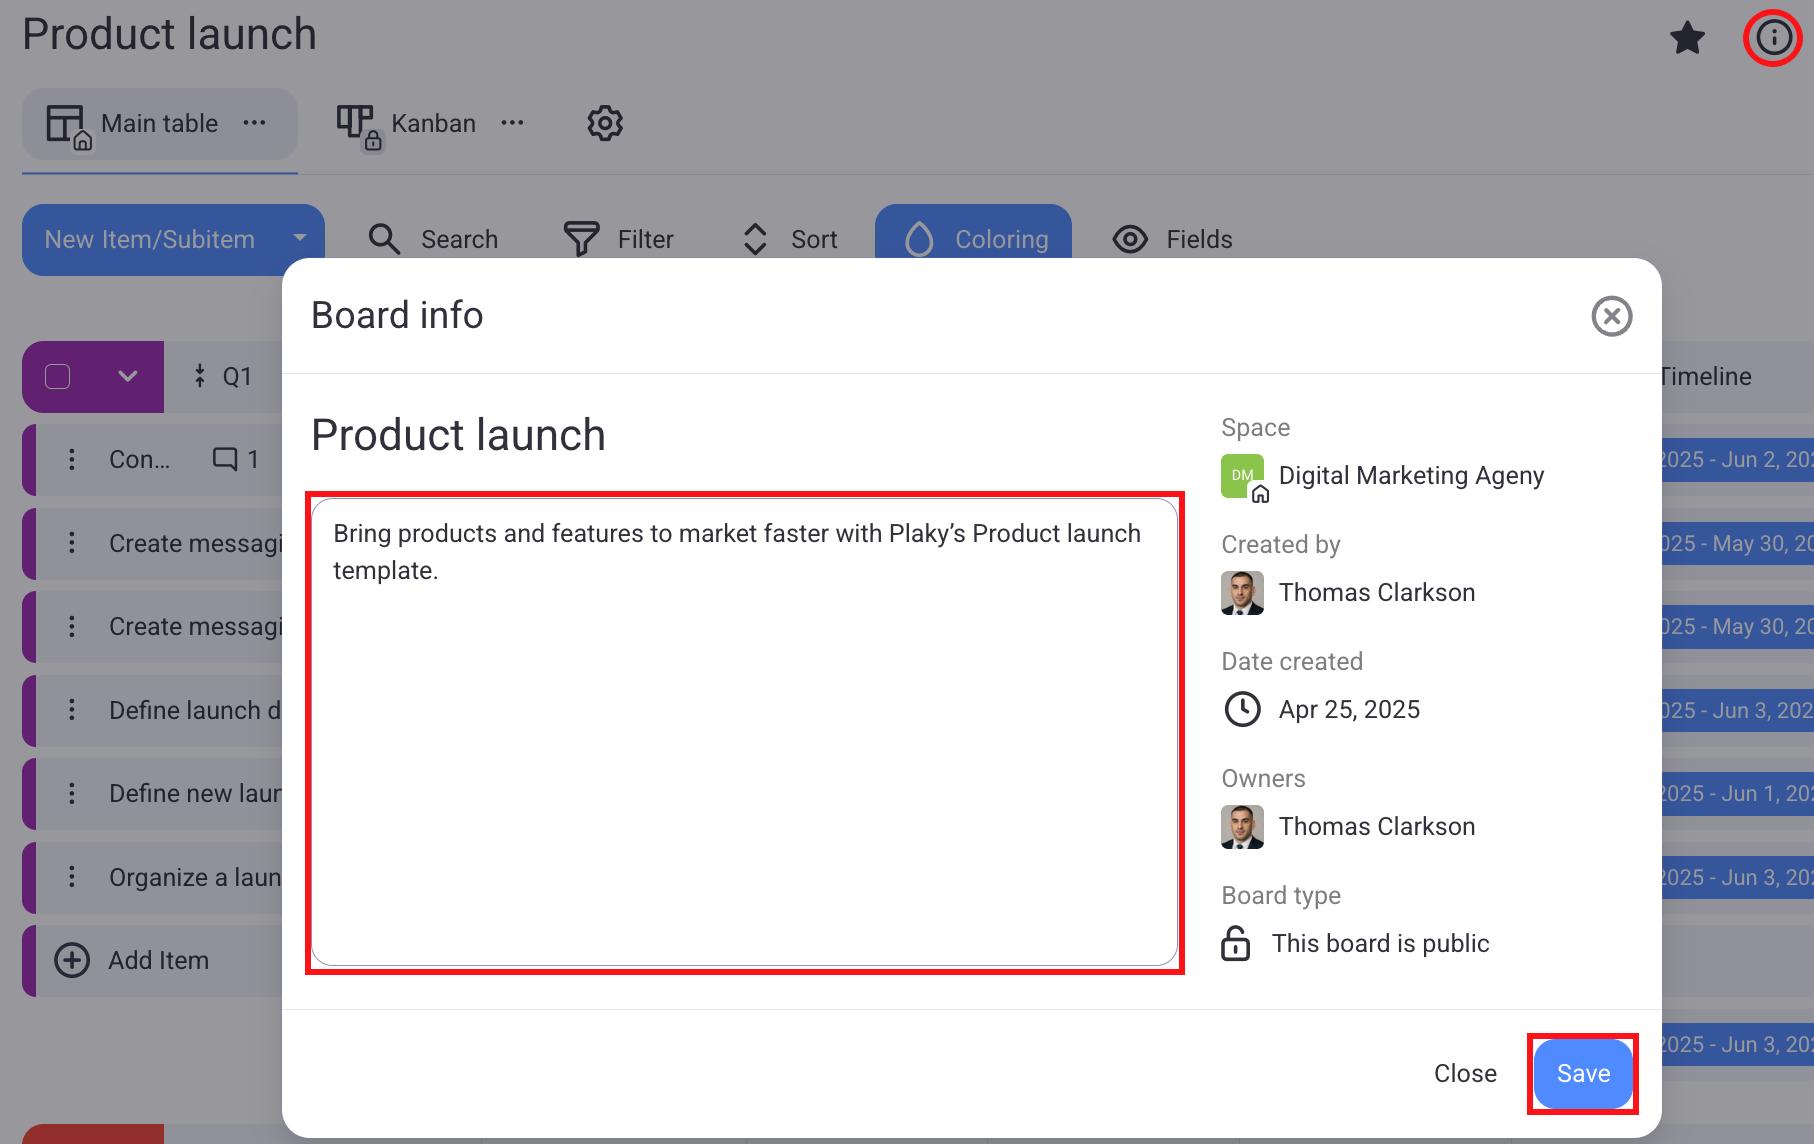
- Click on the board info icon in the top right corner
- Write Board description
- Click Save to complete the action
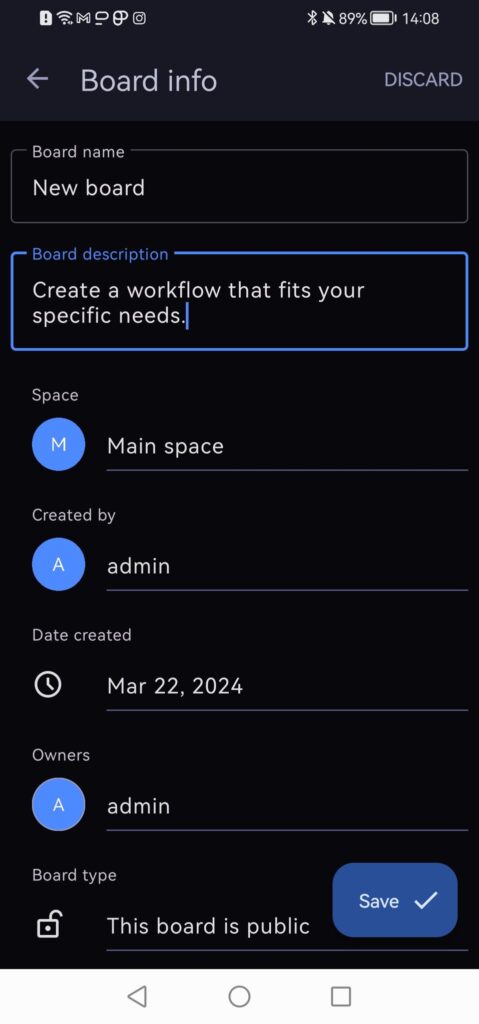
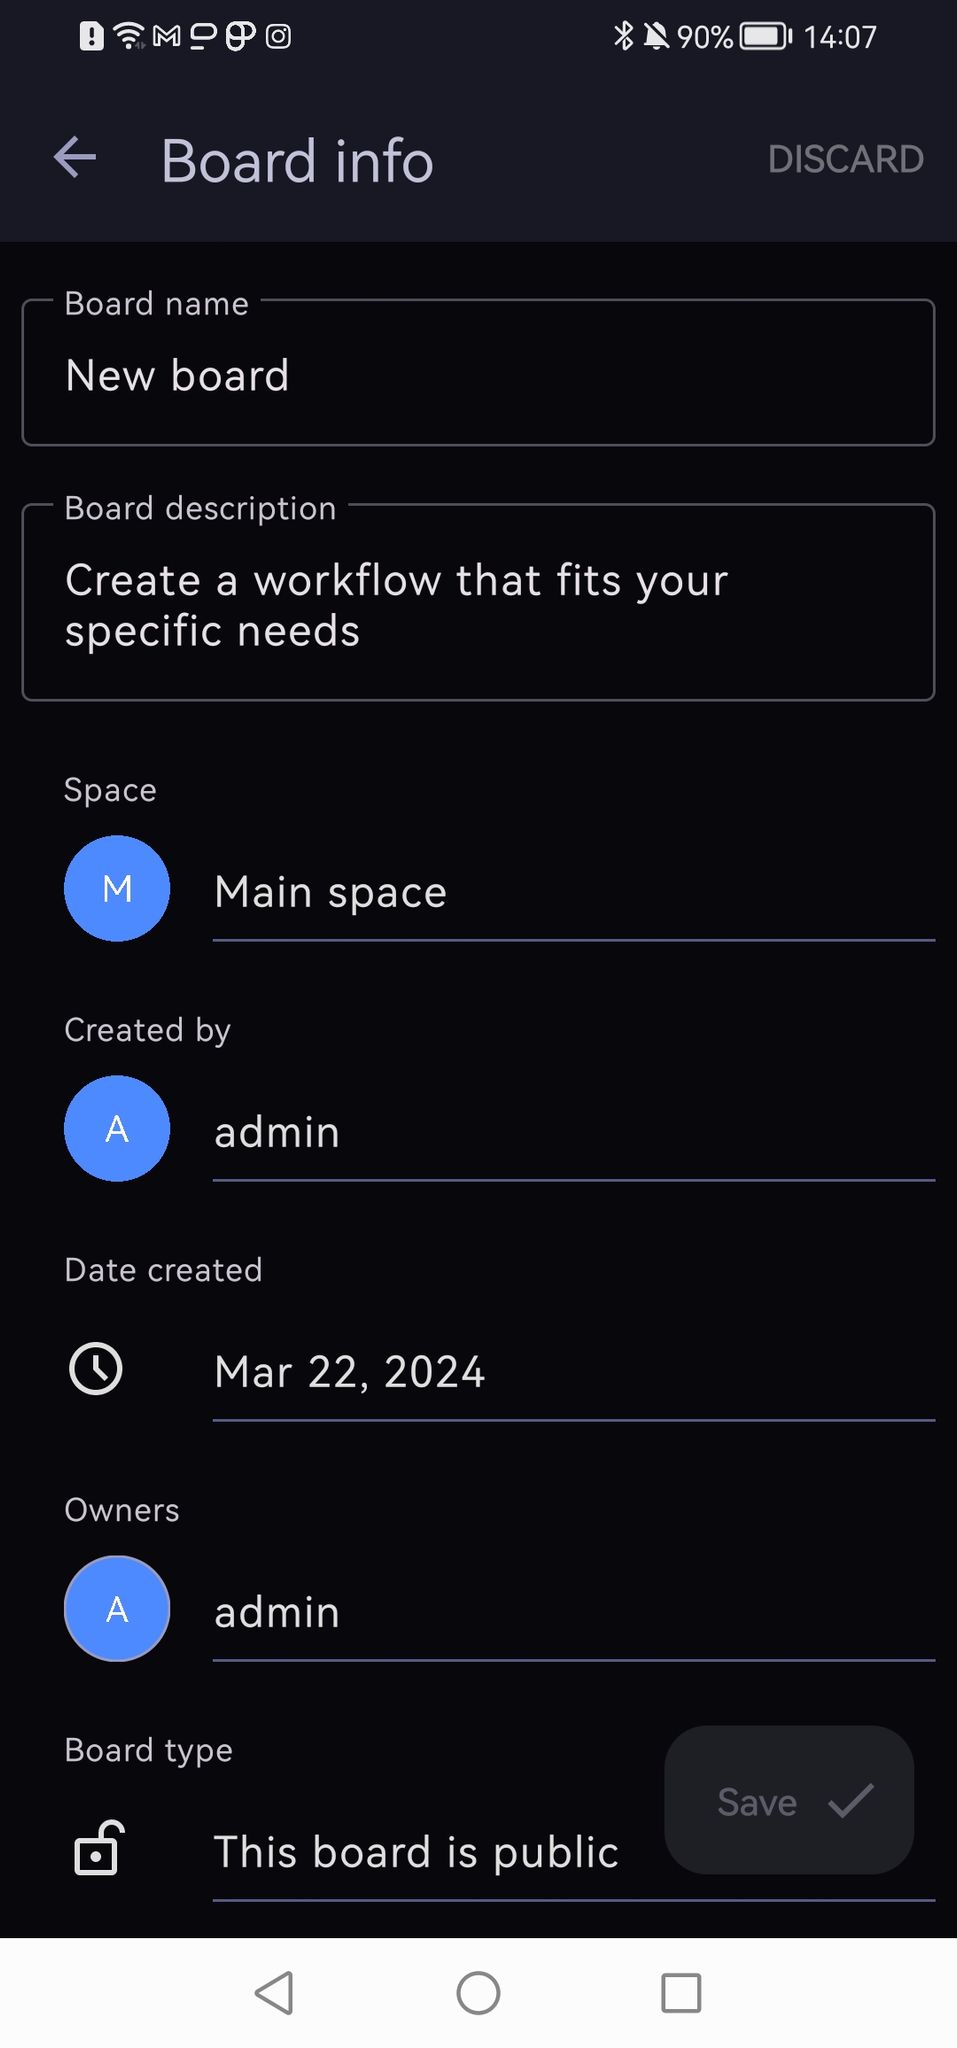
To add Board description:
- Tap on three dots at the top right corner of the Board
- Select Board info
- Tap on Description
- Enter the description
- Tap Save to complete the action
- Tap on three dots at the top right corner of the Board
- Select Board info
- Tap on Description
- Enter the description
- Tap Save to complete the action
Item group #
An Item group is a section in the Board that contains Items and keeps the Board organized. Each created Item has its own Group that serves as a “container” or section in which the Item is placed. Group can represent anything, from a time interval (month, week, day) to the name of the client, feature, project…
Once you create the Board, an empty Group and empty Item samples are automatically created. You can collapse and expand groups. On Web app you can also rename or change its color, if needed be.
Board info #
After you have created the Board, you can see additional information about your Board.
To see the Board info, click on the info button on the Board in question.
Board info modal opens with the following information:
- Board name
- Board description
- Space (Space on which the Board in question is located)
- Board creator (Team Member who created the Board)
- Board owner
- Board type (can be changed on paid plans only)

After you make all the changes, click Save to complete the action.
To see the Board info:
- Tap on the the three dots in the top right corner of the Board
- Select Board Info
- After making any changes, swipe the Board info modal down
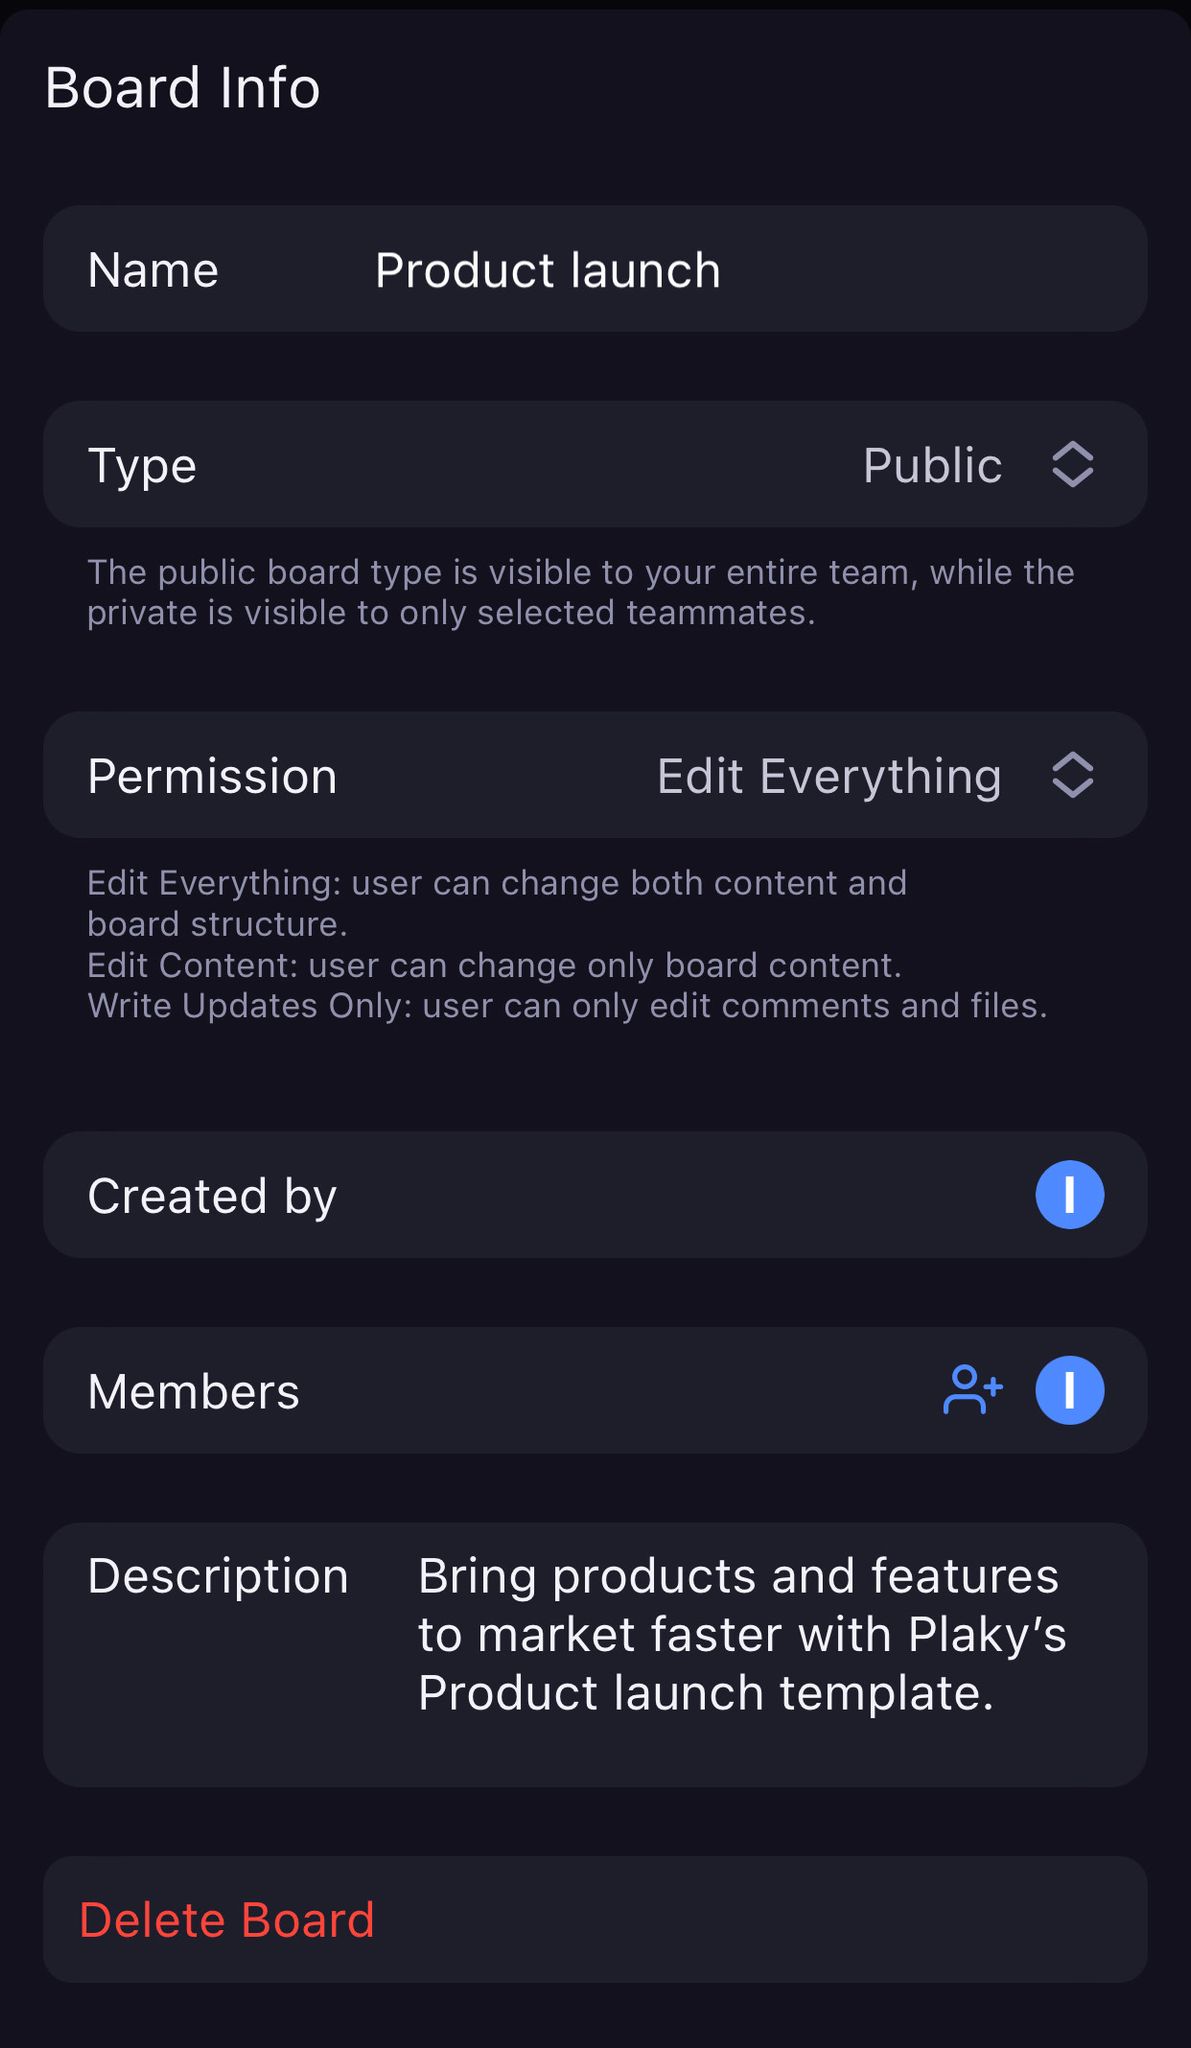
In the Board info modal, you can edit Board name and description, change permissions and view all information related to the Board owner and creator.
Depending on the permissions, you can delete the Board, as well, by tapping Delete Board button at the bottom of the screen.
To see the Board info:
- Tap on the the three dots in the top right corner of the Board
- Select Board Info
- After making any changes tap Save to complete the action
In the Board info modal, you can edit Board name and description, change permissions and view all information related to the Board owner and creator.
Depending on the permissions, you can delete the Board, as well, by tapping Delete Board button at the bottom of the screen.
Add Fields #
Fields provide structure and shape the Items and Item groups within your Board. They enable you to add important attributes and enhance the organization of your project. Check out this text to learn how to add Fields to your Board.
Add Board View #
With different Board Views, you can visualize the data you have access to in a way that you prefer.
There are 4 types of Views:
- Table
- Kanban
- Gantt
- Chart
Table View #
With Table View, you can see Items in the form of rows and use Fields to add Items’ specifics.
Kanban View #
Kanban View groups Items according to any criteria you have previously selected (e.g., person, status, date, tag).
Gantt View #
Gantt View lets you visualize and organize projects and tasks according to their due dates and timelines.
Chart View #
Chart View allows you to create bar and pie charts, grouping items by specific attributes (e.g., completion status).