Starting a project is no easy feat.
As a project manager, you need to have an all-encompassing view of the entire project and understand the final goal before you even begin. Otherwise, you won’t be ready for potential risks and will no doubt be blindsided during the execution stage!
Sounds scary, right?
Not necessarily.
There are only 5 steps you need to take to make the launch of a project easy to manage. And here’s exactly what experts suggest you should do.

Initiating a new project
The first phase of the project’s life cycle is project initiation.
In the project initiation phase, you make decisions that will shape how your project develops — such as defining the purpose of the project and choosing who will be involved.
So, we cannot emphasize this enough — dedicate sufficient time to project initiation! It’s one of the most important steps to managing a project since it sets the foundation for project execution.
💡 Plaky Pro Tip
Learn exactly what each of the 5 phases of project management entails in our article:
How to start a project in 5 easy steps
New to project management and don’t have a clue how to start a project? Here are the exact 5 steps to take to initiate a project successfully every time!
1. Define goals and objectives
Ask yourself — What does this project aim to accomplish? What are the goals of the project?
We spoke to Randi Mays, Project Development Manager at Oii.ai, who shared with us how she starts her projects:

“Every good PM I’m sure does this, but I start with defining the goals and objectives of the project. This is key for identifying stakeholders, understanding their needs, and setting clear expectations.”
But defining the project goals is not enough — they have to be doable too.
So, make your objectives and goals S.M.A.R.T. — specific, measurable, assignable, realistic, and time-related — to make them easier to accomplish.
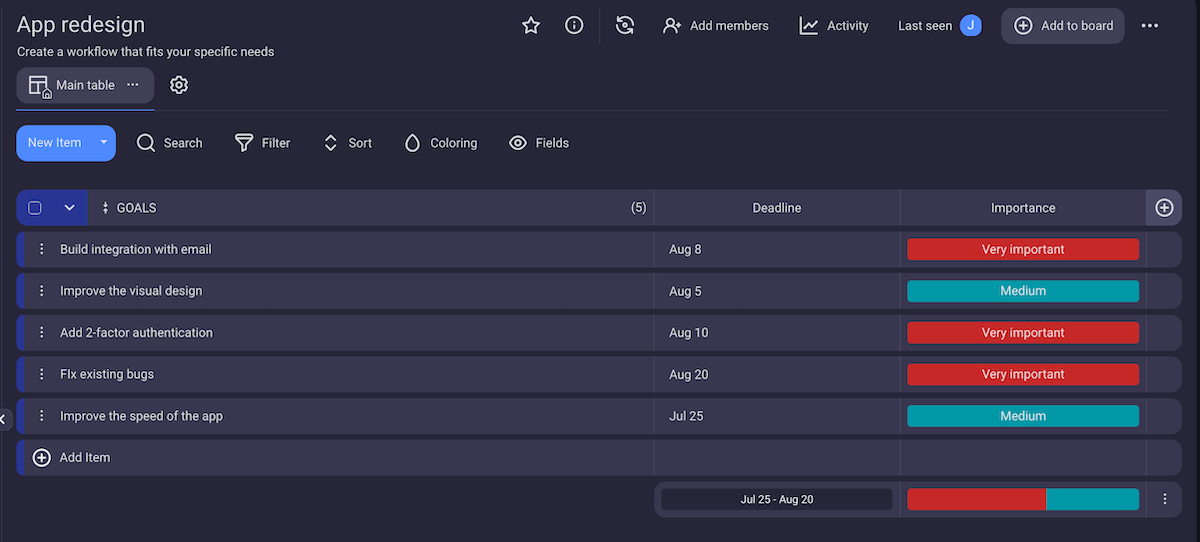
Set and track your project goals with Plaky
💡 Plaky Pro Tip
What happens when you have to take over a project instead of starting one on your own? Find out in the post below:
2. Construct a project charter
Once you know the project goals, it’s time to construct a project charter.
A project charter is a short document that serves as an overview of your entire project. It is also what is given to stakeholders for evaluation and approval — which is necessary if you plan on bringing your project to life anytime soon.
Randi explains that after goals and objectives, she focuses on the project charter because experience has shown it provides stakeholders with valuable insights:
“I will develop what we like to call a project charter. What’s the project’s purpose? What objectives are we achieving? What’s the scope and high-level timeline and, of course, the budget?
For example, at Oii.ai, the stakeholders appreciated the project charter because it showed them the risks that were on our radar during the duration of the project and what the expectations were for the project.”
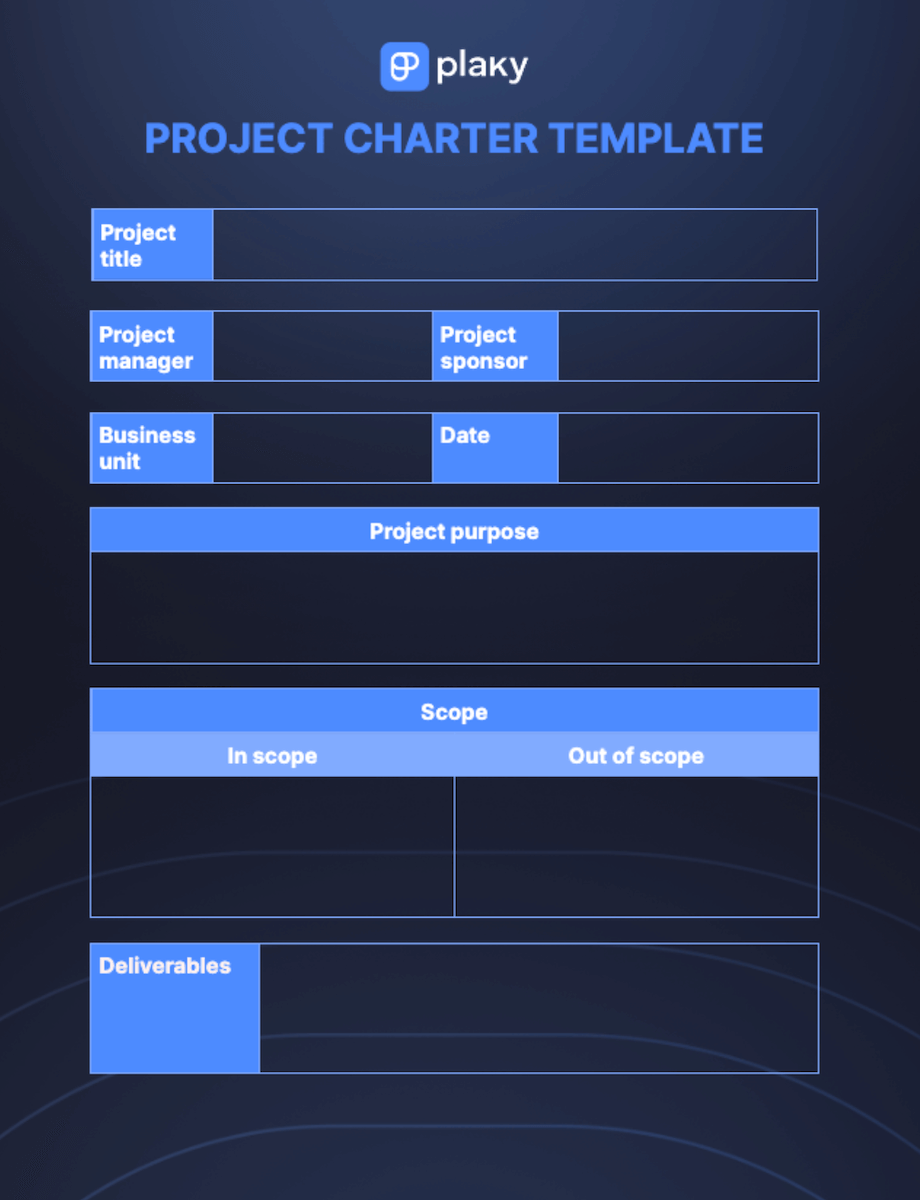
Download our project charter template
3. Create a project plan
As soon as the project charter is ready, it’s time to move onto the project plan.
The project plan is a set of all documents related to the project that you can refer to during the execution stage to make sure you complete the project on time and within budget.
Essentially, a PM plan is more elaborate than the project charter and explains how you’re going to achieve what was promised in the charter.
To ensure you end up delivering a successful project, your project plan should include the following:
- Project scope,
- Budget,
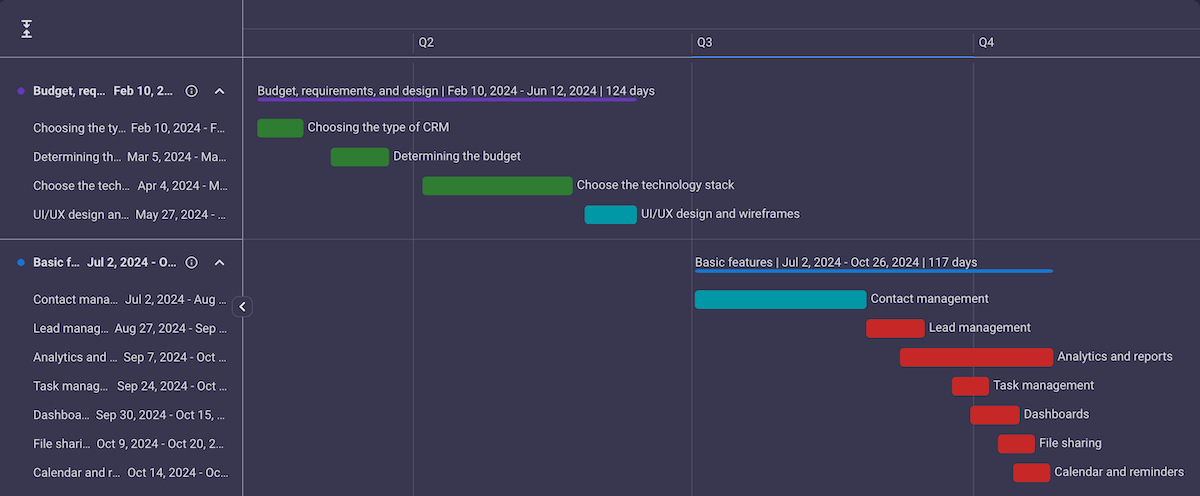
- Timeline,
- Resources,
- Deliverables,
- Project risks, etc.
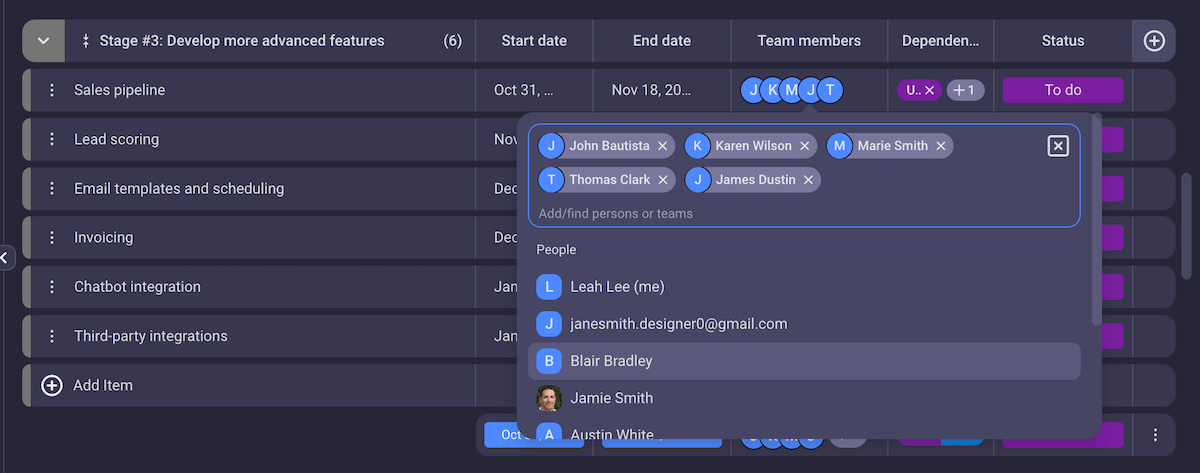
4. Assemble the project team
One of the most important steps is choosing the right people for your project. Choose wrong, and it doesn’t matter how great your initial idea is — your project will be an absolute disaster.
When selecting team members, consider who has the expertise you need for that particular project. When you have the right people on the right tasks, you can be sure that everything will be done on time and with minimal chances of mistakes.
That said, don’t forget to check the availability of those employees as well. They should be able to dedicate themselves to your project without being overbooked. Otherwise, they will be distracted with other work, and your project will suffer.
Randi shares how she assembles the team for a project:
“Working at Oii.ai, we have a great team, small but mighty, and each team member has a unique skill, so it’s important to see if it’s required in the project and when their skill set will be needed. From there, I am able to then assign roles and responsibilities and establish communication channels. Structure raises the chances of project success and on-time completion.”
The President and Founder at Projects by Molly, LLC, Molly Beran, emphasizes the importance of consulting with team members to see if more people need to be involved in the project:

“Many times, sponsors or higher-level leaders may not know all of the individuals and teams required to get things done, but the next level down in the organization will have more detailed insights as to who needs to be involved to do which specific tasks. I always ask the team doing the work whether anyone else needs to be included so that we have everyone present for required meetings.”
5. Organize a project kickoff meeting
Finally, once everything is set, it’s time for a project kickoff meeting — the first meeting with the team members, clients, project sponsor, and other project stakeholders before the work on the project begins.
This is the final part of a project launch. Its purpose? To ensure the team and stakeholders are on the same page before the execution of the project starts.
When we spoke to Bryan Berthot, Project Manager, Scrum Master, and Doctoral Candidate at the University of South Florida, he explained that you should ideally conduct 2 kickoff meetings — internal and external.
The internal kickoff meeting is, as the name suggests, for internal members of the team only and serves to review everything before meeting with the client:

“The internal kickoff meeting is for the project manager to meet all internal subject-matter experts and stakeholders. Any existing project documents may be reviewed as necessary, including the project charter.
A major reality check occurs here as the team subject-matter experts perform discovery on the scope of work and the bid. The team should come out of this meeting with a unified front to present to the client. If any adjustments need to be made, this is the time — before meeting with the client.”
After the internal meeting, you are ready to organize an external kickoff meeting with the client to help both sides understand what is expected of them:
“After the internal team meets, the next stage is to meet with the customer. In particular, the PM highlights the project scope and reviews the critical path and any customer expectations. If the customer has work items to do, the PM emphasizes these timelines to avoid any delays. Much like the internal kickoff meeting, the outcome of this initial meeting with the customer is to achieve shared expectations about the project.”
💡 Plaky Pro Tip
Starting a project is one thing — but what if you’re hit with a wave of new projects you’re not sure you can handle? Here’s how not to lose your mind and stay organized when dealing with a surge of new projects:
Essential expert tips on how to begin a project
By now, you should be feeling more confident about starting that new project of yours. But wait — our experts have 2 more crucial tips that could help make launching a project a total breeze:
- Get to know your client well, and
- Ensure team communication is up to standard.
Randi Mays highlights the project initiation process as the most important part of the project life cycle because that’s where you learn more about your client and their preferences:
“Spend ample time in the initial phases to understand the client’s specific challenges and goals, and their needs and wants. This sets a solid foundation right from the get-go.”
Molly Beran, on the other hand, points out how crucial team communication is. She encourages PMs to ask as many questions as needed since they aren’t experts on the subject matter like other project team members, but have a more organizational role:
“Don’t be afraid to ask questions about tasks that are unclear or unintuitive to you — the SMEs (Subject Matter Experts) are the ones who should know more about what is going to be done. As a project manager, you want to be focused on helping them communicate the work and track the work, not on actually doing the work yourself.”
Elevate team collaboration with Plaky
Ready to kickstart your new project? Try Plaky by CAKE.com
Stop despairing about your projects not going smoothly — when all it takes is the right project management software.
You can organize all project steps in Plaky by CAKE.com — an easy-to-use, but robust, project management tool.
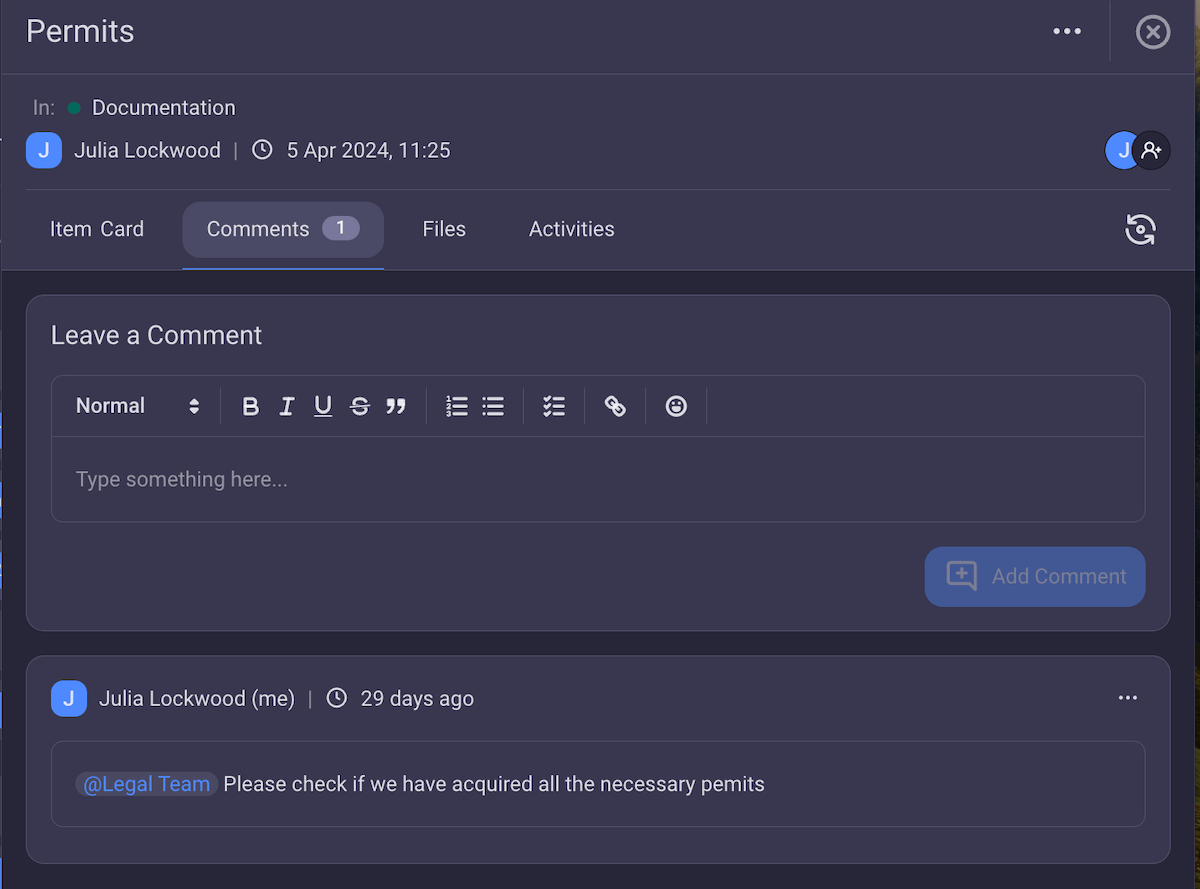
Serving as a single point of reference for your project, Plaky keeps all crucial information in one place — all your tasks are neatly organized into an unlimited number of boards and spaces.
So, you won’t waste time looking for information and wondering where something is written or mentioned — everything is easily accessible.
Try Plaky by CAKE.com for free
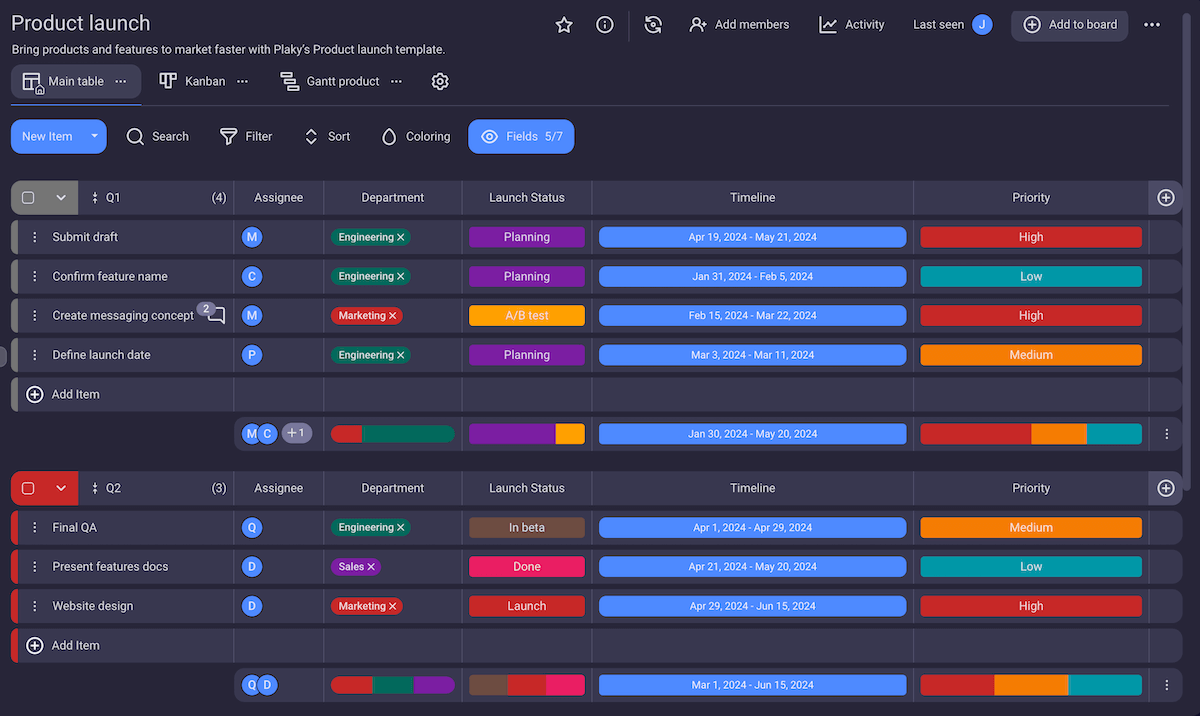
And with customizable fields, you can include everything you need — from project status and priority to timelines, descriptions, and assignees. This way, you’ll know exactly:
- Where your project stands and how close to success (or failure!) you are,
- What your team is currently working on,
- What each task entails and how your team should approach them,
- How busy (or not) each team member is,
- Which tasks to do first so that your project doesn’t sink, and more.
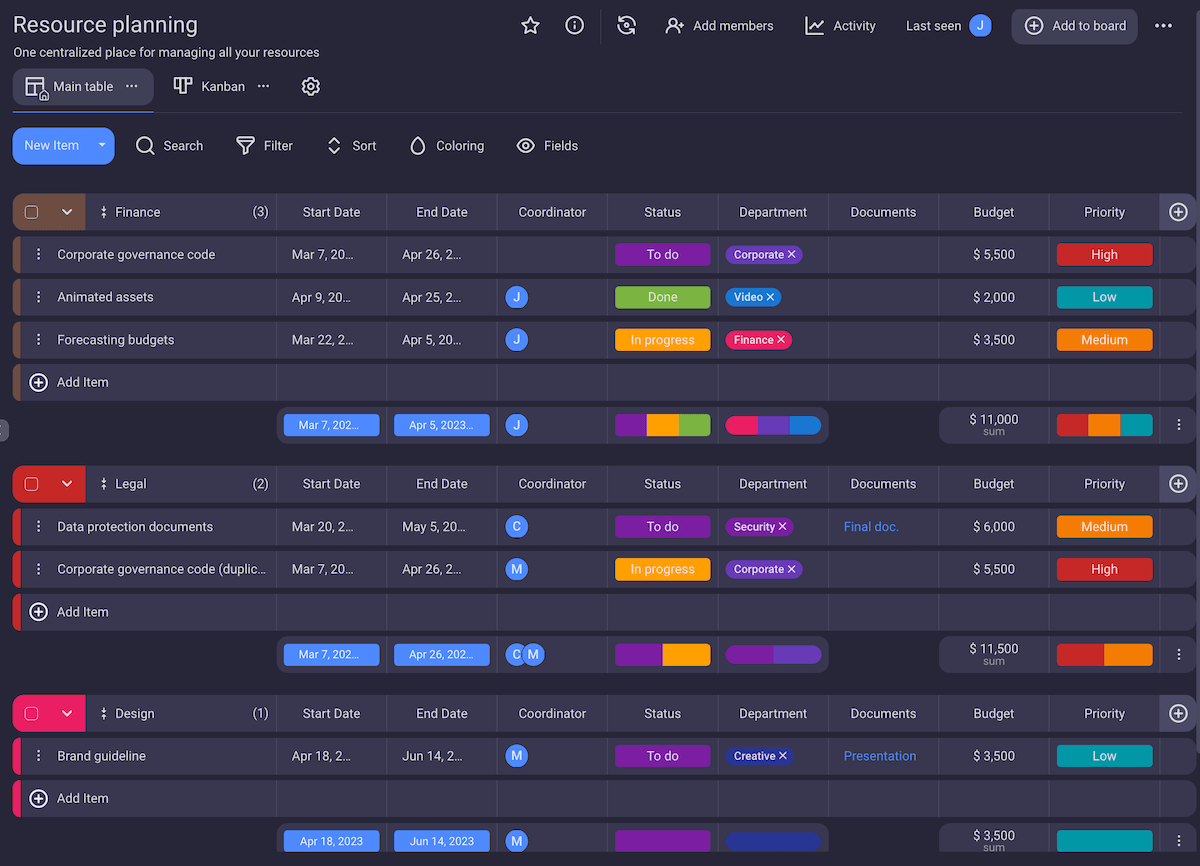
What’s more, with Plaky’s template center at your disposal, you won’t waste time starting every new project from scratch. Just select the template you need, and you’re good to go — Plaky offers templates for a variety of industries and types of projects.
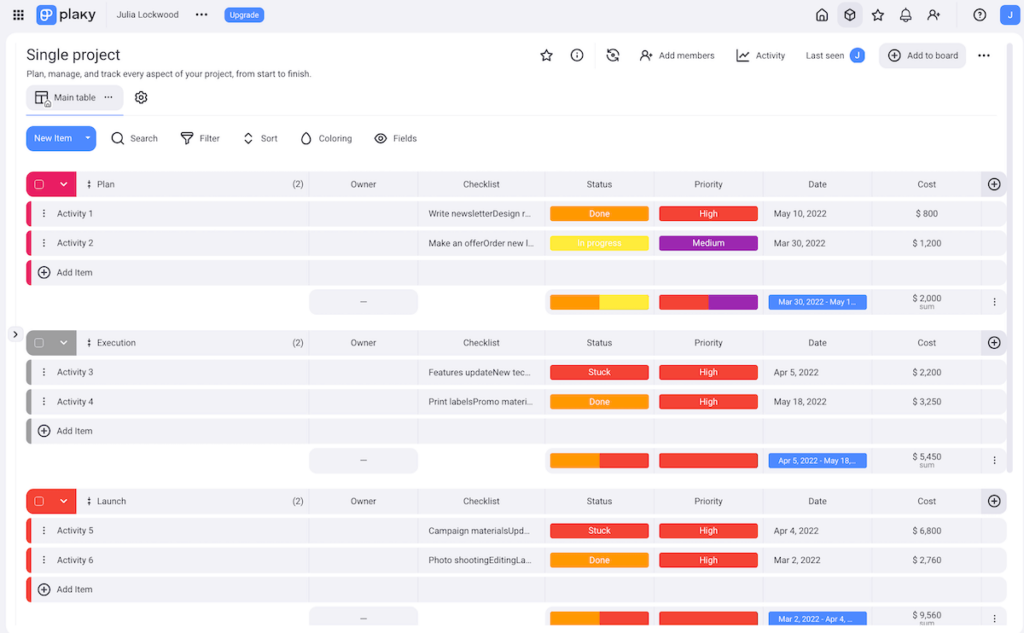
Pro tip? Go for the single project template to get a pre-made project board with:
- Item groups to easily organize your tasks,
- Date field to know by when tasks should be completed,
- Status field to keep track of how each task is progressing,
- A checklist to help you cross out smaller action items within a single task,
- Cost field to track your expenses and stay within your budget,
- Owner to know exactly who’s responsible for every task, and more.
Of course, the template is completely customizable — you can sort items however you like, filter information, add and delete fields, etc.
Get our single project template
And yes — you can even create as many board views as you want. Better yet, you can personalize them using filter and sort options, conditional coloring, and other customization options — and keep important information readily available at all times.
Jumpstart your projects in Plaky! Start a 14-day free trial that gives you access to all of Plaky’s features.