
Create and Configure Custom Fields on Android App
2 min read
Custom fields give structure and help you better organize Items in Item groups on your Board. Each Field represents some entity relevant to the project, or type of content presented on the Board (e.g. Event planning Board can have these Fields: Person responsible, Team, Reviewer, Date, Cost, Status…).
Please note that these are the default names for Fields in this Board Template. Custom field names can be changed in the web app.
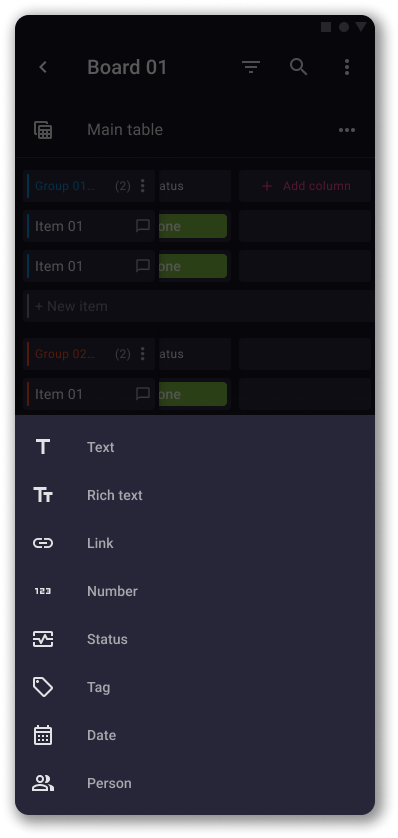
To add Custom fields:
- Swipe to the right to the last Field in the Item group and tap on +New Field
- Choose the Field type to complete the action
If selected field type is Timeline:
- Choose the start date and tap Save
- Set the start time and tap OK
- Choose the end date and tap Save
- Set the end time and tap OK
- Tap Save to complete the action
After adding a new Field, you can further customize it according to your needs, or configure already existing Fields.
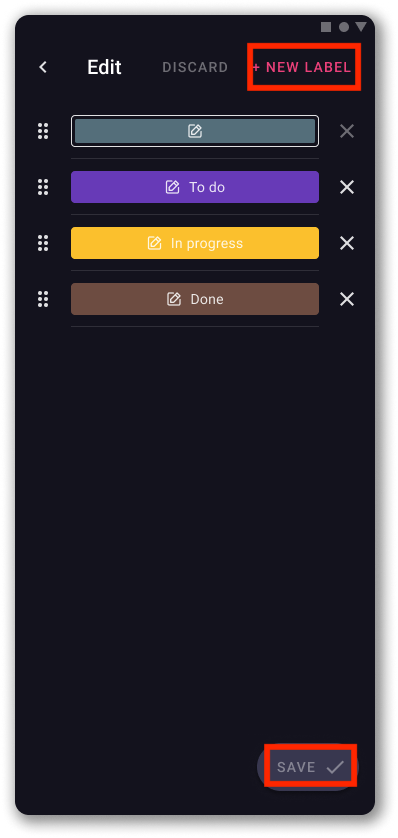
Configure Status Field #
- Tap on the Status Field
- Tap on Edit
- Tap on any label to rename it or change color
- Tap on +New Label to add new label
- Save changes
Configure tag #
- Tap on the Tag Field
- Tap on Edit
- Tap on any label to rename it or change color
- Tap on +New tag to add new label
- Save changes

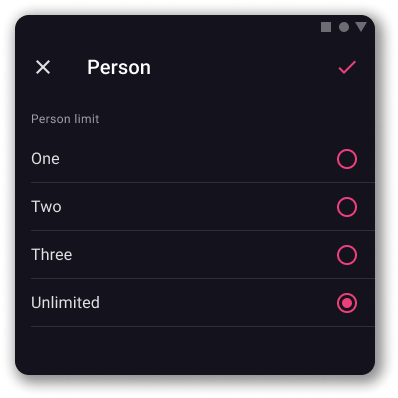
Configure Person Field #
- Tap on the Person Field
- Select the person limit (one, two, three, or unlimited)
- Tap on the tick icon in the top right corner to complete the action
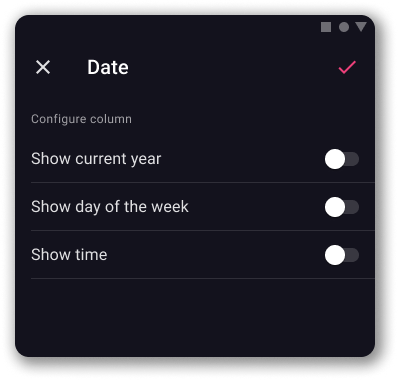
Configure Date Field #
- Tap on the Date Field
- Toggle the radio button to:
– Show/Hide current year
– Show/Hide day of the week
– Show/Hide time - Tap on the tick icon in the top right corner to complete the action
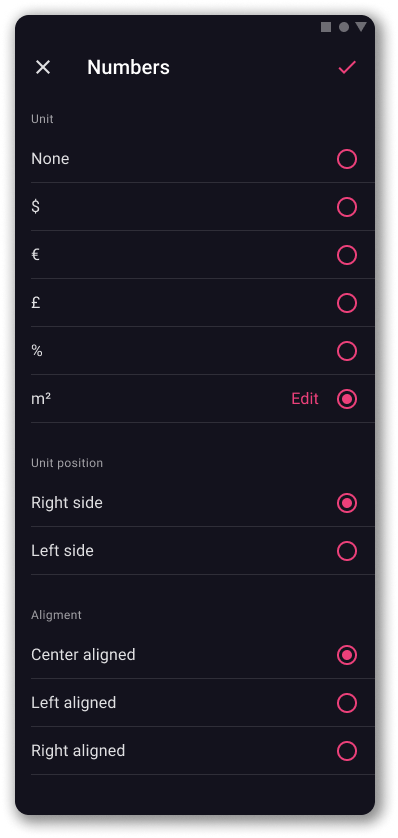
Configure Number Field #
- Tap on the Number Field
- Select or enter the unit
- Choose unit position
- Choose alignment
- Tap on the tick icon in the top right corner to complete the action
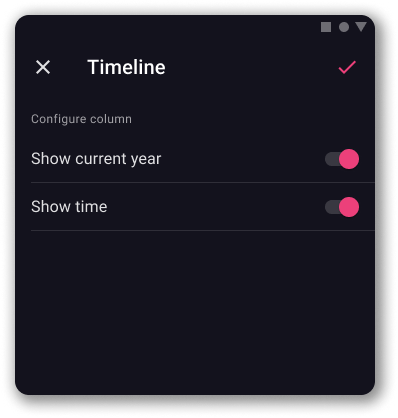
Configure Timeline Field #
- Tap on the Timeline Field
- Toggle the radio button to show/hide current year
- Toggle the radio button to show/hide time
- Tap on the tick icon in the top right corner to complete the action
Was this article helpful?
Thank you! If you’d like a member of our support team to respond to you, please drop us a note at support@plaky.com