Introduction to Board Views
The way your data is displayed on the Board can help you gain a better overview of the information available to you. With Board Views, you can visualize the data shown on your Board in different ways.
Board View types #
Plaky lets you choose between different Board views:
- Table view
- Kanban view
- Gantt view
- Chart view
Below, you can find more details for each view.
Table View #
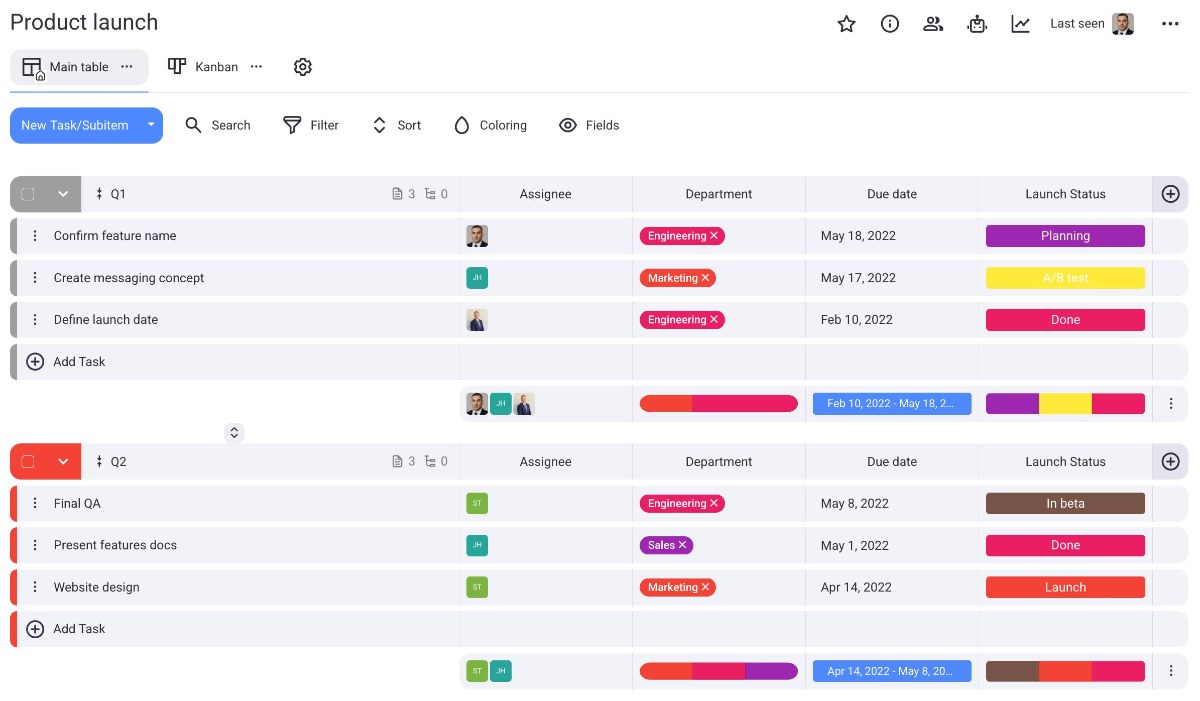
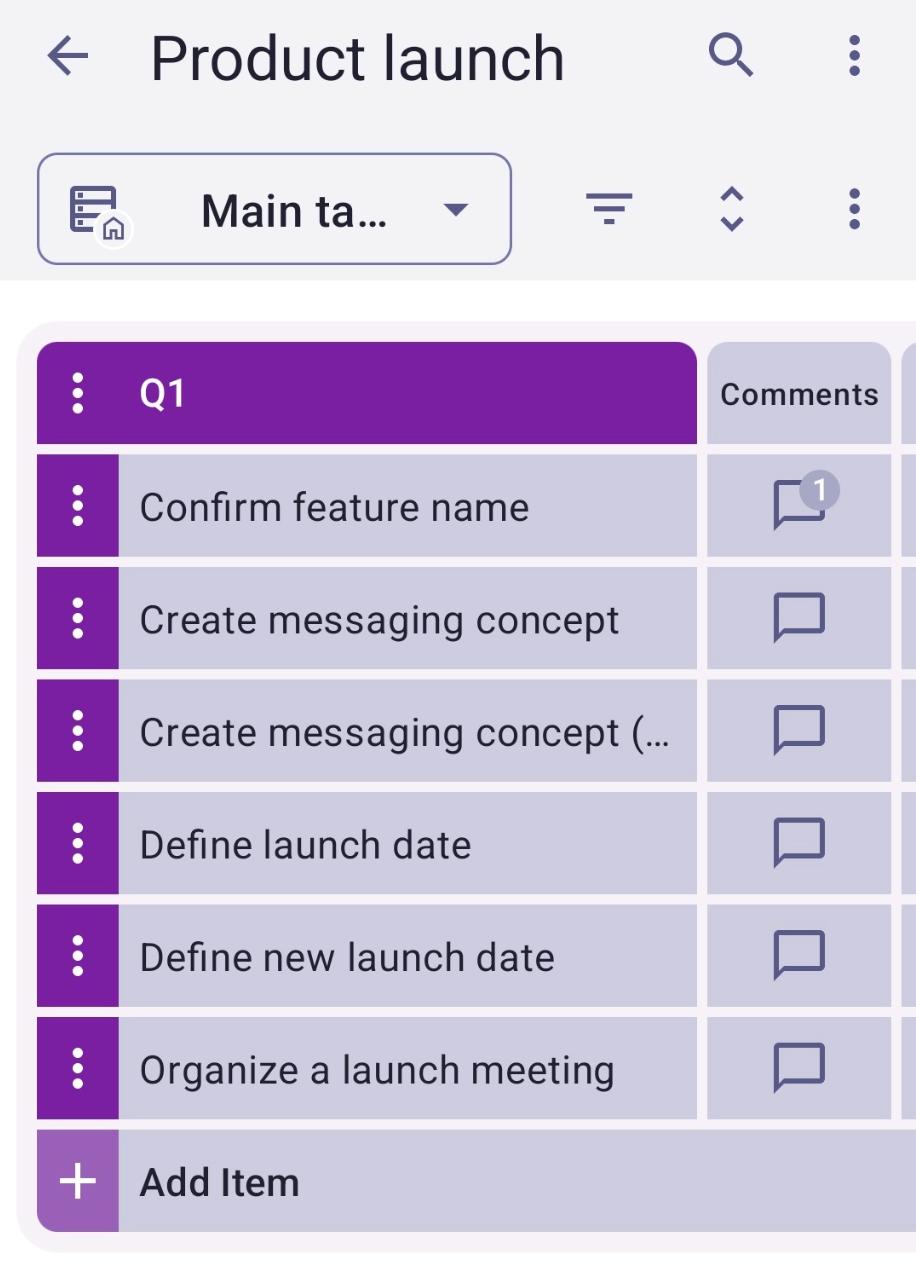
In the Table view, the information on your Board will be displayed as a table with fields and rows.
Here’s the example of the Table view for the Product Launch Board Template:
In Table View, swipe left to see all the Fields on the Board.
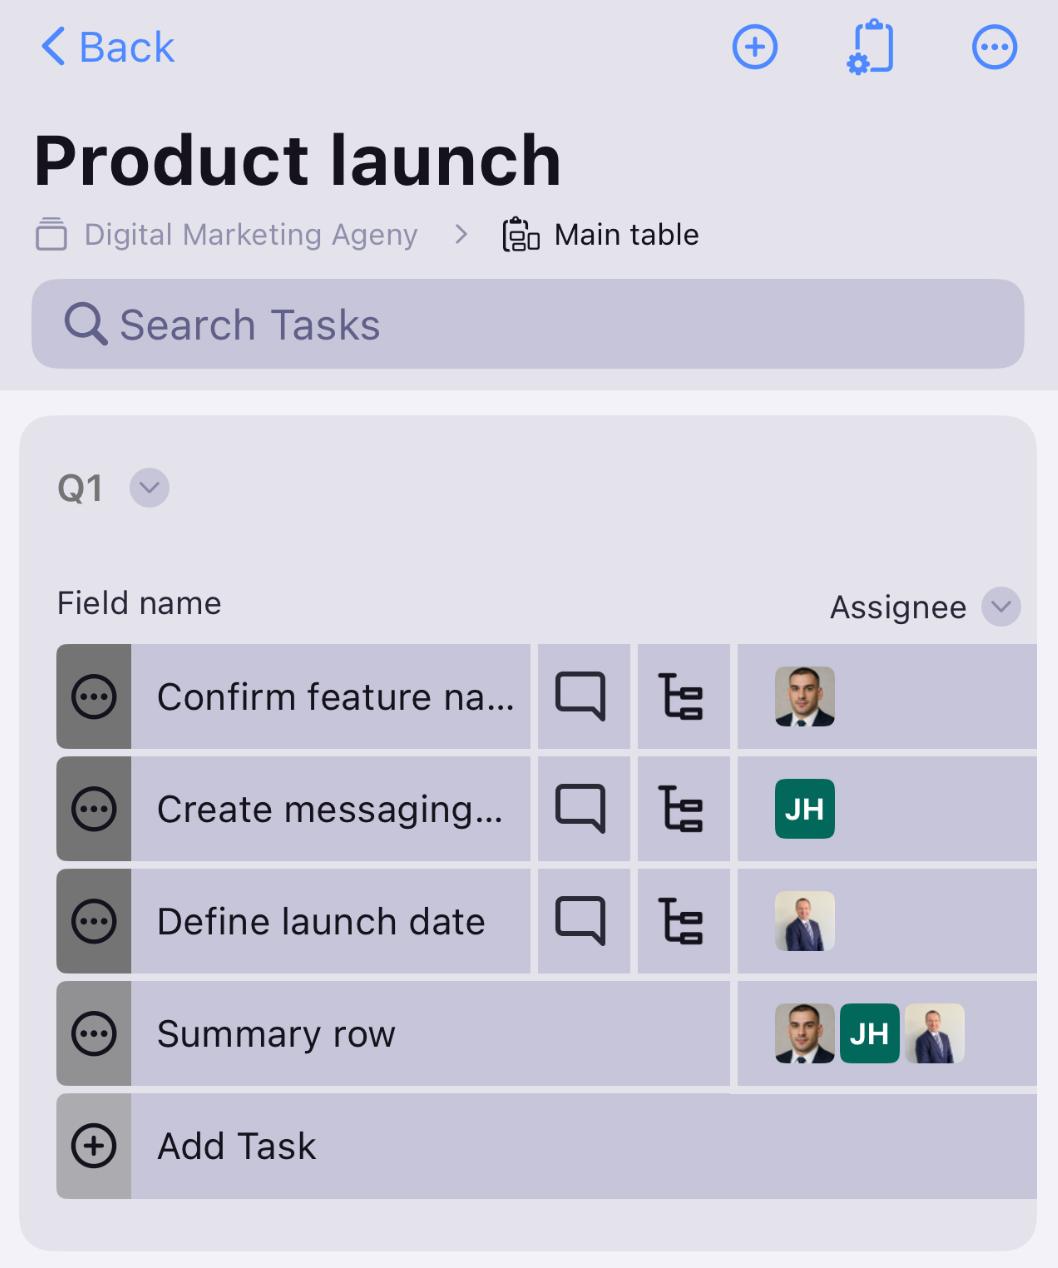
Swipe left to see all the Fields on the Board.
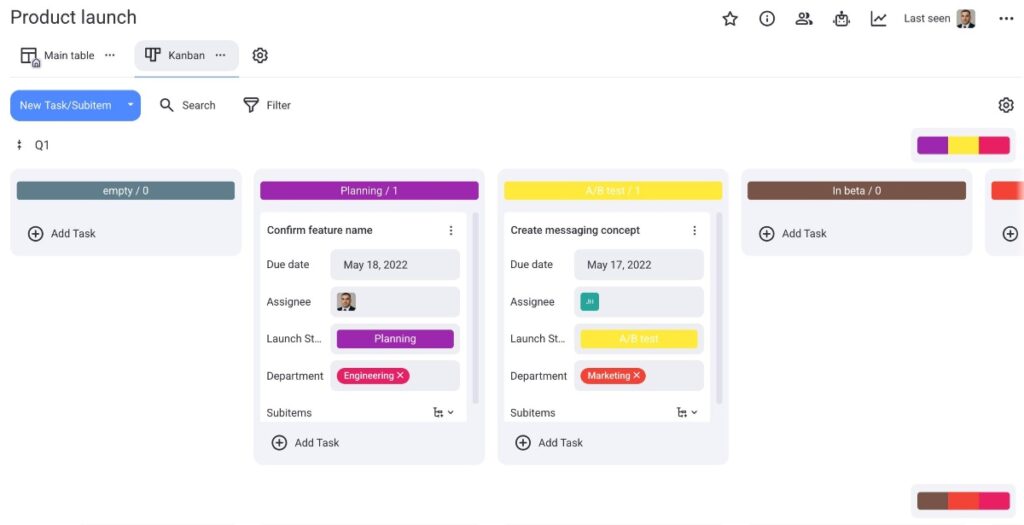
Kanban View #
Kanban is a well-known project management technique for managing work by prioritizing tasks and demands based on available capacity.
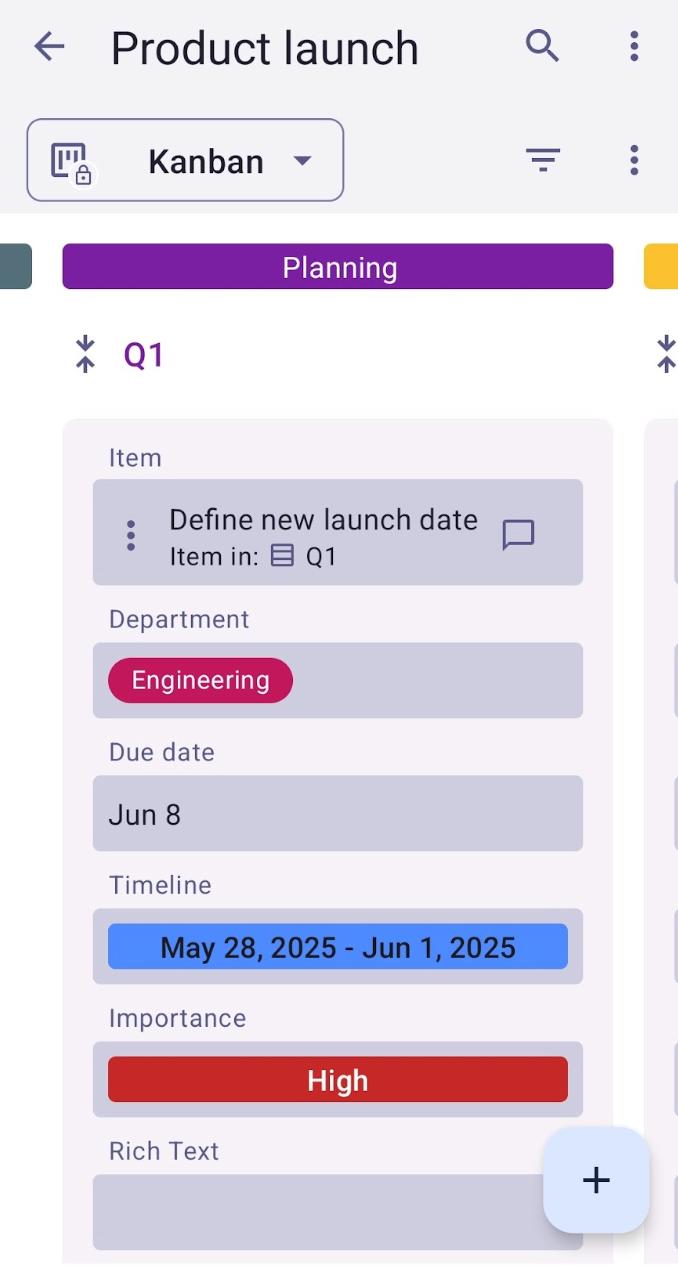
Here’s the example of the Kanban view for the Product Launch Board Template:
In Kanban View, swipe left to see all the Items on the Board grouped by Status, and drag and drop the Item to change its Status.
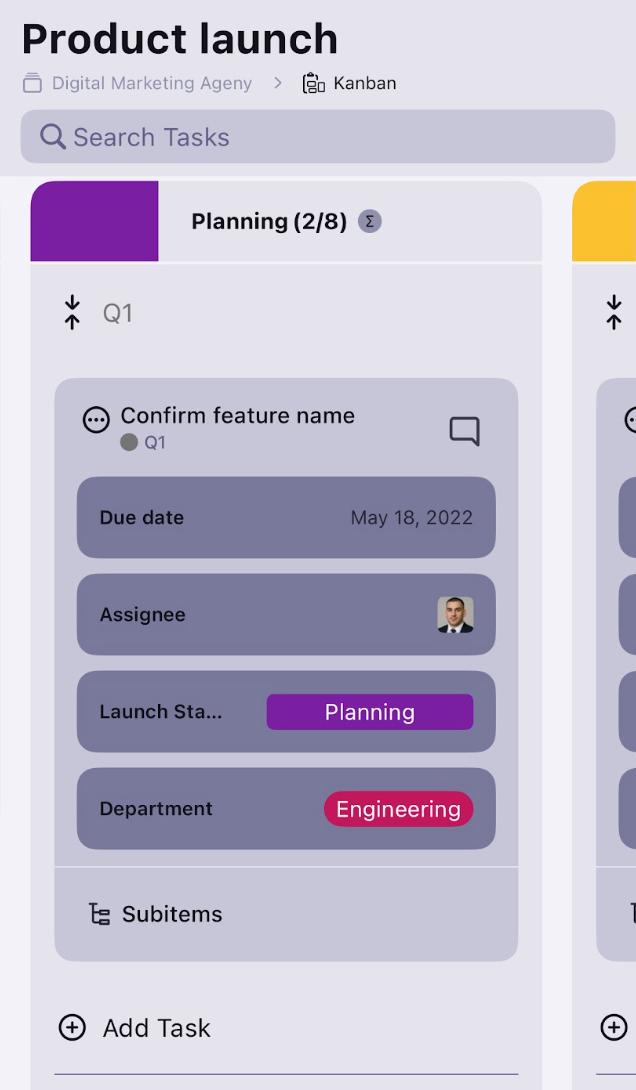
Swipe left to see all the Items on the Board grouped by Status.
To learn more about the Kanban view in Plaky, visit our article.
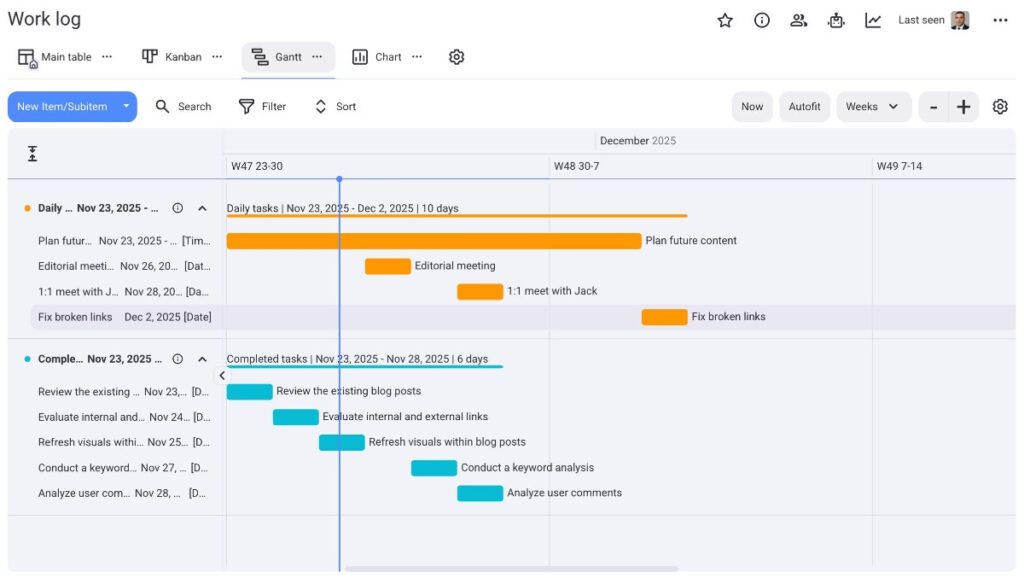
Gantt view #
The Gantt view gives you a visual representation of your tasks as horizontal bars on a timeline.
Here’s the example of the Gantt view for the Work Log Board Template:
COMING SOON
COMING SOON
To learn more about the Gantt View, visit our article.
Chart view #
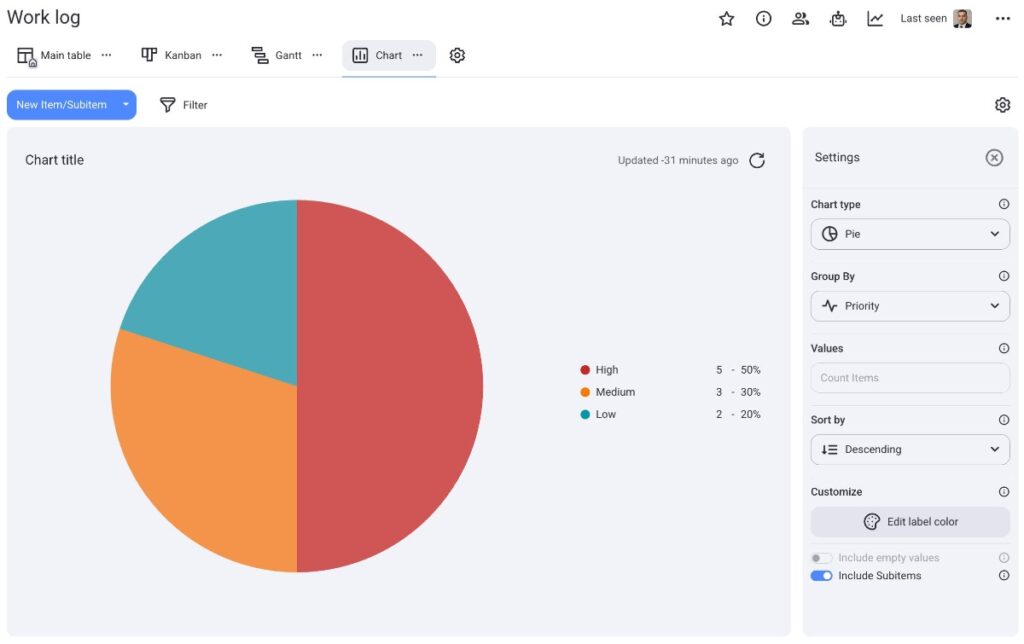
With the Chart view, you can visualize projects and tasks by using interactive pie and bar charts.
Here’s an example of a pie chart in Plaky:
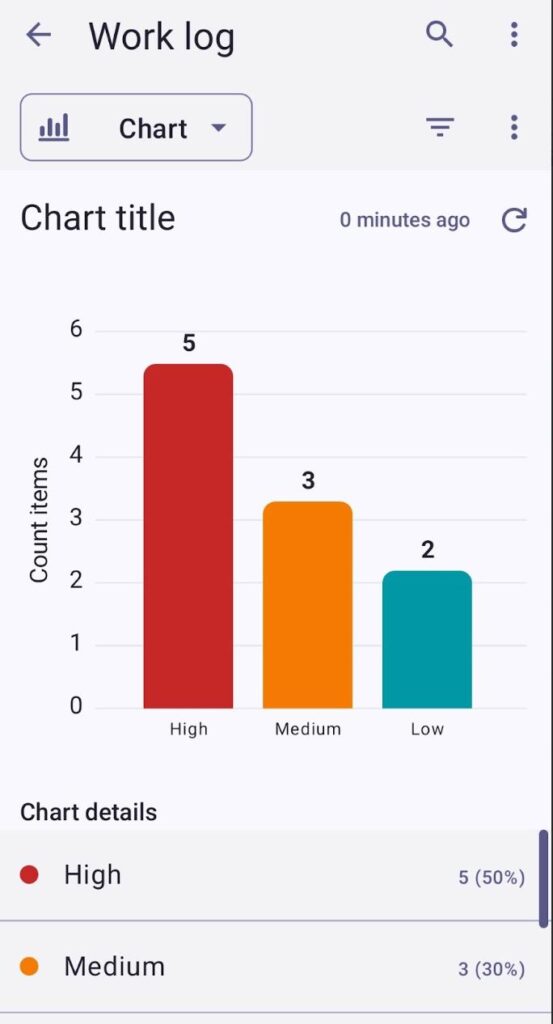
Here’s an example of a bar chart in Plaky:

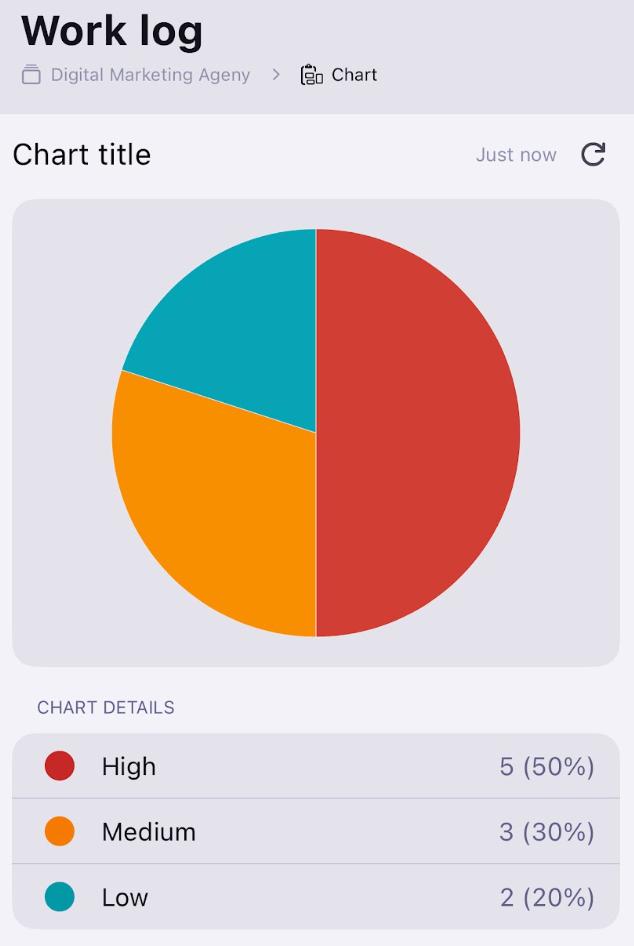
Here’s an example of a pie chart in Plaky on iOS:
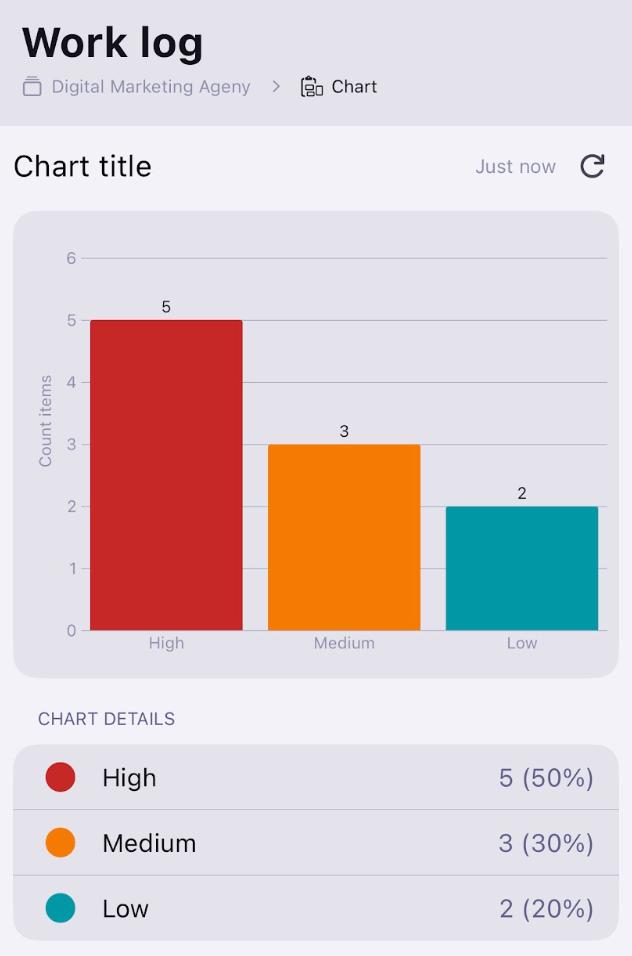
Here’s an example of a bar chart in Plaky on iOS:
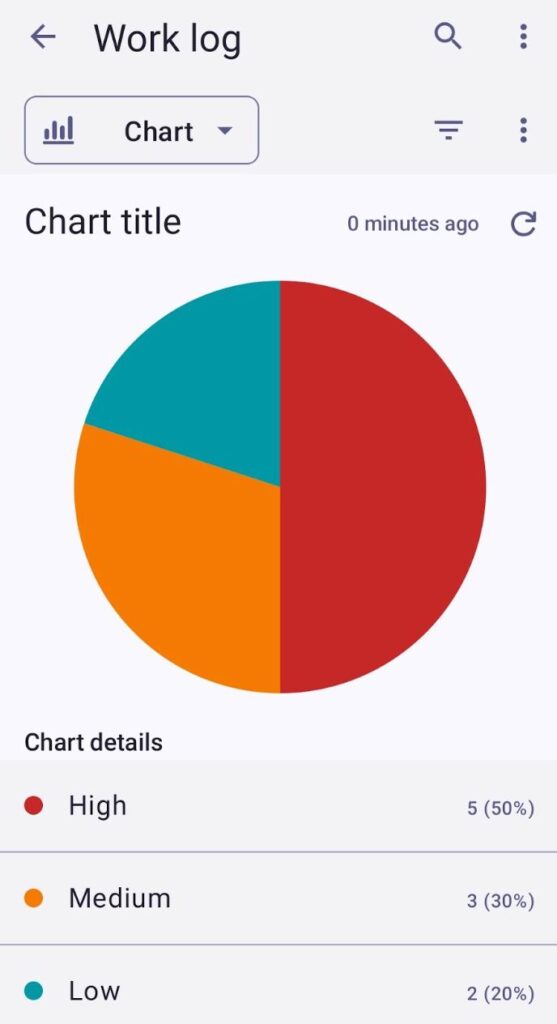
Here’s an example of a pie chart in Plaky on Android:
Here’s an example of a bar chart in Plaky on Android:
To learn more about the Chart View, visit our article.
Add Board view #
- Click on the + button
- Select new view type
- Tap on Board view configuration in the upper right corner
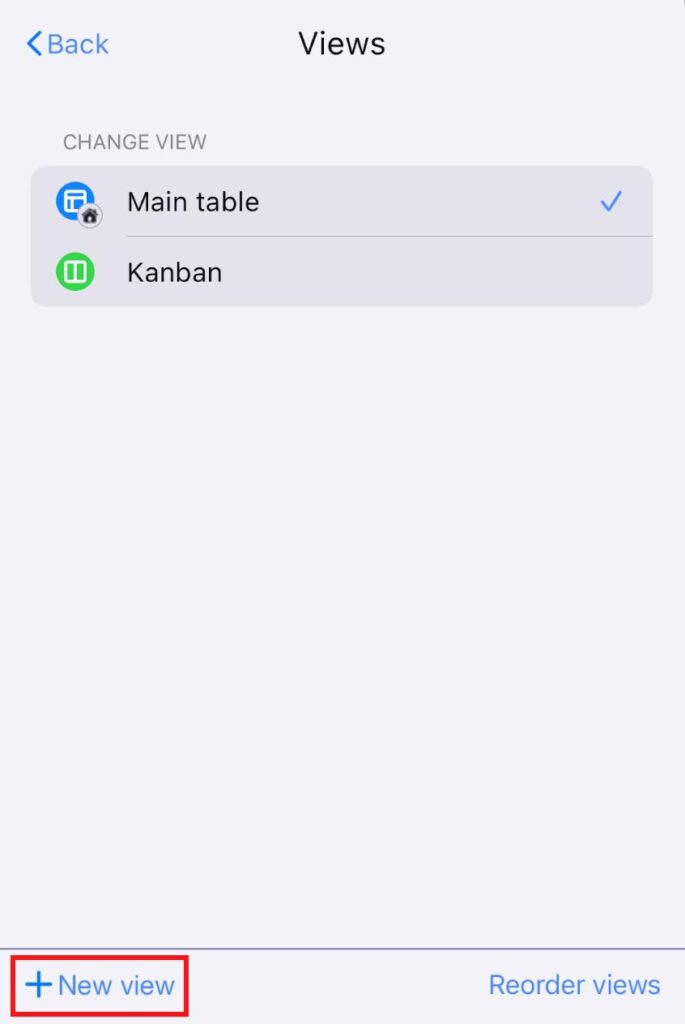
- Tap on Views
- Tap on + New view
- Enter the view name
- Toggle the switch if you’d like to make the view private
- Choose the view type
- Tap on Create to complete the action
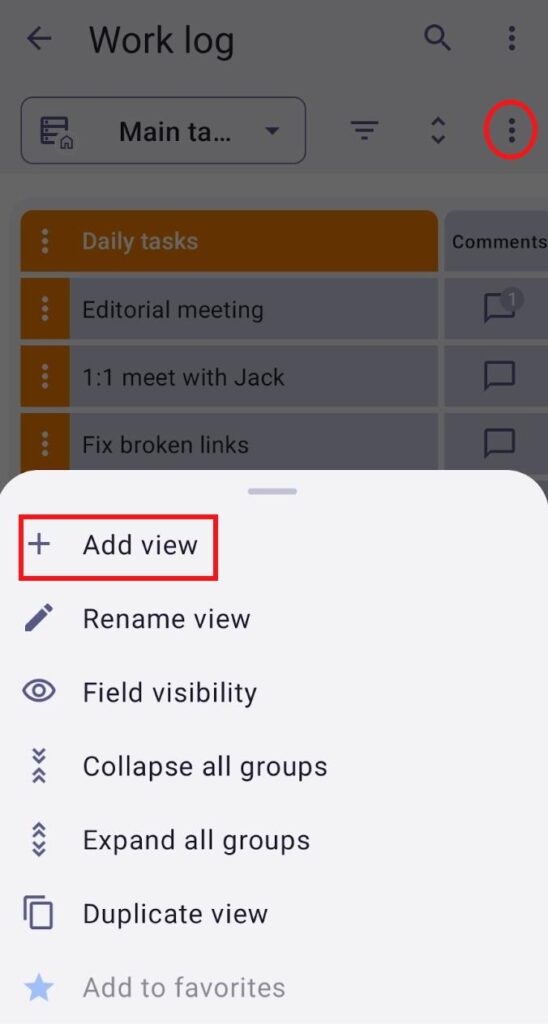
- Tap on the three dots in the top right corner
- Select Add view
- Type the View name
- Choose the View type
- Check the box if you’d like to make the view private
- Tap Create to complete the action
Rename View #
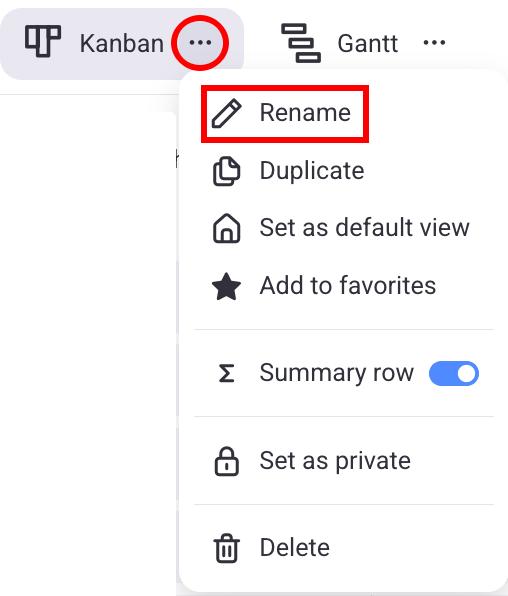
- Click on the three dots next to the View you want to rename
- Select Rename
- Type new name
- Press Enter/Click outside the designated area to complete the action
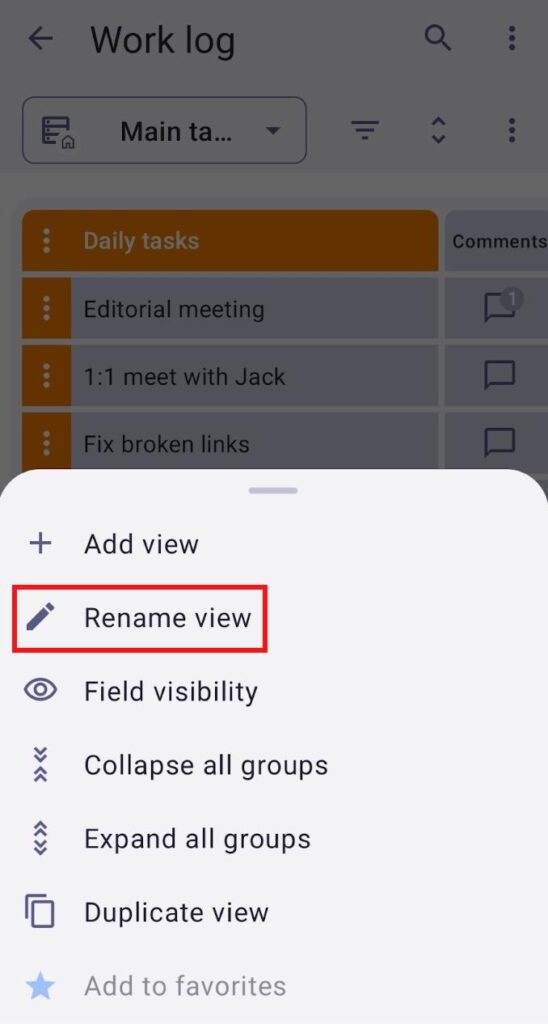
- Tap on Board view configuration in the upper right corner
- Tap on Views
- Swipe right on a view you want to rename
- Tap on Rename view
- Enter a new View name
- Tap Done to complete the action
- Open your preferred view
- Tap on the three dots in the top right corner
- Tap on Rename view
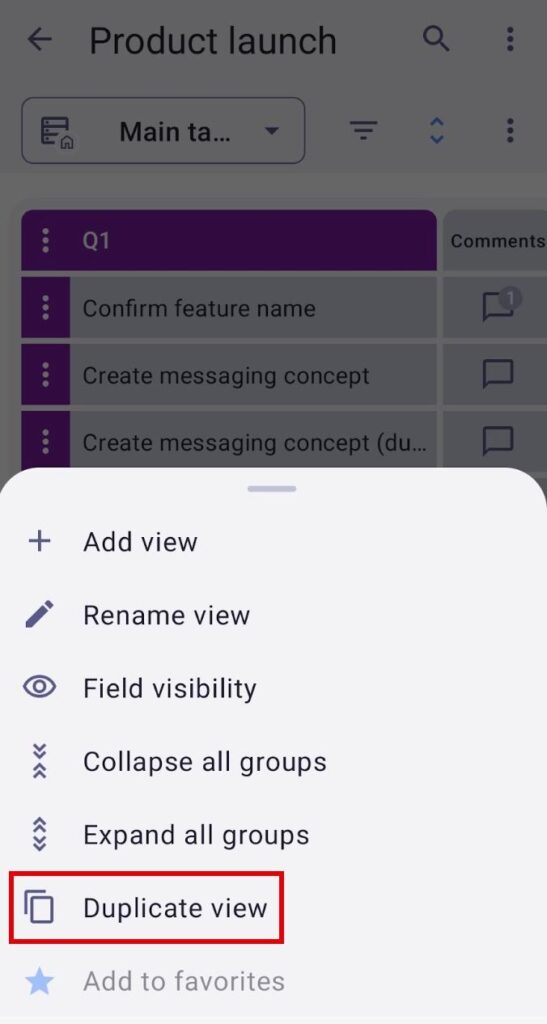
Duplicate View #
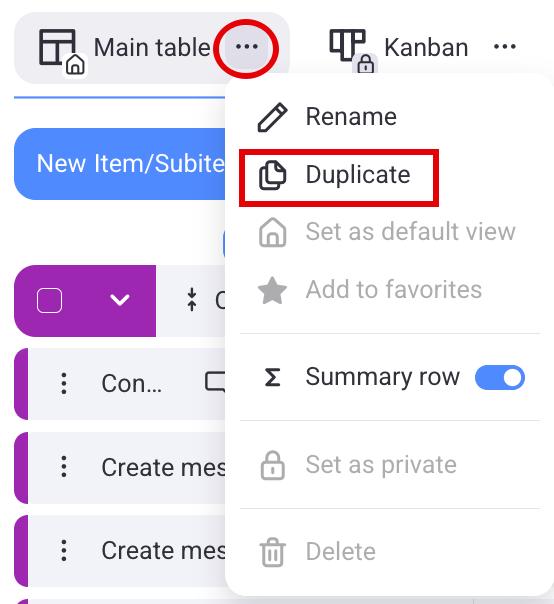
- Click on the three dots next to the View you want to rename
- Select Duplicate to complete the action
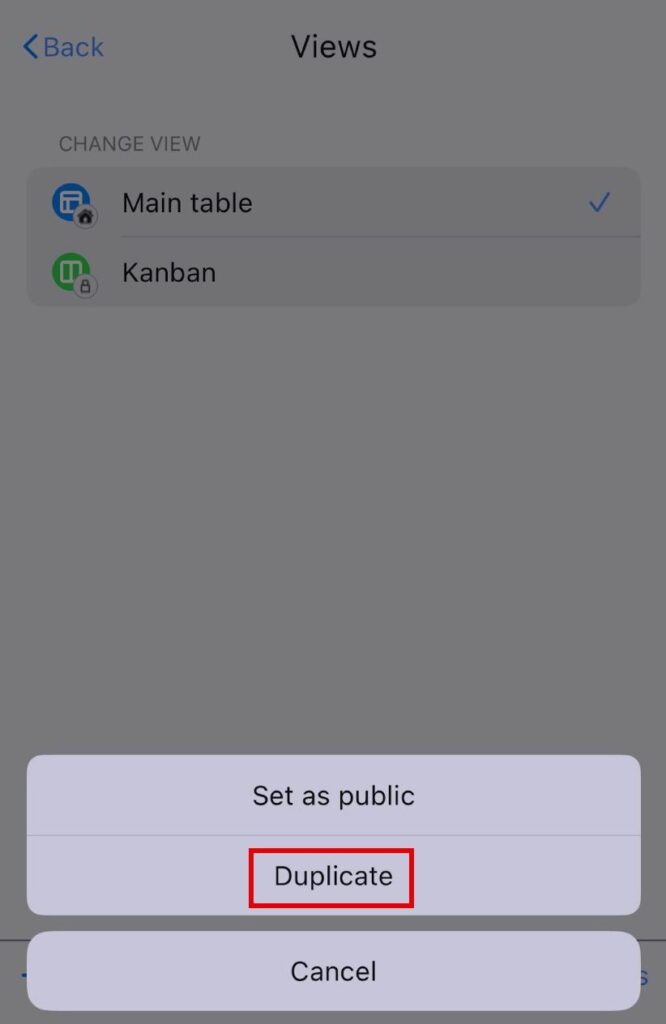
- Tap on Board view configuration in the top right corner
- Tap on Views
- Swipe left on a view
- Tap on More options
- Select Duplicate
- Open your preferred view
- Tap on the three dots in the top right corner
- Tap on Duplicate
Private View #
This feature is available on Pro and Enterprise plans.
Private Views offer a dedicated, personal view exclusive to its creator. This allows the View creator to track task statuses, updates, and projects without affecting other Board users.
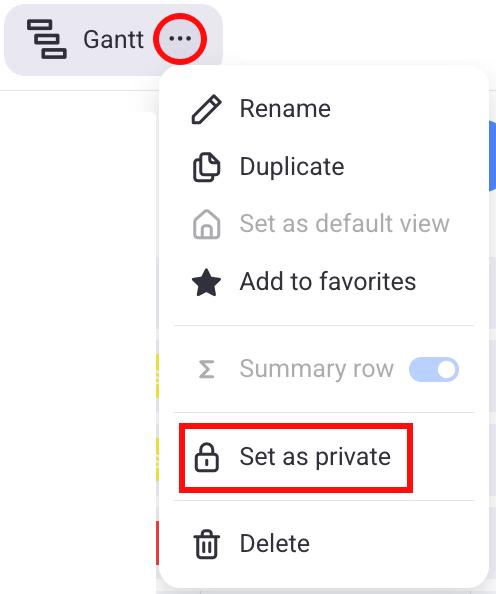
Turn public View to private #
- Click on the three dots next to the View
- Click on Set as private
- Tap on Board view configuration in the upper right corner
- Tap on Views
- Swipe left on a View
- Tap on More options
- Select Set as private
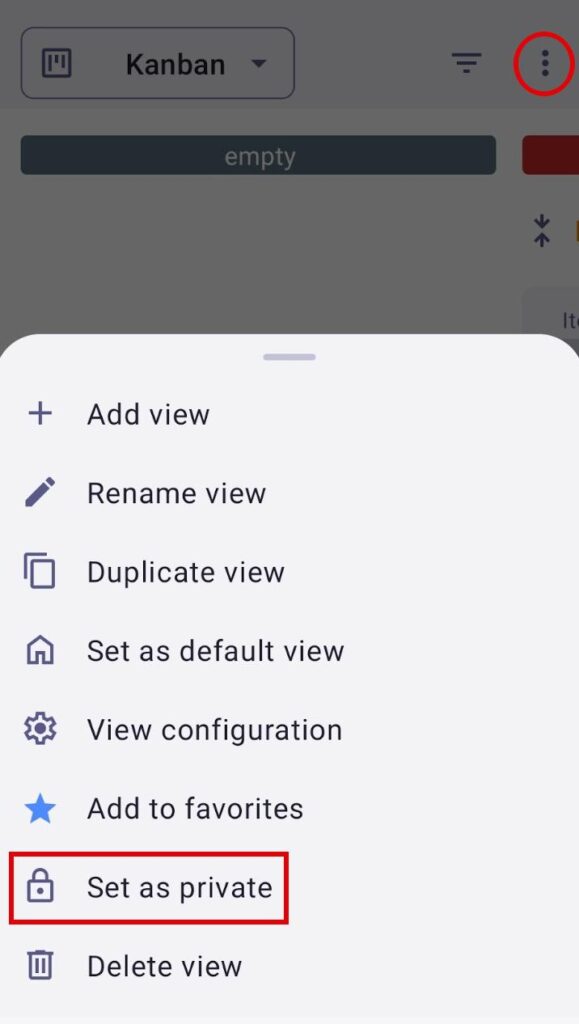
- Tap on the three dots in the top right corner
- Tap on Set as private
Private views are visible only to the view creator or to the person who changed the view’s privacy setting (from public to private), while public views remain visible to other users.
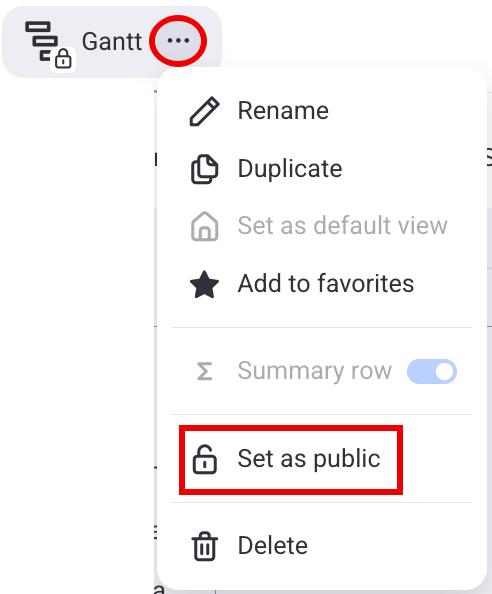
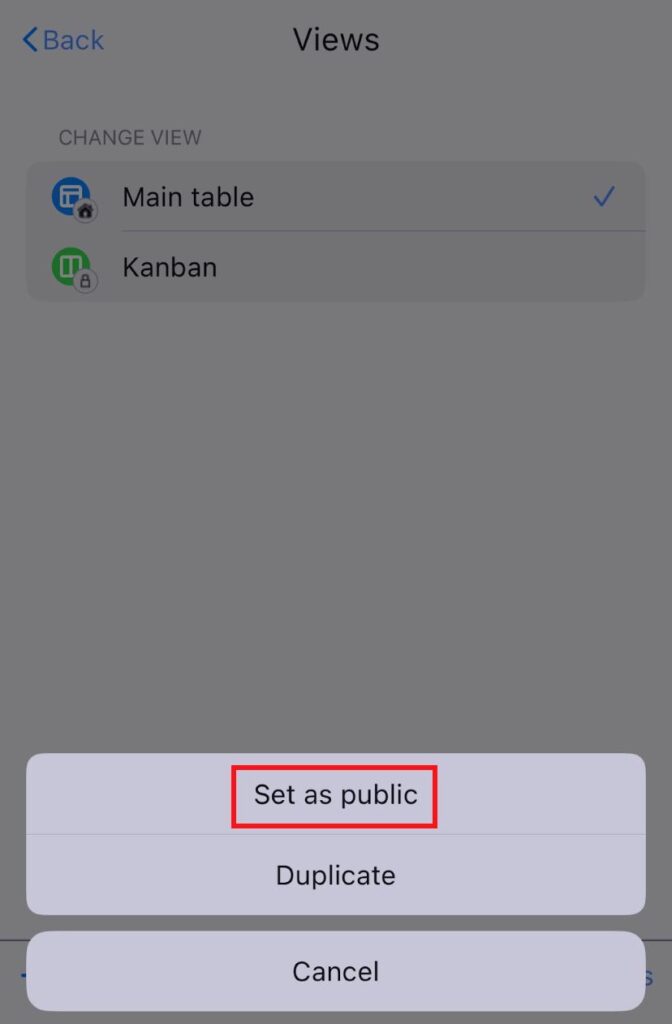
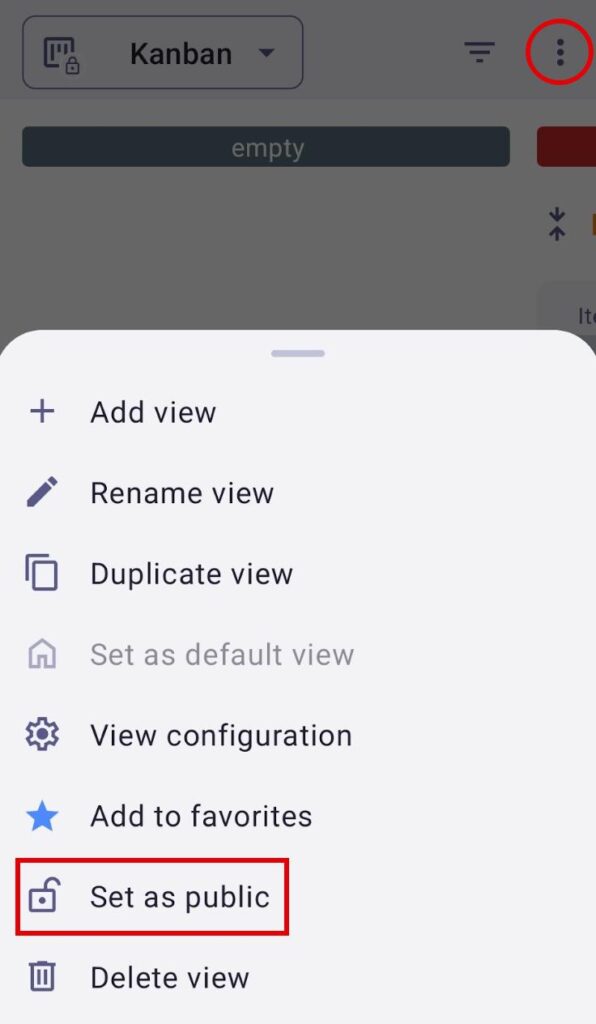
Turn private View to public #
- Click on the three dots next to the View
- Click on Set as public
- Tap on Board view configuration in the upper right corner
- Tap on Views
- Swipe left on a View
- Tap on More options
- Select Set as public
- Tap on the three dots in the top right corner
- Tap on Set as public
The Private View feature is available only to Admins and Members. If the Board permissions are set to anything other than Edit everything, users who are not Board owners are allowed to create private views, rename, duplicate, or delete their existing private views, but cannot turn them into public views.
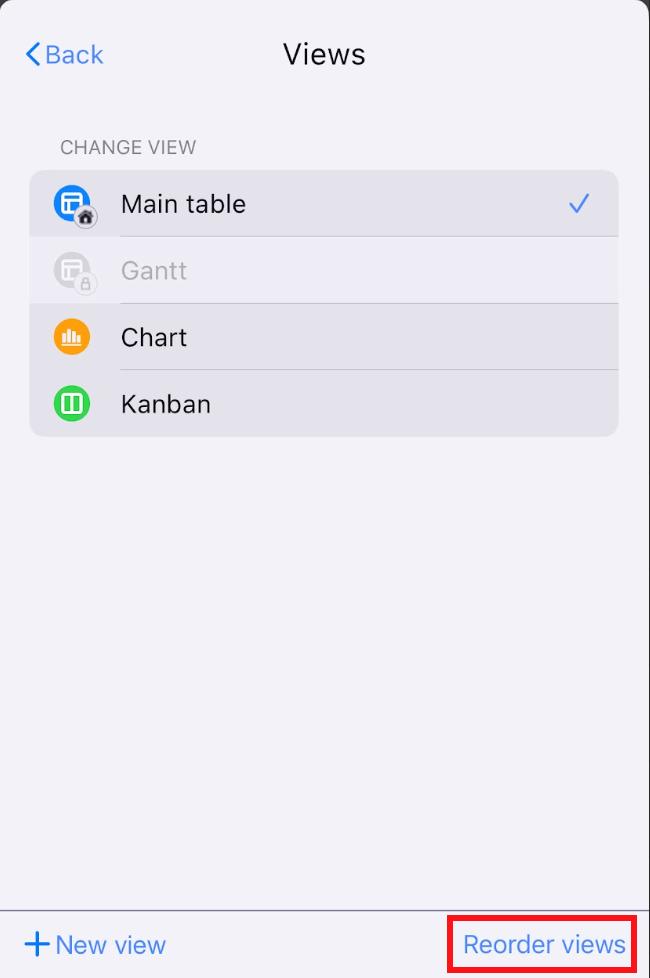
Reorder Views #
- Click and hold on a view
- Drag and drop the view where you want
- Tap on Board view configuration in the upper right corner
- Tap on Views
- Tap on Reorder views
- Drag and drop the views to reorder them
- Tap Done to complete the action
COMING SOON
The default View will still be the first View.
Both Admins and Members can sort Views, unless their access level on the Board is restricted due to specific Board permissions set by the Board Owner.
Reordering views does not include users’ private views, as the new order is applied and visible to all users.
Add a favorite View #
- Click on the three dots next to the View
- Click on Add to favorites
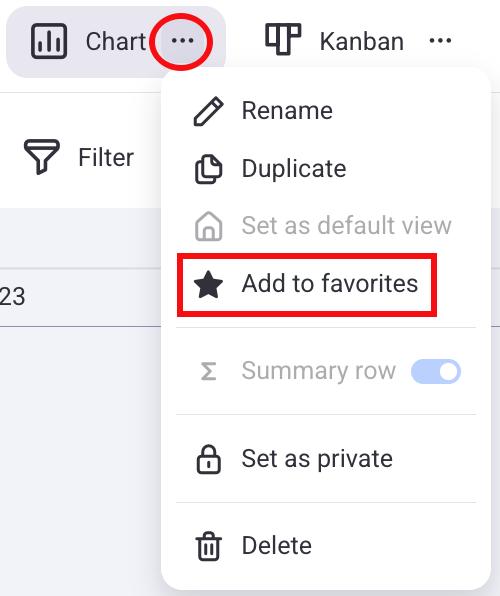
This View will be placed next to the default view, and a star icon will appear next to its name. To remove a View from favorites, just click on the three dots next to it and select Unfavorite.
- Tap on Board view configuration in the upper right corner
- Tap on Views
- Swipe right on a View you want
- Tap on Add to favorites
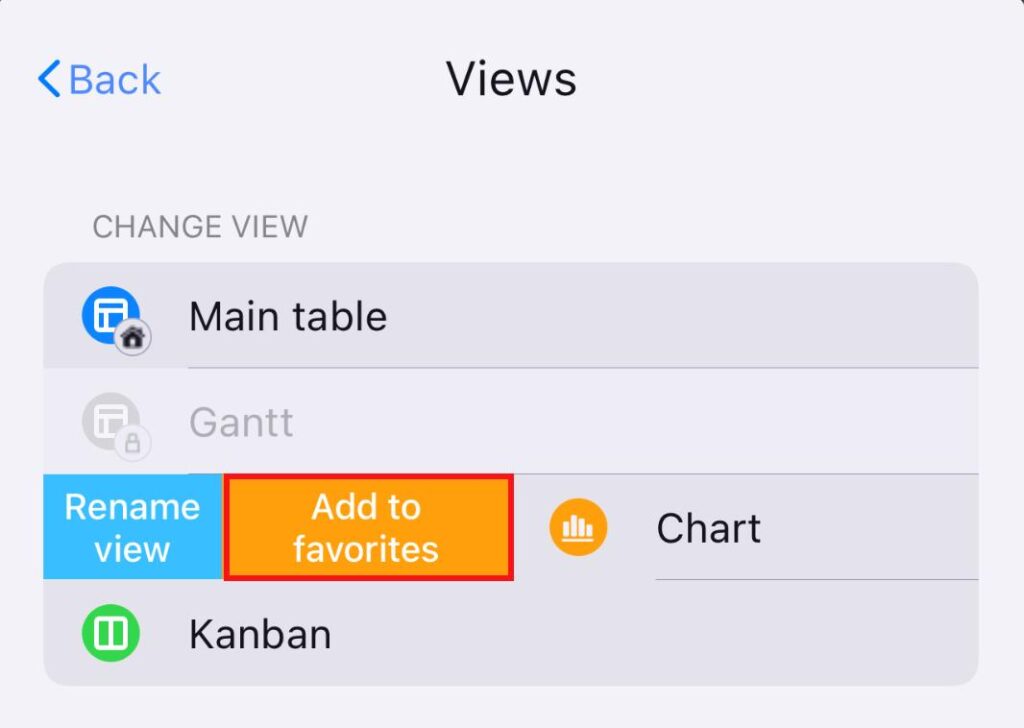
This View will be placed next to the default view, and a star icon will appear next to its name. To remove a View from favorites, swipe it to the left again and select Unfavorite.
- Tap on the three dots in the top right corner
- Tap on Add to favorites
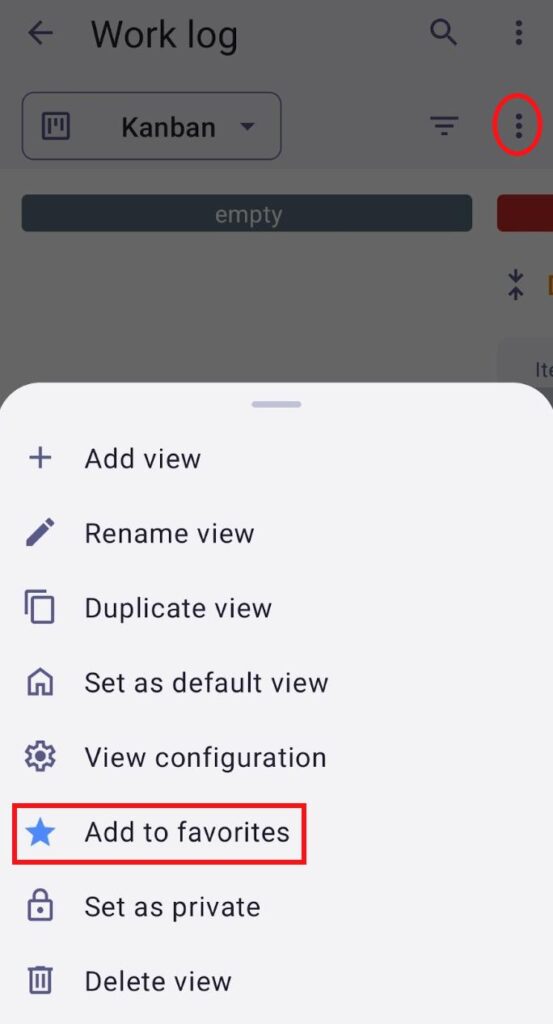
This View will be placed next to the default view, and a star icon will appear next to its name. To remove a View from favorites, tap the three dots next to it, then select Unfavorite.
When a View is set as a favorite, the change is visible only to the user who set the favorite View and won’t affect other users on the Board. The default view cannot be marked as a favorite.
Set default View #
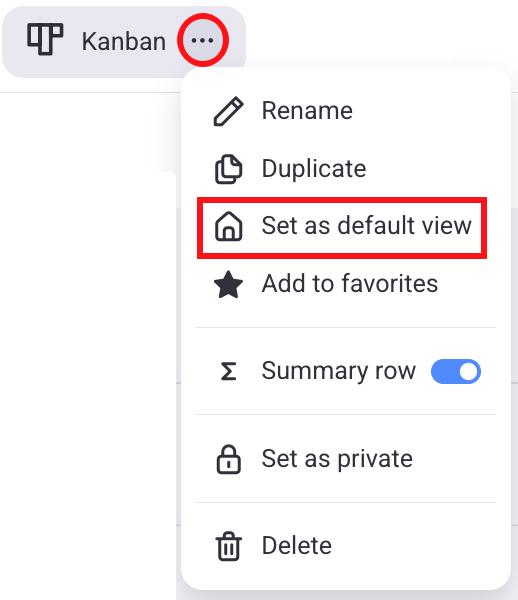
Every Board must include at least one View. When a Board is created, a Table view is automatically generated and designated as the main (default) view. However, any other View on the Board can be set as a default View instead. The default view cannot be set as a Favorite view. Only the Board Owner can set a View as the default.
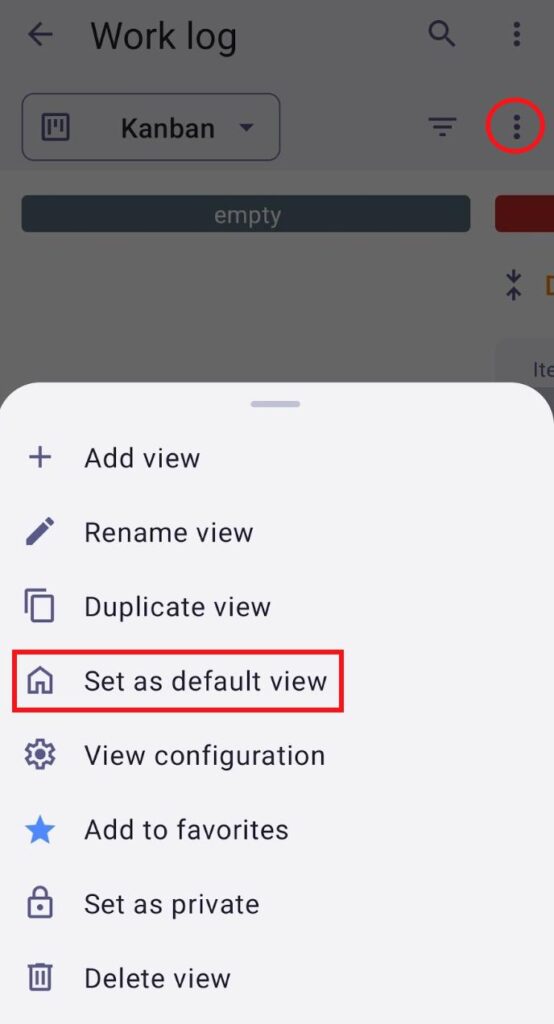
- Click on the three dots next to the View
- Click on Set as default view
- Tap on Board view configuration in the upper right corner
- Tap on Views
- Swipe right on a View you want
- Tap on Set as default view
- Tap on the three dots in the top right corner
- Tap on Set as default view