
Create and Configure Custom Fields on Android App
2 Min. Lesezeit
Custom fields give structure and help you better organize Items in Item groups on your Board. Each Field represents some entity relevant to the project, or type of content presented on the Board (e.g. Event planning Board can have these Fields: Person responsible, Team, Reviewer, Date, Cost, Status…).
Please note that these are the default names for Fields in this Board Template. Custom field names can be changed in the web app.
To add Custom fields:
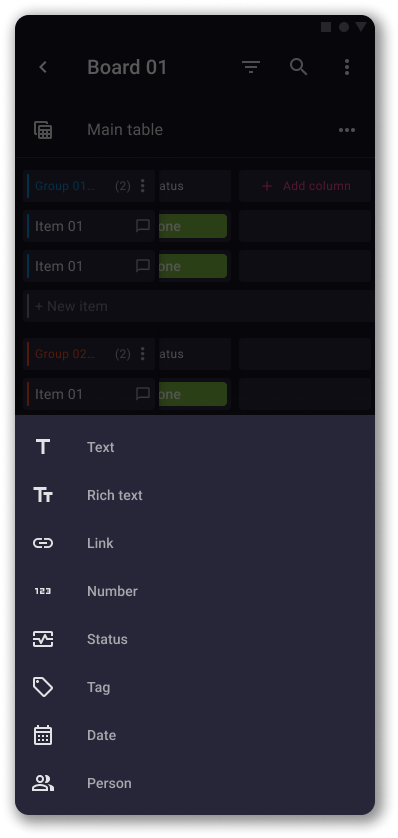
- Swipe to the right to the last Field in the Item group and tap on +New Field
- Choose the Field type to complete the action
Wenn der ausgewählte Feldtyp Zeitleiste ist:
- Wähle das Startdatum aus und tippe auf Speichern
- Set the start time and tap OK
- Wähle das Enddatum aus und tippe auf Speichern
- Set the end time and tap OK
- Tippe auf Speichern, um die Aktion abzuschließen
After adding a new Field, you can further customize it according to your needs, or configure already existing Fields.
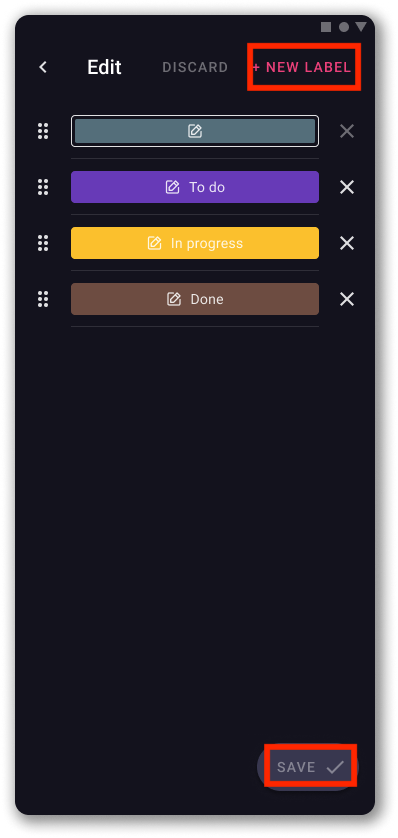
Configure Status Field #
- Tippe auf das Statusfeld
- Tippe auf Bearbeiten
- Tippe auf eine beliebige Beschriftung, um sie umzubenennen oder die Farbe zu ändern
- Tippe auf +Neue Beschriftung, um eine neue Beschriftung hinzuzufügen
- Save changes
Configure tag #
- Tippe auf das Tag-Feld
- Tippe auf Bearbeiten
- Tippe auf eine beliebige Beschriftung, um sie umzubenennen oder die Farbe zu ändern
- Tippe auf +Neues Tag, um ein neues Label hinzuzufügen
- Save changes

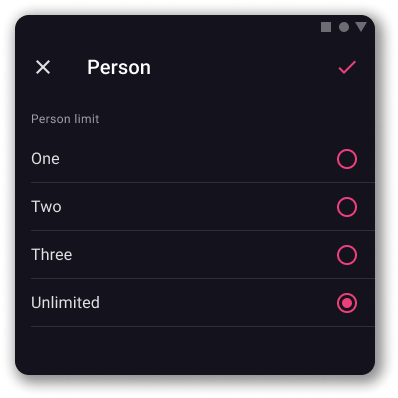
Configure Person Field #
- Tap on the Person Field
- Wähle das Personenlimit (eins, zwei, drei oder unbegrenzt)
- Tippe auf das Häkchen-Symbol in der oberen rechten Ecke, um die Aktion abzuschließen
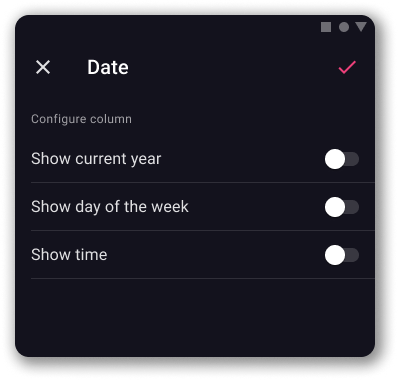
Configure Date Field #
- Tap on the Date Field
- Toggle the radio button to:
– Show/Hide current year
– Show/Hide day of the week
– Show/Hide time - Tippe auf das Häkchen-Symbol in der oberen rechten Ecke, um die Aktion abzuschließen
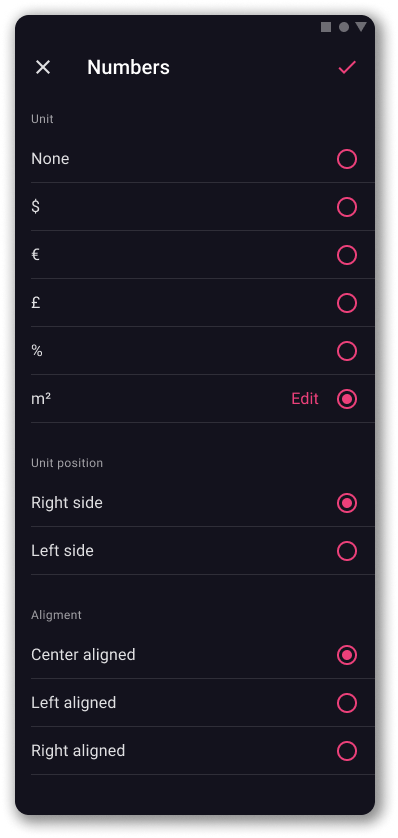
Configure Number Field #
- Tap on the Number Field
- Wähle die Einheit aus oder gib sie ein
- Wähle die Einheitenposition aus
- Wählen die Ausrichtung aus
- Tippe auf das Häkchen-Symbol in der oberen rechten Ecke, um die Aktion abzuschließen
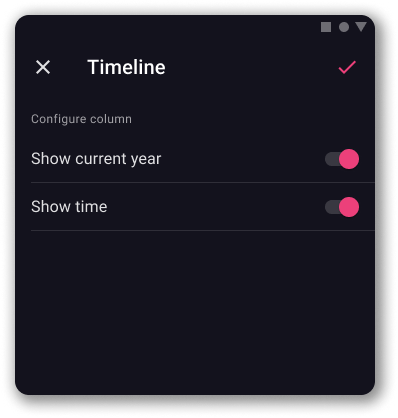
Configure Timeline Field #
- Tap on the Timeline Field
- Toggle the radio button to show/hide current year
- Toggle the radio button to show/hide time
- Tippe auf das Häkchen-Symbol in der oberen rechten Ecke, um die Aktion abzuschließen
War der Artikel hilfreich?
Thank you! If you’d like a member of our support team to respond to you, please drop us a note at support@plaky.com