Champs du tableau
Les champs représentent les informations relatives à l’Élément (projet ou tâche) sur le Tableau. Par exemple, ils peuvent indiquer le statut actuel d'une tâche ou sa date d'échéance. Les champs sont créés et gérés au niveau du Tableau, et toute modification (ajout, modification, suppression) affecte tous les Éléments/Groupes d'éléments du Tableau.
Voici comment ajouter un nouveau champ :
- Ouvrez votre tableau
- Cliquez sur l'icône + à droite
- Sélectionnez le type de champ
- Faites glisser vers la gauche pour afficher le dernier champ
- Appuyez sur l'icône +
- Sélectionnez le type de champ
- Appuyez sur Ajouter pour terminer l'action
- Faites glisser vers la gauche pour afficher le dernier champ
- Appuyez sur +Ajouter un champ
- Sélectionnez le type de champ
Types de champs #
Plaky vous permet de choisir parmi plusieurs types de champs. Examinons-les plus en détail.
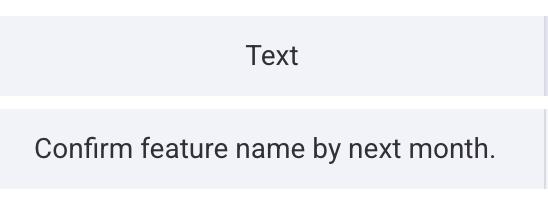
Texte #
Le champ texte vous permet d'ajouter des informations textuelles concernant une tâche ou un projet spécifique. Par exemple, si vous rédigez un article, vous pouvez en ajouter le plan.
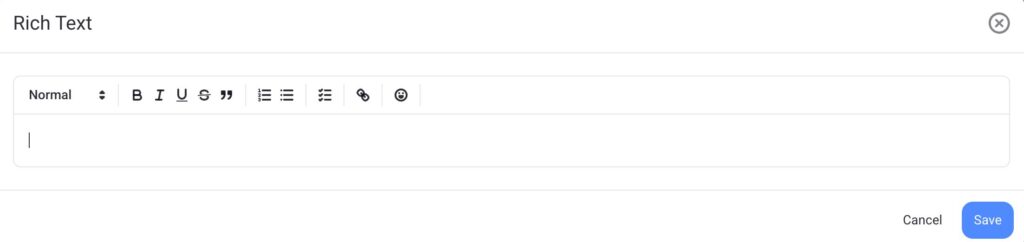
Texte enrichi #
Grâce au champ de texte enrichi, vous pouvez ajouter des fichiers texte et les transférer vers différents éditeurs de texte, sur différents processeurs et systèmes d'exploitation. Si vous souhaitez prendre plus de temps pour créer le fichier texte, vous pouvez l'enregistrer comme brouillon et y revenir plus tard.
De plus, vous pouvez utiliser le champ de texte enrichi pour mentionner d'autres utilisateurs ou équipes. Voici comment procéder :
- Ouvrez l'éditeur de texte enrichi
- Saisissez @ et saisissez le nom de l'équipe ou de l'utilisateur que vous souhaitez mentionner
- Cliquez sur Enregistrer
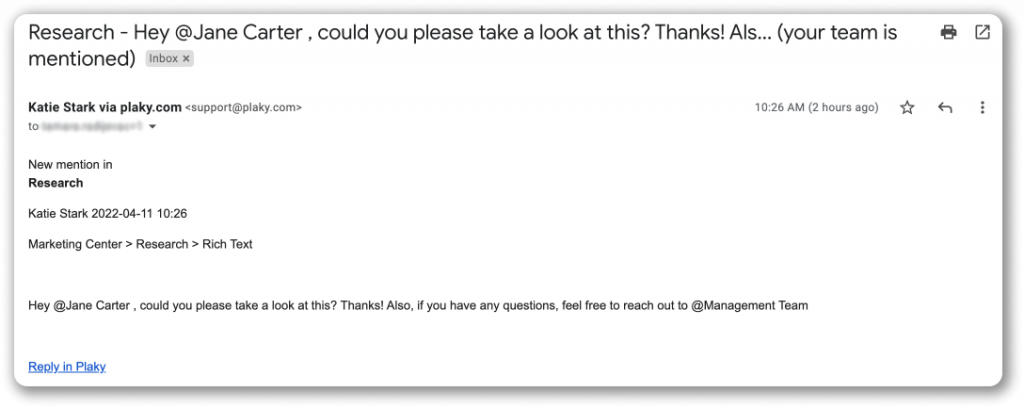
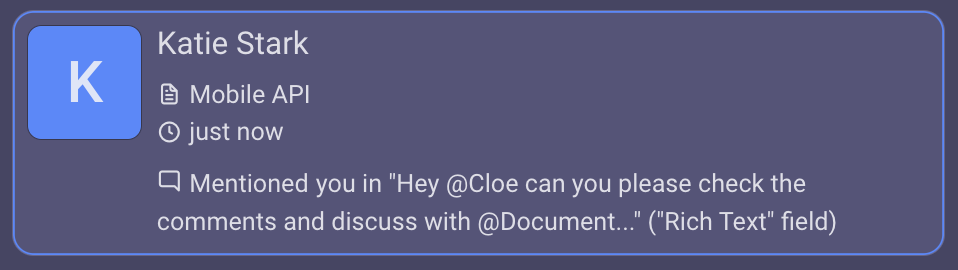
Une fois cette étape effectuée, l'utilisateur ou l'équipe mentionnée recevra une notification. Cette notification affichera le contenu et le lien vers le champ de texte enrichi.
Lien
Le champ Lien vous permet d'associer n'importe quel site web à un article. Vous pouvez ainsi personnaliser chaque article avec l'adresse web et le texte qui s'afficheront dans le champ.
Voici comment ajouter des liens :
- Survolez le champ de lien
- Cliquez sur l'icône +
- Saisissez l'adresse Web et le texte à afficher dans la fenêtre modale qui apparaît
- Cliquez sur Enregistrer pour terminer le processus
- Appuyez sur le champ de lien
- Saisissez l'adresse Web et le texte à afficher dans la fenêtre modale qui apparaît
- Appuyez sur Enregistrer pour terminer le processus

- Appuyez sur le champ Lien
- Saisissez l'adresse Web et le texte à afficher dans la fenêtre modale qui apparaît
- Appuyez sur Enregistrer pour terminer le processus
Nombres #
Le champ Nombre vous permet d’ajouter des valeurs numériques relatives à votre projet ou à votre tâche. Par exemple, vous pouvez indiquer le nombre d’heures travaillées ou le montant des dépenses engagées pour le projet.
Lorsque vous ajoutez le champ Nombre, vous pouvez configurer l'unité à afficher. Voici comment faire :
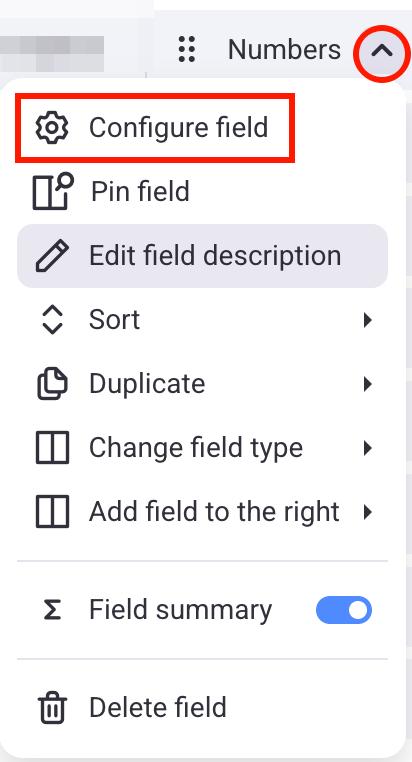
- Cliquez sur la flèche à côté du champ Nombre
- Sélectionnez le champ Configurer
- Sélectionnez l'unité, la position de l'unité et l'alignement
- Cliquez en dehors de la zone désignée pour terminer l'action
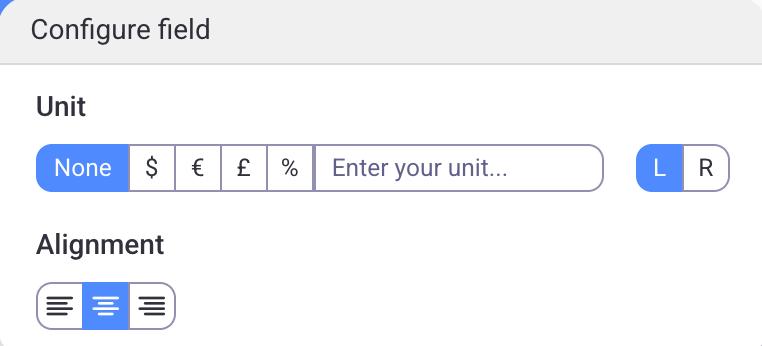
Par exemple, si le champ de l'article doit représenter une somme d'argent, l'unité peut être définie par un symbole de devise : $, € ou £. S'il ne correspond à aucune des options listées, une unité personnalisée peut être saisie dans le champ prévu à cet effet.
De plus, vous pouvez ajuster l'alignement et positionner la valeur unitaire à gauche ou à droite.
- Appuyez sur la flèche à côté du champ Nombre
- Appuyez sur Configurer le champ
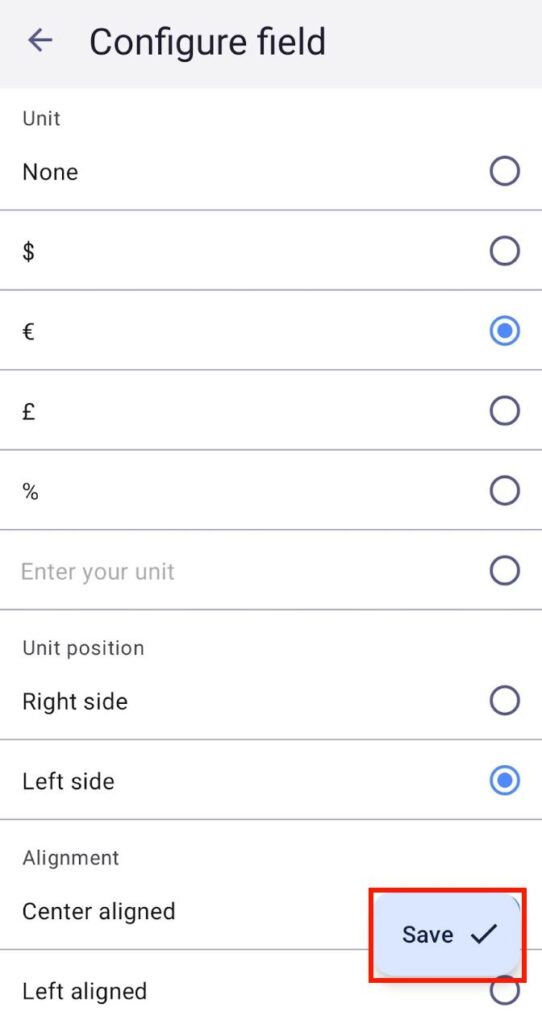
- Sélectionnez l'unité, la position de l'unité et l'alignement
- Appuyez en dehors de la zone désignée pour terminer l'action

- Appuyez sur le nom du champ (par exemple, nombre)
- Appuyez sur Configurer le champ
- Sélectionnez l'unité, la position de l'unité et l'alignement
- Appuyez sur Enregistrer pour terminer l'action
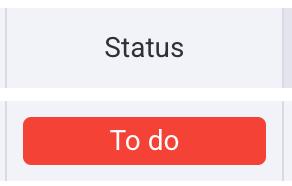
Statut #
Le champ Statut indique l’état actuel de votre projet ou tâche. Vous pouvez par exemple indiquer l’avancement des éléments (à faire, en cours, terminé). Vous pouvez également l’utiliser pour préciser la priorité de la tâche (faible, moyenne, élevée).
Pour plus d’informations sur le champ de statut et ses étiquettes, consultez l’article : Configurer le champ Statut.
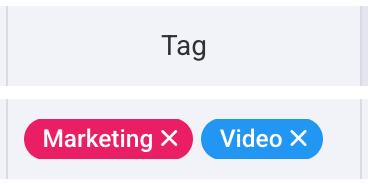
Tag #
Le champ Tag vous permet d’ajouter des mots-clés importants à un élément. Ces mots peuvent indiquer les principaux sujets abordés par une tâche ou un projet, une liste des concepts essentiels, ou toute autre notion que vous jugez cruciale pour la tâche en question.
Pour plus d’informations sur le champ des tags, consultez l’article : Configurer les tags.
Pour plus d’informations sur le champ des tags, consultez l’article : Configurer les tags.
Date #
Le champ Date vous permet de définir une date d'échéance pour vos tâches ou tout autre type de délai. Pour ce faire, cliquez sur le champ Date et sélectionnez la date dans le calendrier.
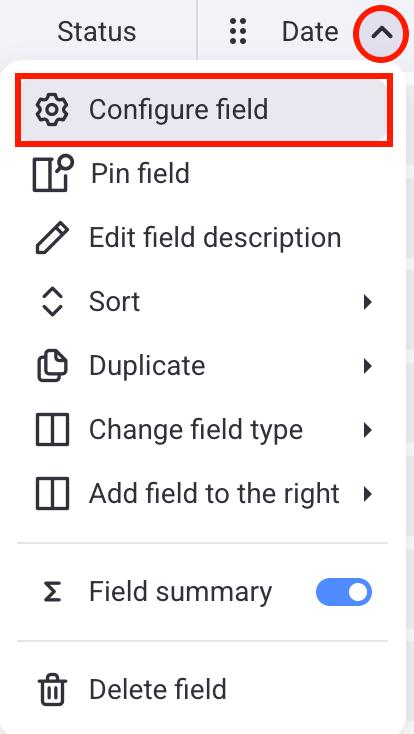
Voici comment configurer le champ Date :
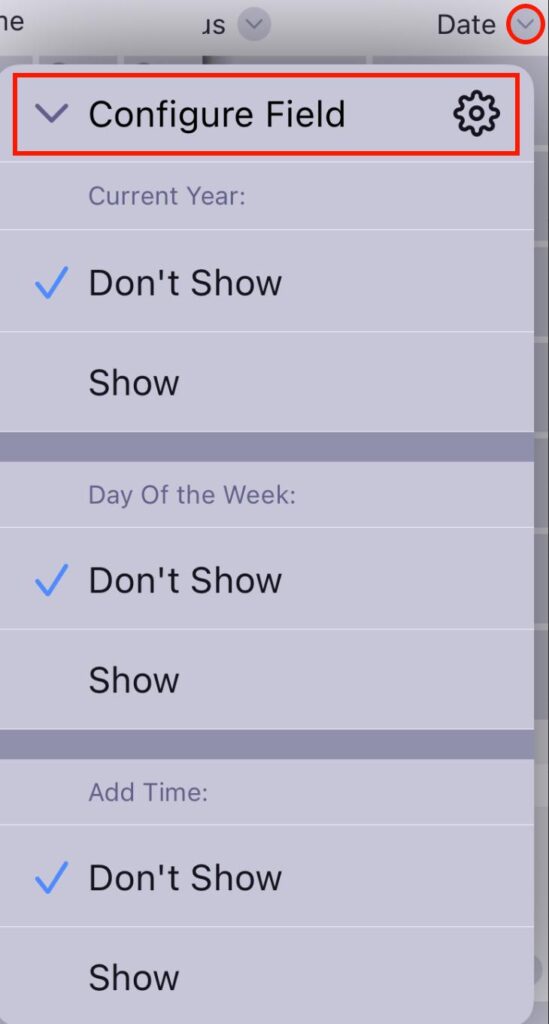
- Appuyez sur la flèche à côté du champ Date
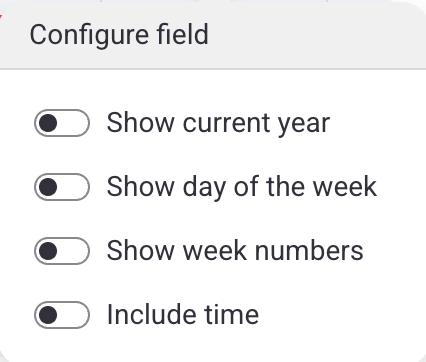
- Sélectionnez Configurer le champ
- Activez ou désactivez les options souhaitées
- Cliquez en dehors de la zone désignée pour terminer l'action
- Appuyez sur la flèche à côté du champ Date
- Appuyez sur Configurer le champ
- Appuyez sur Afficher pour afficher les options souhaitées
- Appuyez en dehors de la zone désignée pour terminer l'action
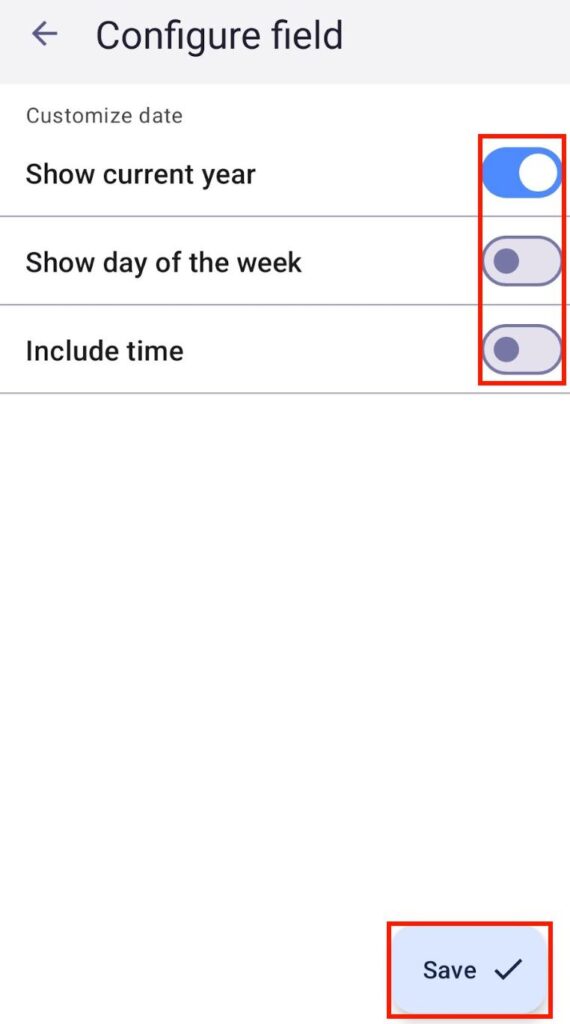
- Appuyez sur le nom du champ (p. ex., date)
- Appuyez sur le Configurer le champ
- Activez ou désactivez les options souhaitées
- Appuyez sur Enregistrer pour terminer l'action
Personne #
Le champ Personne vous permet d'attribuer des tâches aux membres de l'équipe et de voir qui est responsable de chaque tâche. Pour attribuer une personne à ce champ, cliquez simplement dessus et sélectionnez l'utilisateur souhaité.
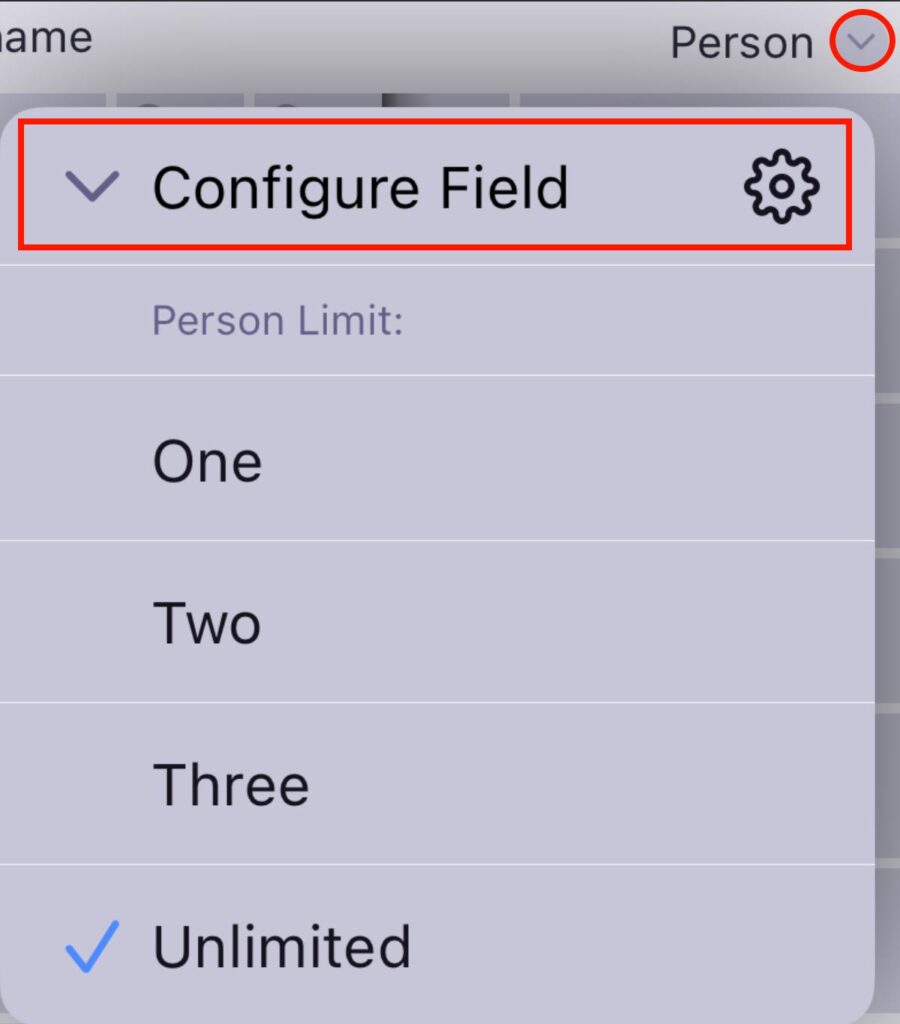
Vous pouvez limiter le nombre d'utilisateurs affectés en configurant le champ Personne. Voici comment procéder :
- Cliquez sur la flèche à côté du champ Personne
- Sélectionnez Configurer le champ
- Sélectionnez l'option que vous souhaitez
- Cliquez en dehors de la zone désignée pour terminer l'action
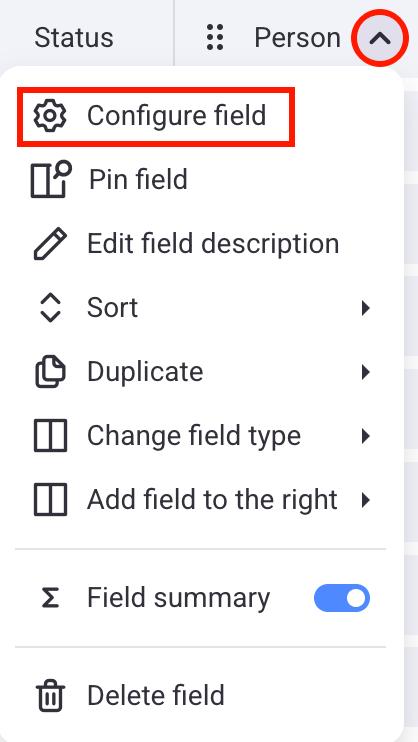
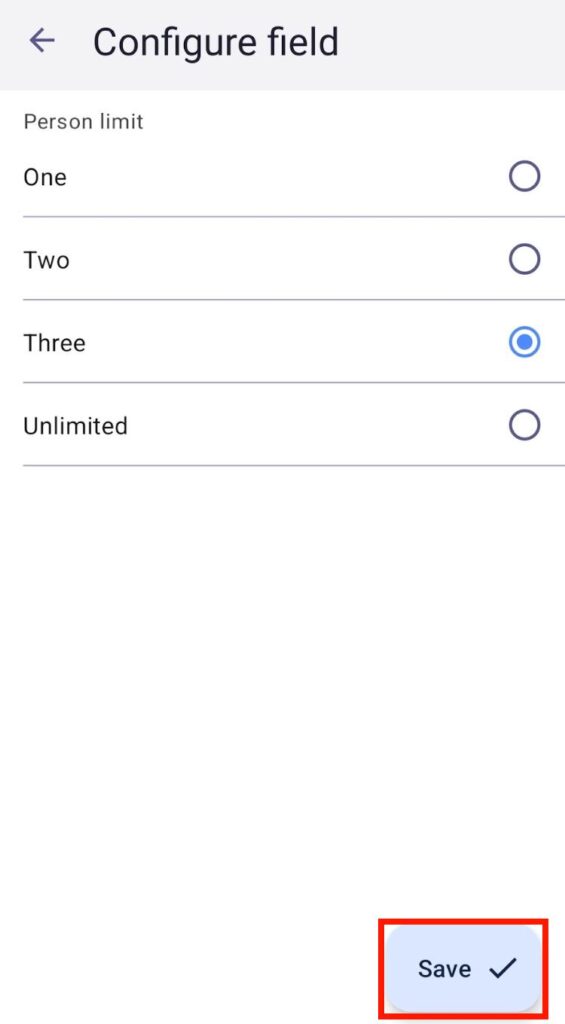
- Appuyez sur la flèche à côté du champ Personne
- Appuyez sur Configurer le champ
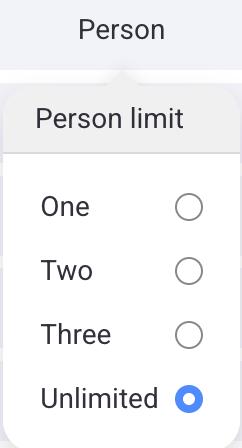
- Sélectionnez la limite de personnes
- Appuyez n'importe où en dehors de la fenêtre modale pour enregistrer les modifications
- Appuyez sur le nom du champ (par exemple, personne)
- Appuyez sur Configurer le champ
- Sélectionnez la limite de personne
- Appuyez sur Enregistrer pour terminer l'action
Frise chronologique #
Cette fonctionnalité est disponible uniquement avec les plans payants.
Le champ Chronologie vous permet de saisir et de suivre des périodes à l'aide de deux sélecteurs de date. Pour ce faire, ajoutez un champ Chronologie, cliquez sur le champ ajouté et sélectionnez l'année et deux dates dans le calendrier, ou saisissez manuellement la date de début et la date de fin.
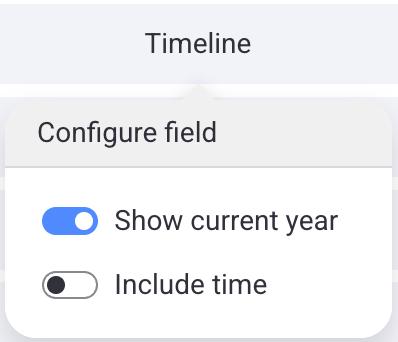
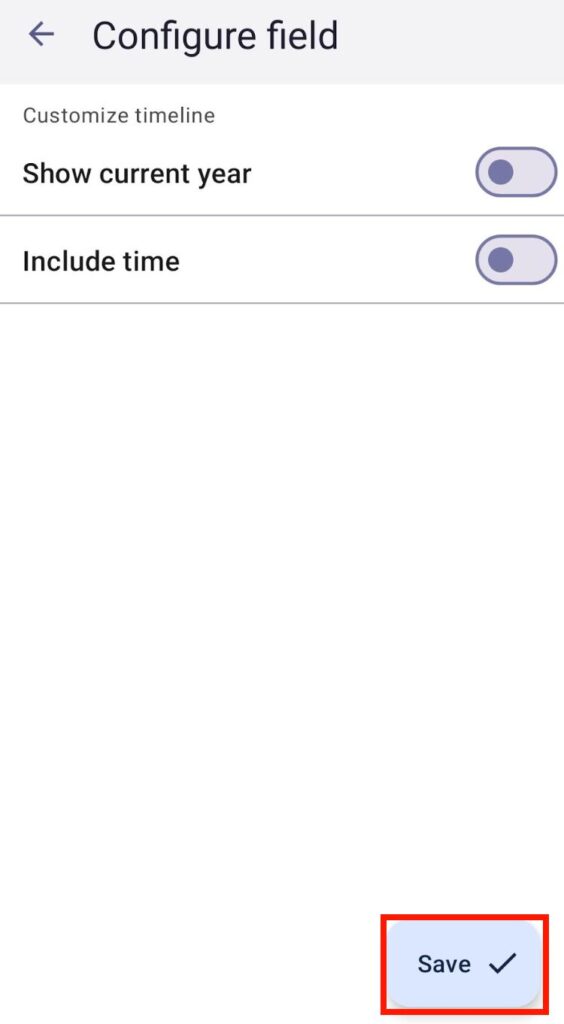
Voici comment configurer le champ Chronologie :
- Cliquez sur la flèche à côté du champ Chronologie
- Sélectionnez Configurer le champ
- Activez ou désactivez les options souhaitées
- Cliquez en dehors de la zone désignée pour terminer l'action

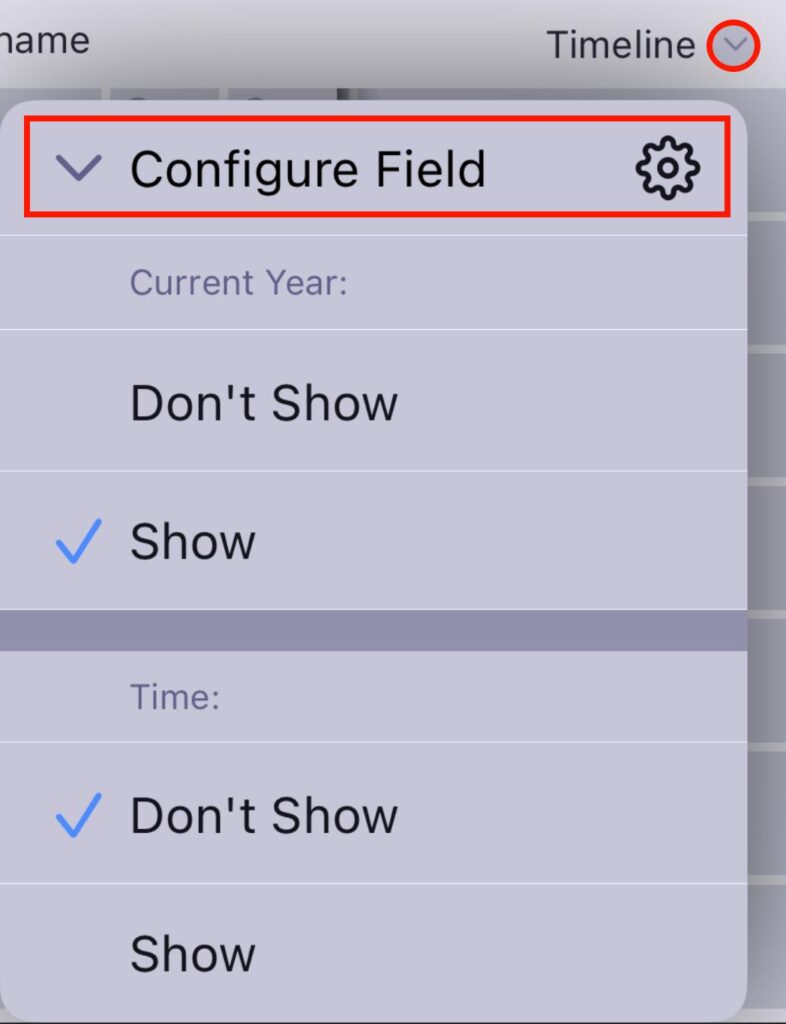
- Appuyez sur la flèche à côté du champ Chronologie
- Appuyez sur Configurer le champ
- Appuyez sur Afficher pour afficher les options souhaitées
- Appuyez n'importe où en dehors de la fenêtre modale pour enregistrer les modifications
- Appuyez sur le nom du champ (p. ex., chronologie)
- Appuyez sur Configurer le champ
- Sélectionnez la limite de personne
- Appuyez sur Enregistrer pour terminer l'action
Ajouter une description de champ #
Pour aider les autres membres de l'équipe à comprendre en quoi consiste ce champ, vous pouvez ajouter une description. Voici comment procéder :
- Cliquez sur la flèche à côté du nom du champ
- Sélectionnez Modifier la description du champ
- Saisissez la description
- Cliquez sur Enregistrer pour compléter l'action
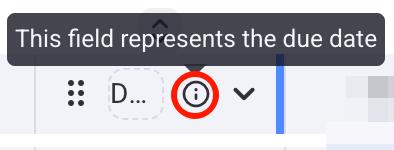
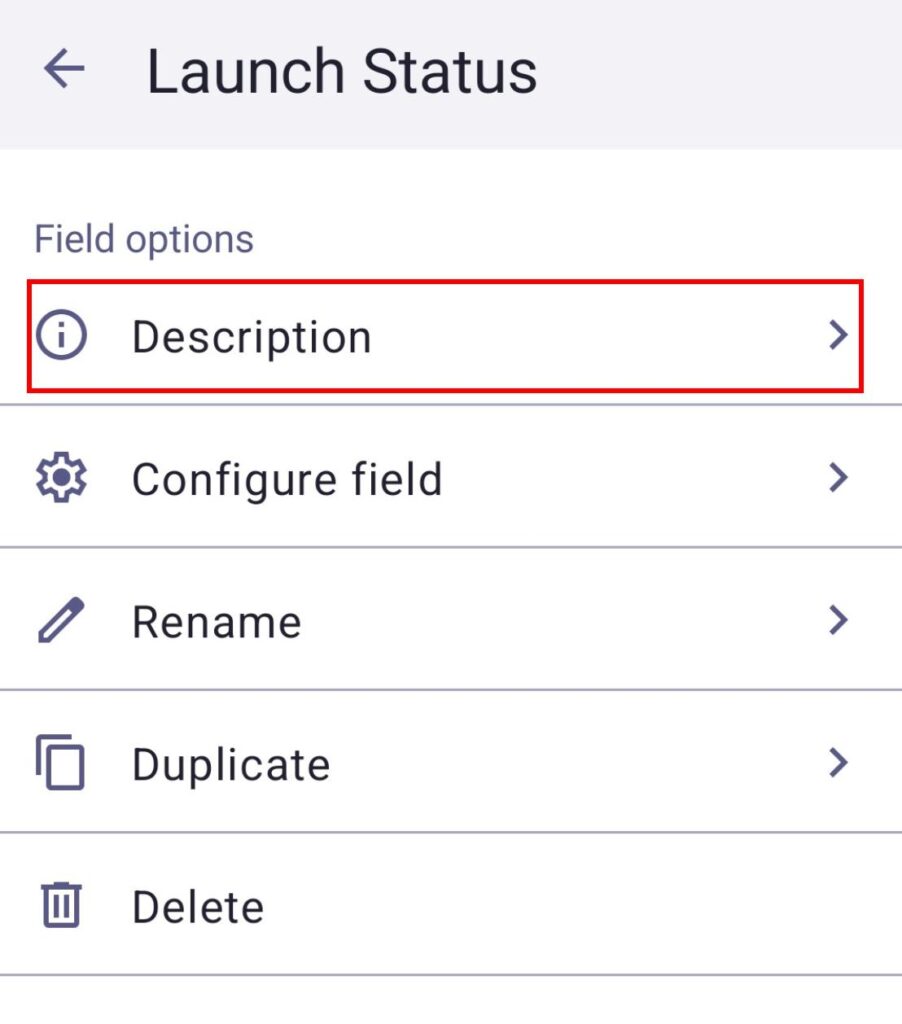
Pour afficher la description du champ, cliquez sur l'icône d'information située à côté du nom du champ.
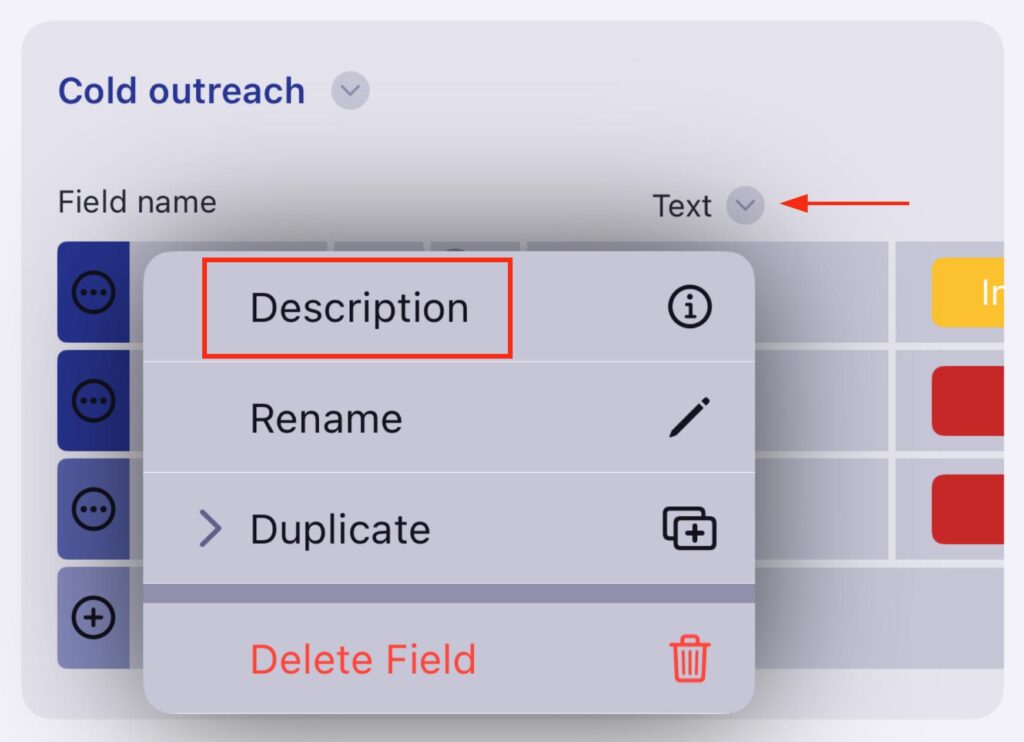
- Appuyez sur la flèche à côté du nom du champ
- Sélectionnez Description
- Saisissez la description du champ
- Appuyez sur Enregistrer pour terminer l'action
- Appuyez sur le nom du champ (p. ex., chronologie)
- Appuyez sur Description
- Rédigez la description
- Appuyez sur Enregistrer pour terminer l'action
Épingler un champ #
Cette fonctionnalité n'est disponible qu'en vue sous forme de tableau. Chaque champ épinglé est placé après le dernier champ épinglé.
Cette fonctionnalité n'est disponible qu'en vue sous forme de tableau. Chaque champ épinglé est placé après le dernier champ épinglé.
En choisissant d'épingler un champ spécifique, vous pouvez prioriser sa visibilité, car le champ épinglé sera affiché en premier.
Pour épingler/désépingler un champ :
- Cliquez sur la flèche à côté du nom du champ
- Sélectionnez le champ Épingler/Désépingler pour effectuer l'action
Ou
- Cliquez sur l'icône de visibilité des champs
- Sélectionnez les champs à afficher
- Cliquez sur l'icône épingler/désépingler
Renommer un champ #
Vous pouvez renommer les champs selon vos préférences. Voici comment procéder :
- Cliquez sur le Nom du champ (par exemple, statut)
- Entrez le nouveau nom du champ
- Appuyez sur Entrée ou cliquez en dehors de la zone désignée pour terminer l'action
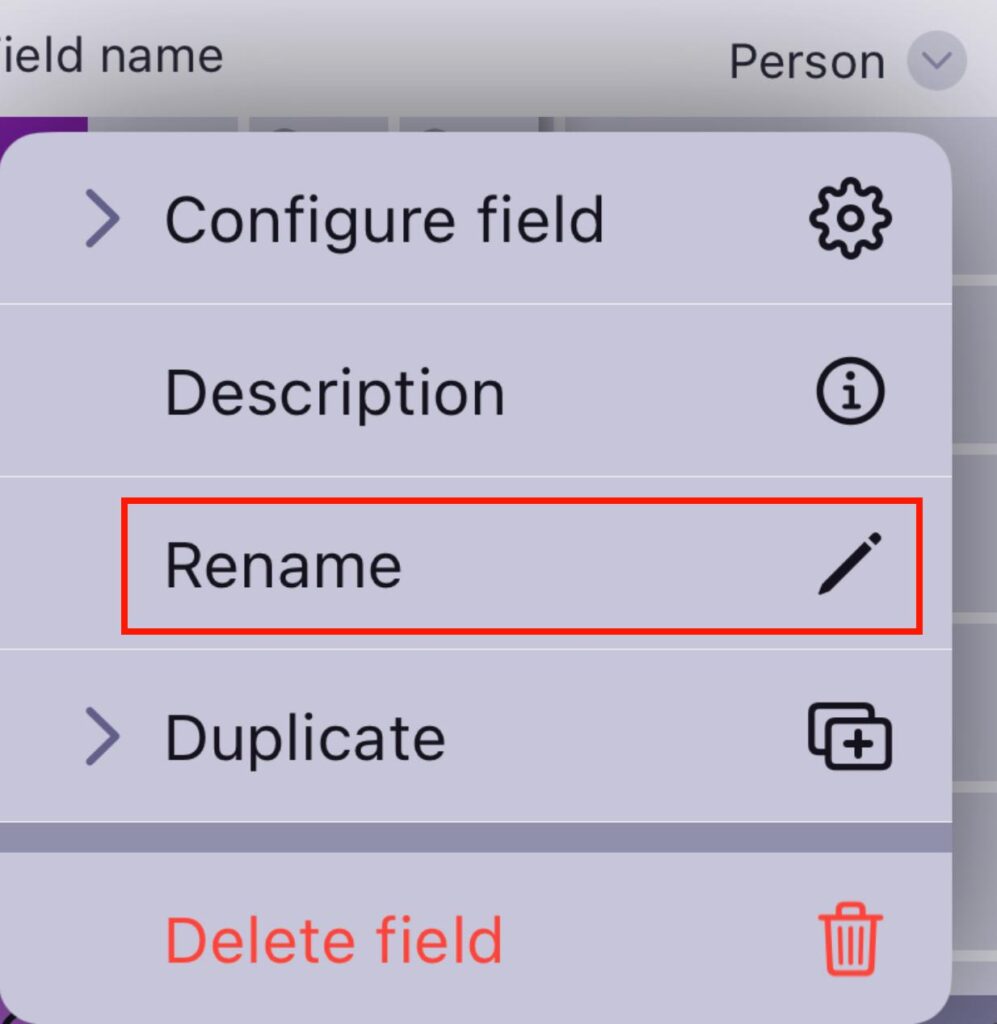
- Appuyez sur la flèche à côté du nom du champ
- Sélectionnez Renommer
- Entrez le nouveau nom du champ
- Appuyez sur Enregistrer pour terminer l'action
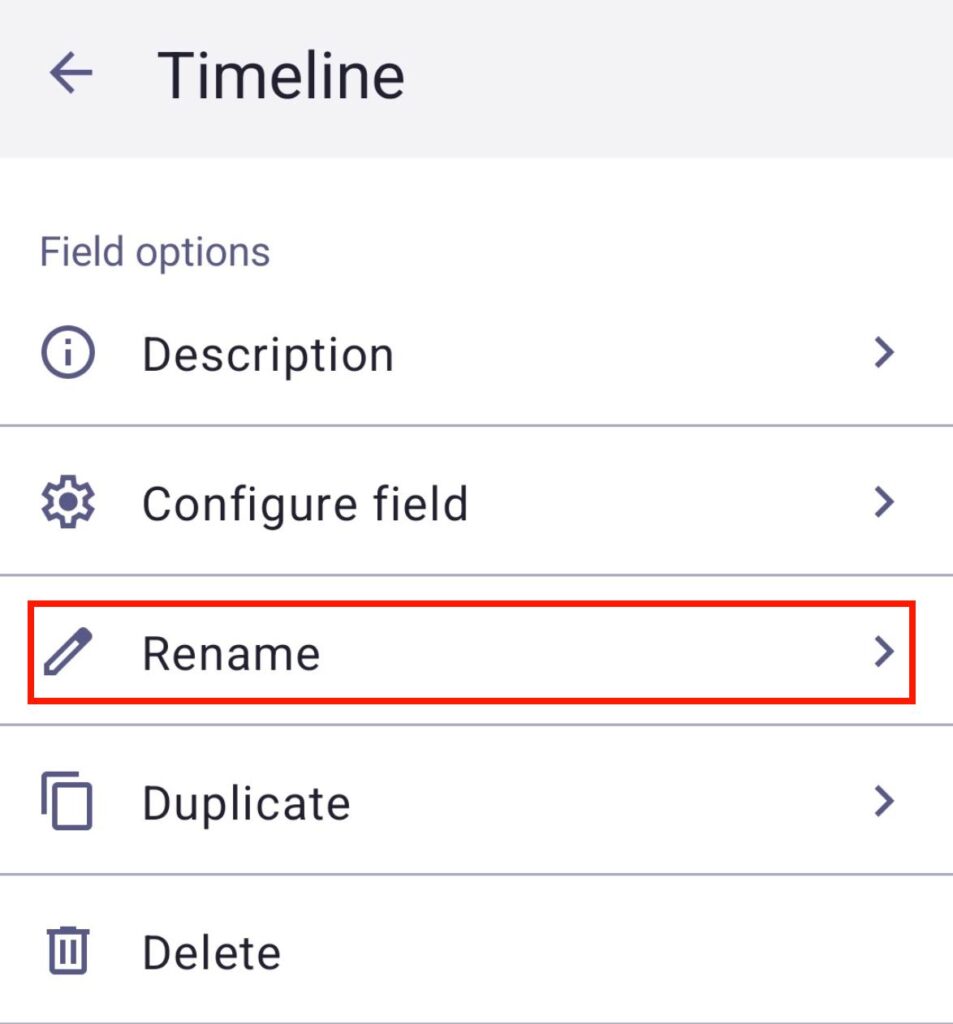
- Appuyez sur le nom du champ (p. ex., chronologie)
- Appuyez sur Renommer
- Entrez le nouveau nom du champ
- Appuyez sur Enregistrer pour terminer l'action
Dupliquer un champ #
La fonction Dupliquer un champ vous permet de créer un champ identique à celui de votre tableau. Voici comment dupliquer un champ :
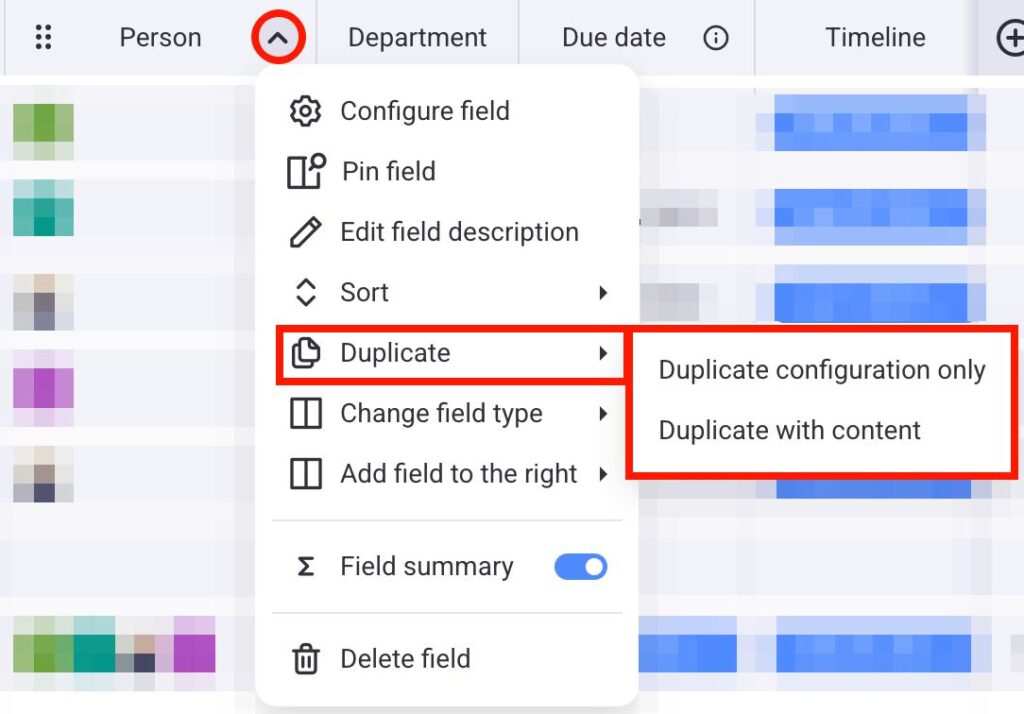
- Cliquez sur la flèche à côté du nom du champ (par exemple, statut)
- Survolez Dupliquer
- Choisissez l'une des 2 options :
- Configuration dupliquée uniquement
- Dupliquer avec le contenu
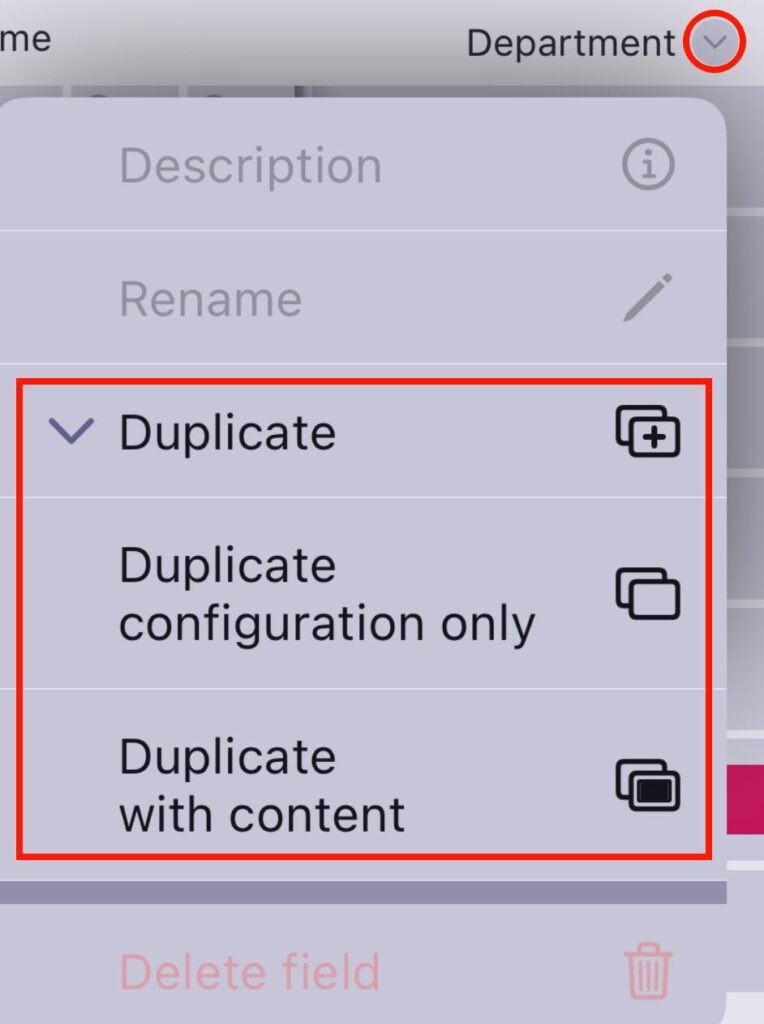
- Appuyez sur la flèche à côté du nom du champ
- Sélectionnez Dupliquer
- Choisissez l'une des 2 options :
- Configuration dupliquée uniquement
- Dupliquer avec le contenu
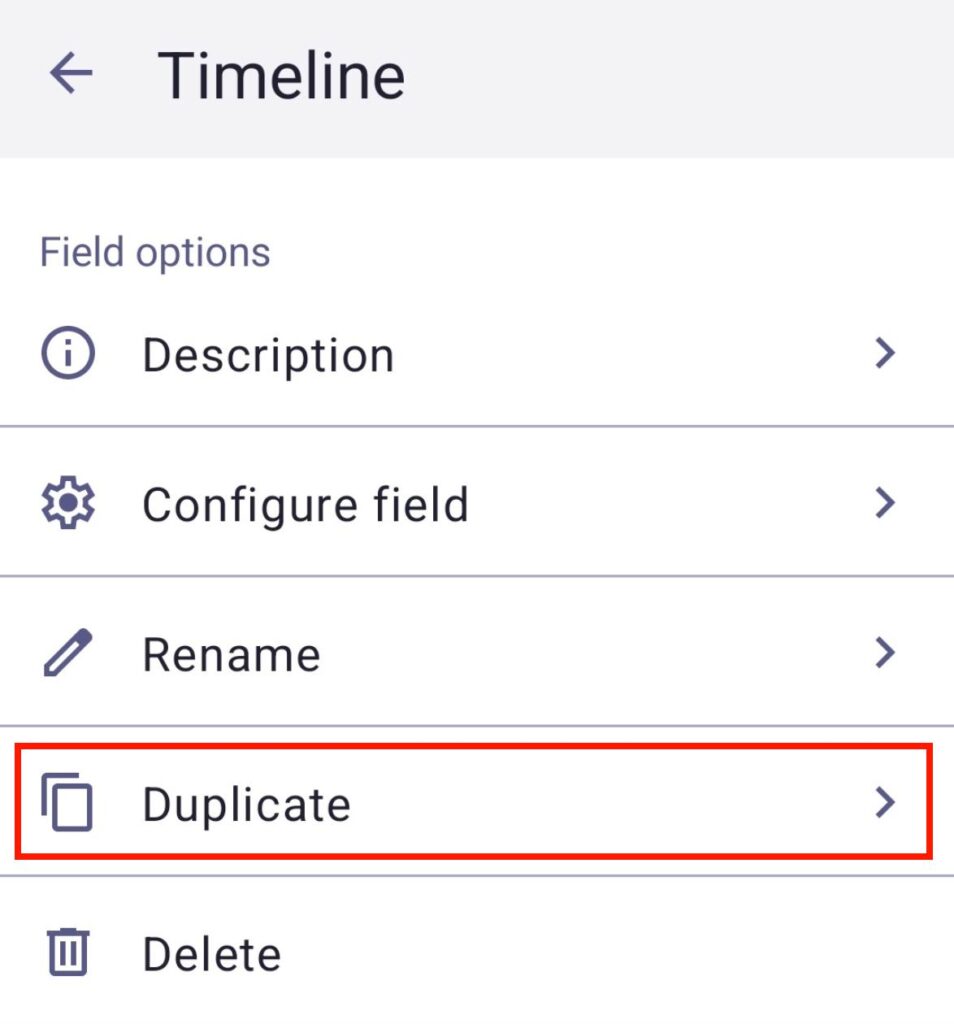
- Appuyez sur le nom du champ (p. ex., chronologie)
- Appuyez sur Dupliquer
- Choisissez l'une des 2 options :
- Configuration dupliquée uniquement
- Dupliquer avec le contenu
- Appuyez sur Dupliquer pour terminer l'action
Changer le type de champ #
L'action Changer le type de champ vous permet de convertir un champ d'un type à un autre.
Les administrateurs peuvent toujours modifier le type de champ. Les membres du conseil d'administration ne peuvent le modifier que si leur autorisation est définie sur Tout modifier.
Pour modifier le type de champ :
- Cliquez sur la flèche à côté du champ que vous souhaitez modifier
- Survolez Modifier le type de champ
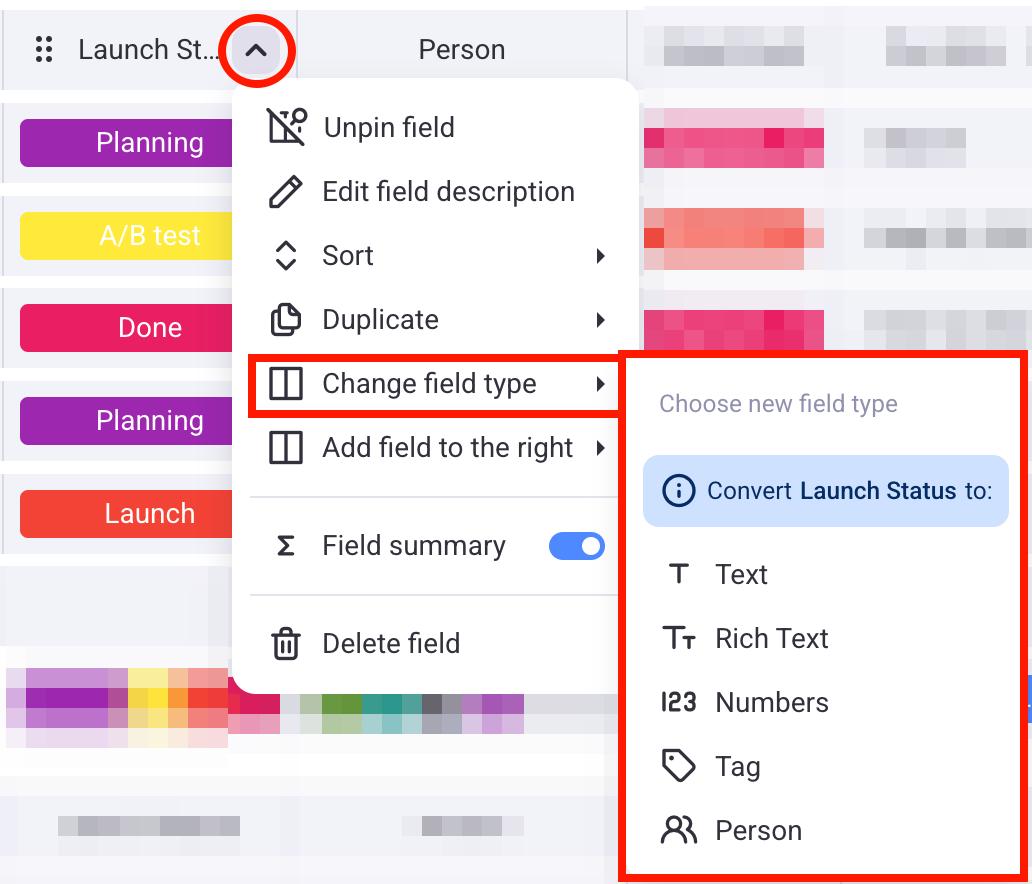
- Choisissez le type de champ que vous souhaitez convertir
- Révisez les modifications apportées au type de champ
- Cliquez sur Convertir pour terminer l'action
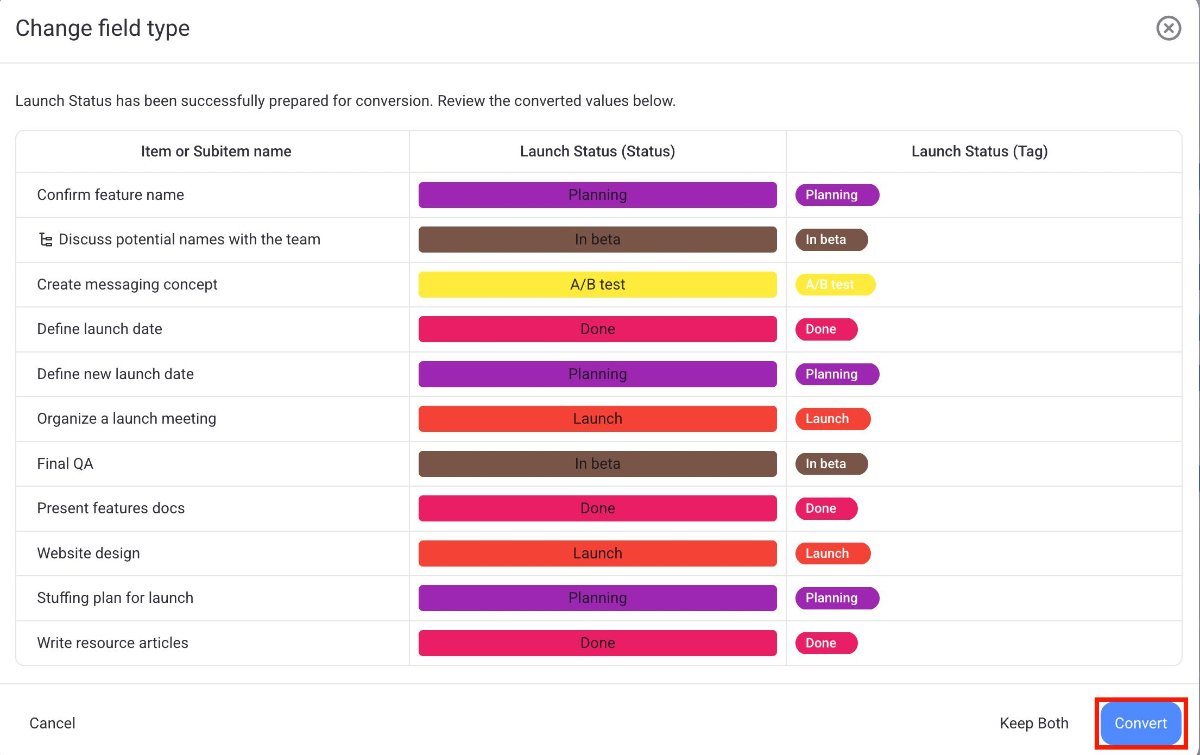
Vous ne pouvez pas modifier directement les valeurs des champs dans cette fenêtre de conversion.
Vous ne pouvez pas modifier directement les valeurs des champs dans cette fenêtre de conversion.
Pour continuer :
- Conserver les deux : Cette option conserve les types de champ d’origine et le nouveau type de champ sur votre tableau
- Convertir : Cette action exécutera la conversion, en modifiant le type de champ comme indiqué
- Annuler : Cette action interrompra l’opération et aucune modification ne sera apportée
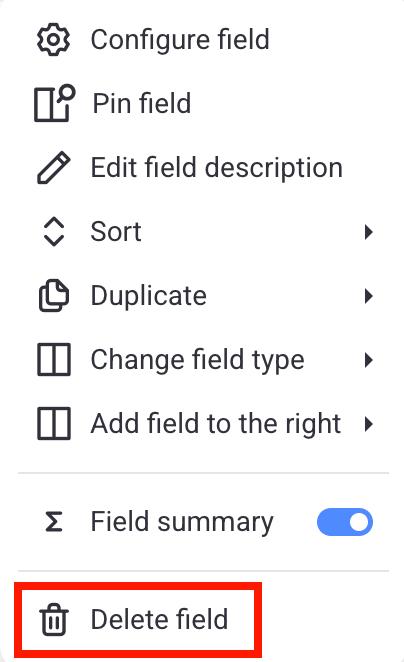
Supprimer un champ #
Pour supprimer un champ de votre tableau, vous pouvez le supprimer. Voici comment procéder :
- Cliquez sur la flèche à côté du nom du champ (par exemple, tag)
- Sélectionnez Supprimer
- Cliquez sur Supprimer dans la fenêtre de confirmation pour terminer l'action
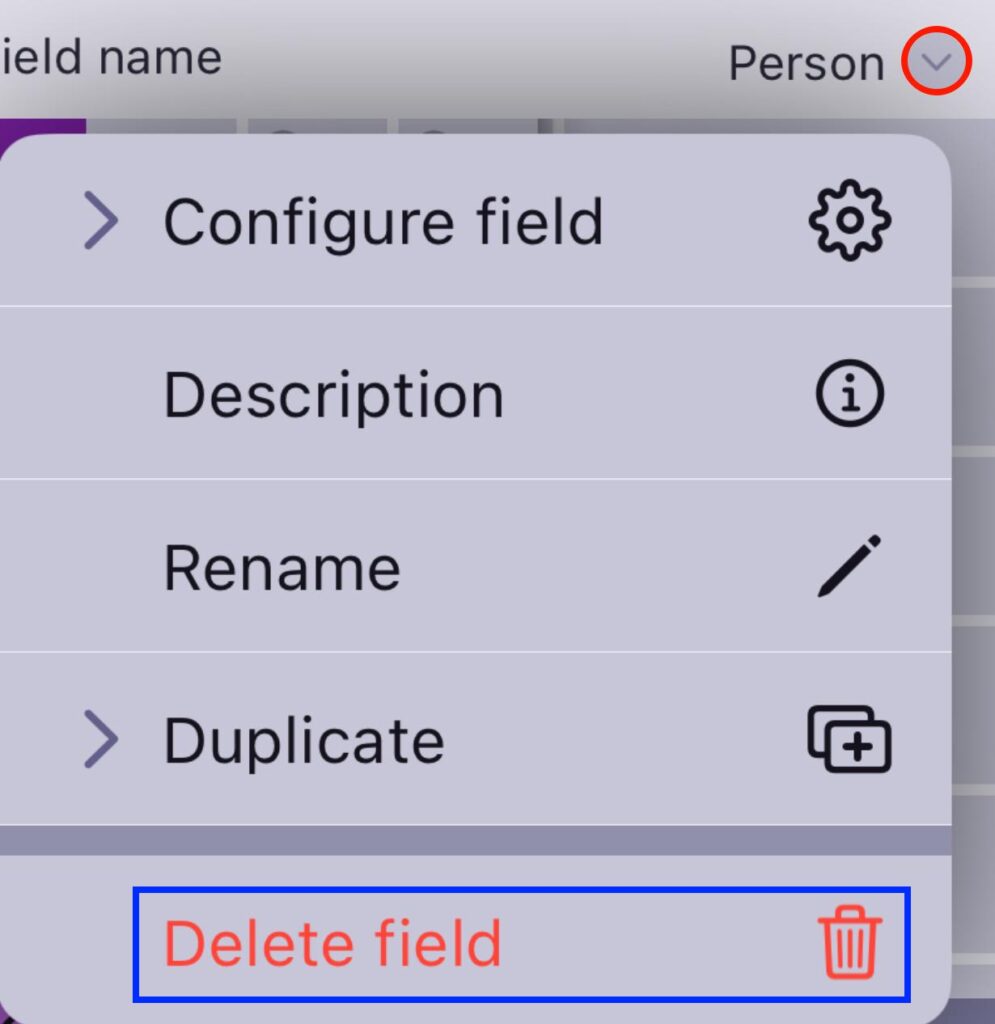
- Appuyez sur la flèche à côté du nom du champ
- Sélectionnez Supprimer le champ
- Appuyez sur Supprimer dans la fenêtre pour terminer l'action
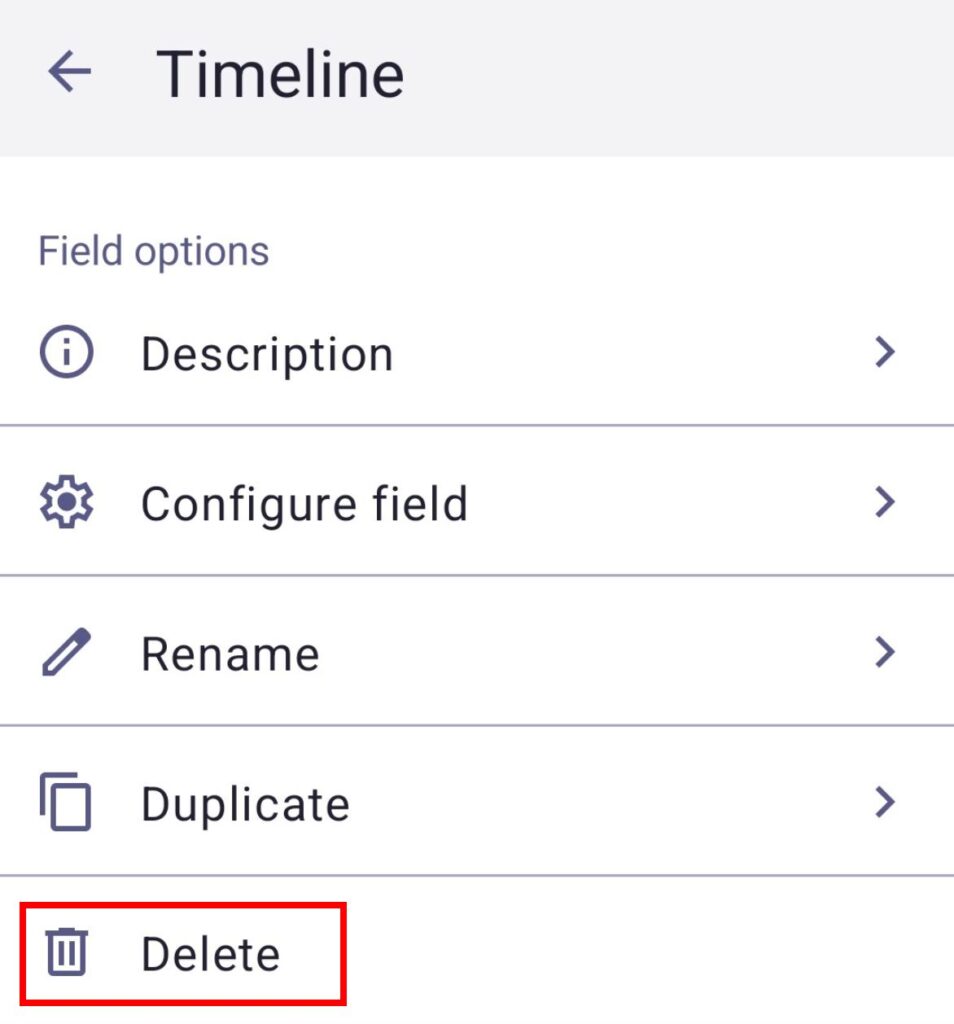
- Appuyez sur le nom du champ (p. ex., chronologie)
- Appuyez sur Supprimer
- Appuyez de nouveau sur Supprimer pour terminer l'action