
Comment suivre le temps dans Plaky
The Plaky-Clockify integration allows you to track time on your Items/Subitems directly from Plaky. This integration lets you create accurate time recordings for all your projects and tasks.
Let’s look at how you can set this up:
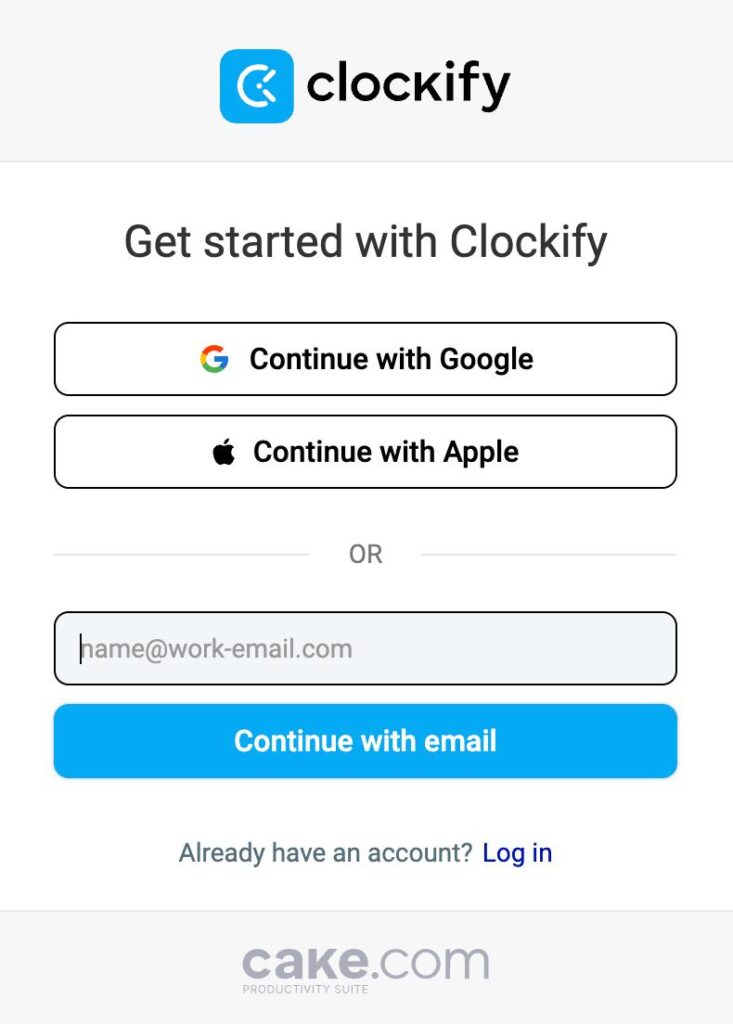
Step #1: Create a Clockify account #
Before you start tracking time on projects and tasks, you need to create a Clockify account. To do this, follow these steps:
- Open the Clockify sign up page
- Choose registration method (email, Google, Apple)
- Open your email and copy the verification code
- Enter the necessary information and finish the registration
Step #2: Install the Clockify browser extension #
For the Plaky-Clockify integration to function, you must install the Clockify browser extension. Here’s how you can do that:

Step #3: Track time directly from Items/Subitems #
With the Clockify browser extension active, you can track time for Items/Subitems on Plaky boards. You can track time by using:
- Timer mode
- Manual mode
Here’s how you can track time:
- Open an Item/Subitem
- Click on the Clockify icon
- Select project
- Click on Done
- Stop the timer when finished
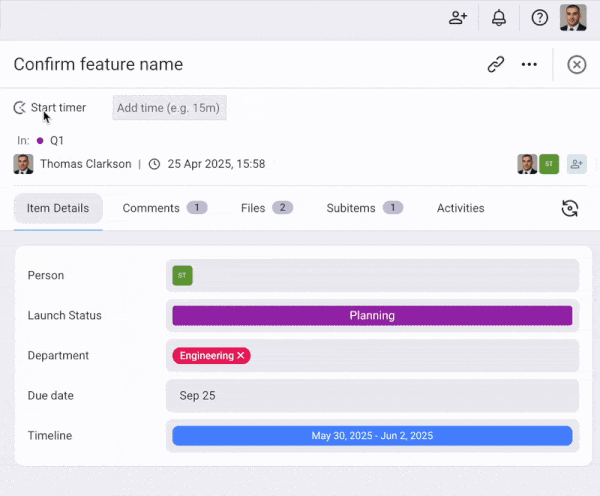
You can add a project later from Clockify.
- Open an Item/Subitem
- Add time amount next to the Clockify icon (e.g., 30m, 1h)
- Select project
- Click on Add
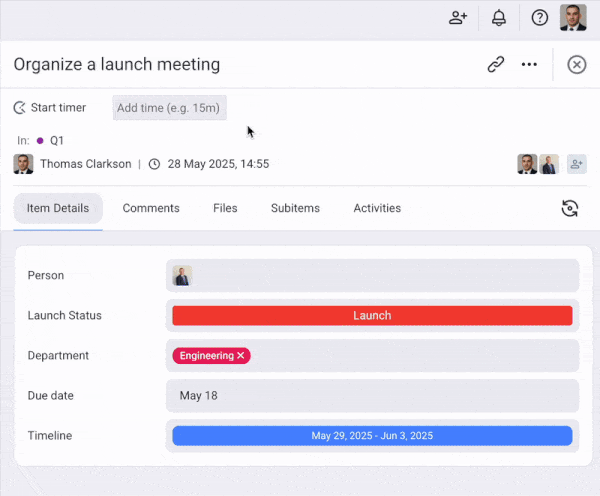
You can add a project later from Clockify.
When you track time in Plaky, the time entries will automatically be saved in Clockify.