
Create space
Space in Plaky represents a virtual space in which you can organize your project, department, and tasks all in order to manage your time more efficiently and have a better overview of your team members’ work and progress.
This article covers the steps needed to add your space and configure it to suit your needs.
To add a space:
- Select the Space on the left sidebar
- Click the three dots to open the menu
- Choose Add new space from the dropdown
- Enter space name
- Click Create Space
Now, you can proceed with other configurations.
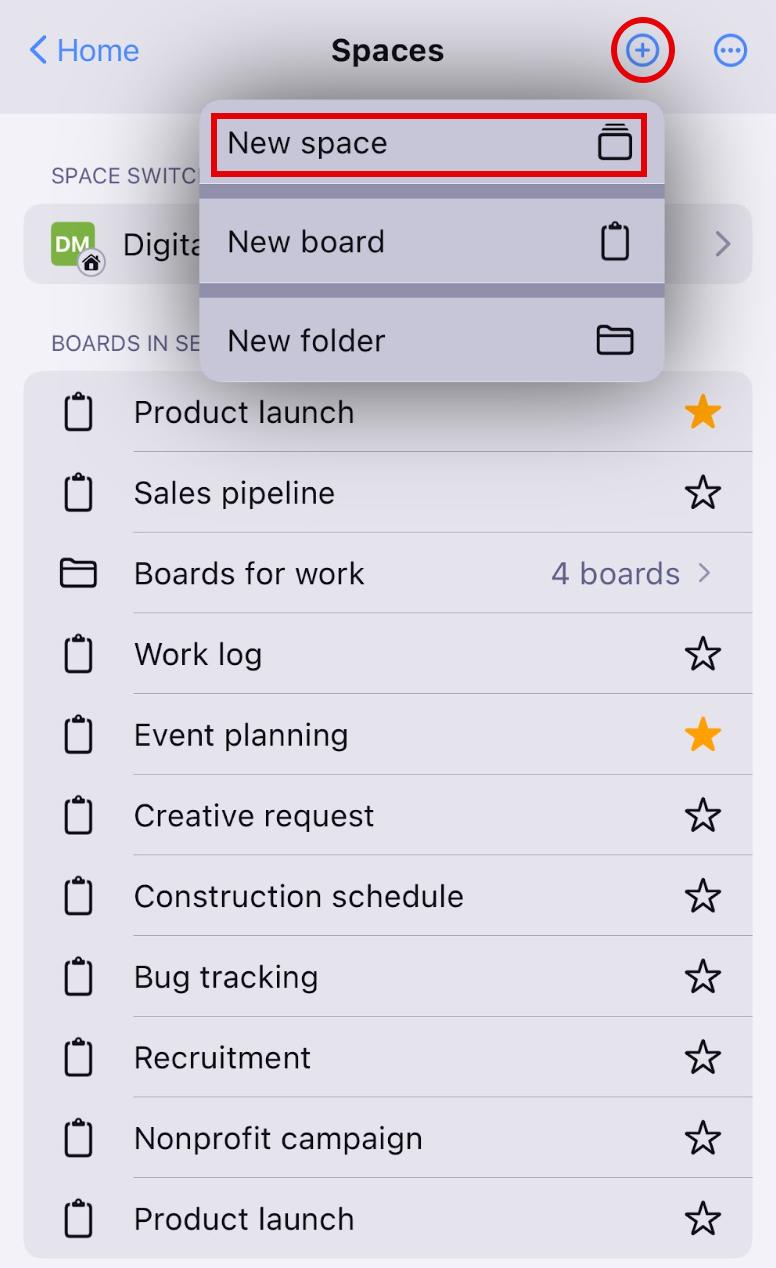
- Tap on Spaces on the home page
- Tap on the + icon in the top right corner
- Select New Space
- Enter space name
- Tap Create to complete the action
A newly created Space can be configured in different ways. The most important configurations are available in the dropdown menu on the space homepage.
These are as follows:
- Add new space
- Rename space
- Change space type (paid feature)
- Set as default space
- Delete space
The main space cannot be deleted.
Rename space #
To rename space:
- Select the Space on the left sidebar
- Click the three dots to open the menu
- Choose Rename Space from the dropdown
- Space name becomes editable
- Edit the name accordingly
- Tap on Spaces on the home page
- Tap on the space in the space switcher section
- Select the space in the space switcher
- Tap on the three dots in the top right corner
- Select Rename Space
- Enter new space name
- Tap on Rename to complete the action
Only space owners can perform this action.
Change space type #
Space type can be open or closed.
Open space is visible to all workspace members with a Plaky account and membership in other spaces. They can be found when searched and joined by all team members except for viewers. Viewers can join/leave an open space without an invite, while they need to be invited by the space owner to join a closed space.
Viewers can only join certain spaces by invitation from the space owner.
Closed Space is available only on paid plans and is visible only to the members of that space. It cannot be found when searched and can only be joined by an invitation from the space owner. Once a team member is removed from such a space, they cannot rejoin it on their own; they can only be invited by the owner.
The main space cannot be closed.
All added spaces are open by default.
To switch Space to closed, follow these steps:
- Select the Space on the left sidebar
- Click the three dots to open the menu
- Hover over the Change Space type option
- Select if you want the space to be Open/closed
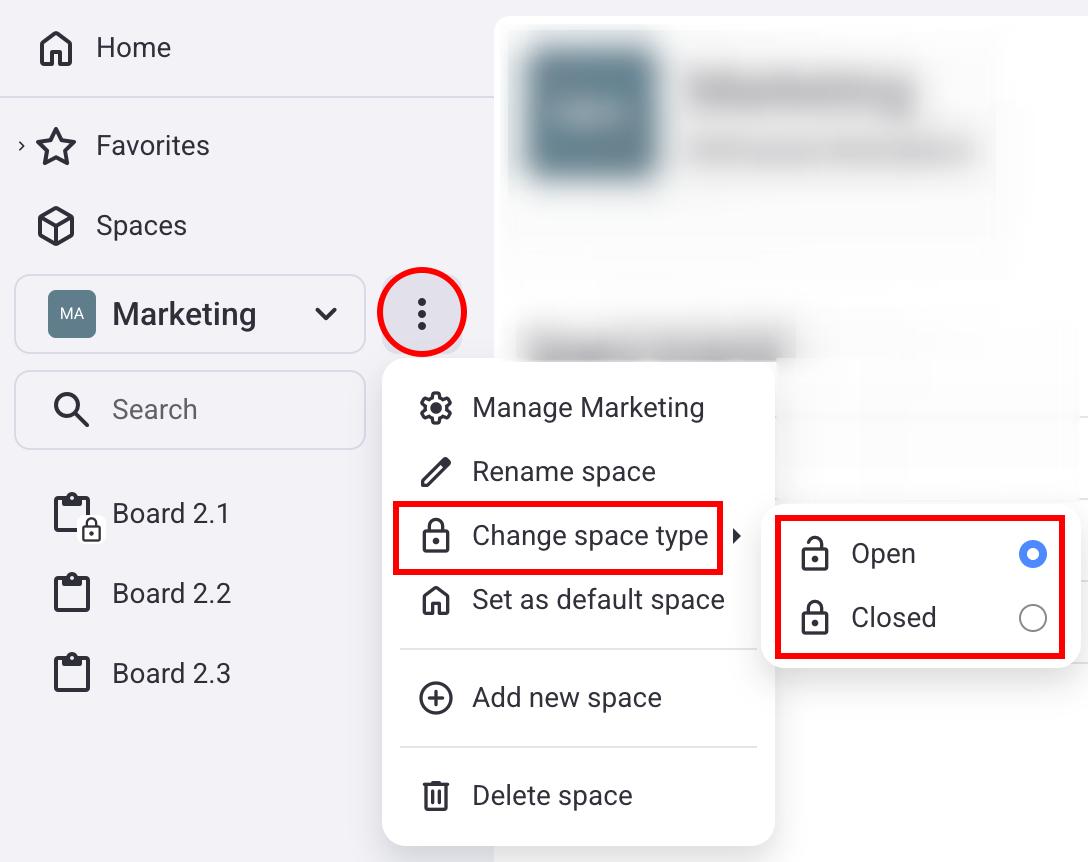
You’ve changed the Space from Open to Closed.
- Tap on Spaces on the home page
- Tap on the space in the space switcher section
- Select the space in the space switcher
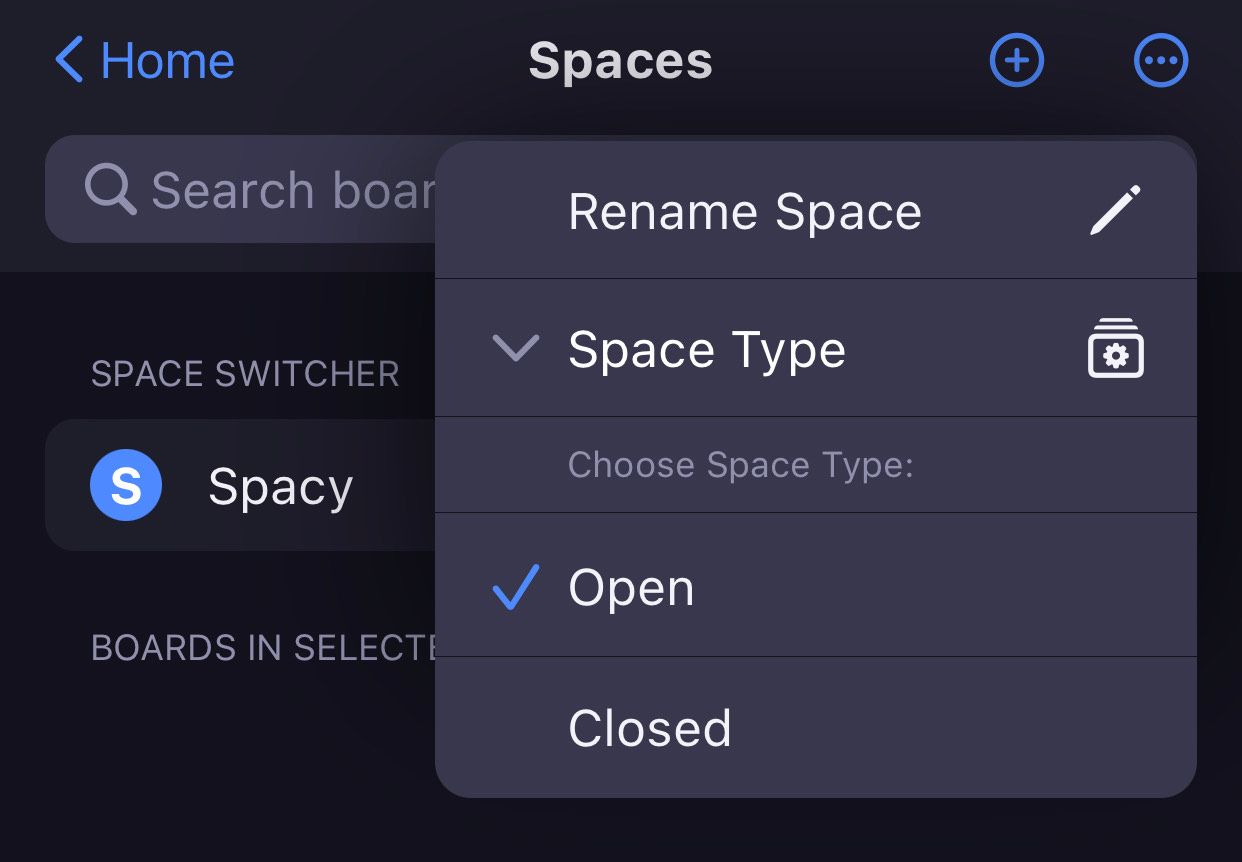
- Tap on the three dots in the top right corner
- Select Space Type
- Choose one of the options (Open/Closed)
- Tap outside the designated area to save the changes
Closed Space is marked with a padlock.
Set Space as the default #
When you register, create an account, and sign in as a Plaky user, you get a default (Main) space assigned to you. With initial login, you get a home Page and by clicking on the Recently used space icon in the sidebar, you jump to that default Space.
Any space you subsequently create can be set as the default. Also, each time you log in, the space that opens initially is the one you visited before logging out.
The default space is always open and cannot be changed to closed. Closed space cannot be set as the default Space.
To set Space as the default:
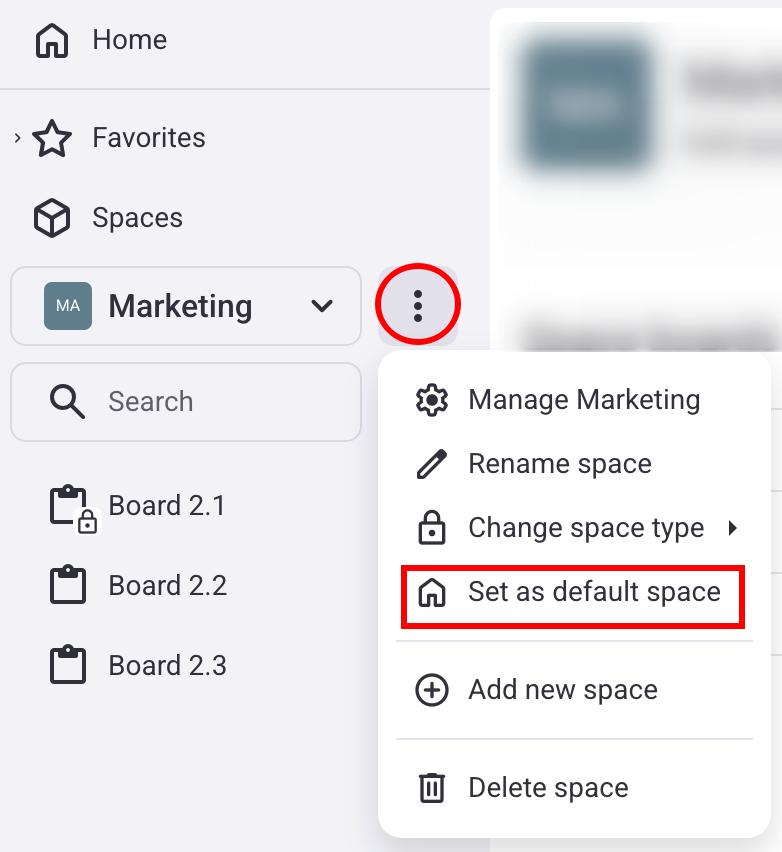
- Select the Space on the left sidebar
- Click the three dots to open the menu
- Choose Set as default space
- Tap on Spaces on the Home page
- Tap on the space in the space switcher section
- Select the space in the space switcher
- Tap on the three dots in the top right corner
- Select Set as default to complete the action
The default space is marked appropriately, as well.

Only the Space owner (Space creator) can delete an existing Space.