
Add and Configure Tags
Tag Field allows you to enter a number of keywords that will appear next to the hashtag symbol. These words can indicate the main topics covered by a task or project, a list of the most important concepts or any other notion that you find crucial for the task in question.
Once you add the Tag Field:
Web
iOS
Android
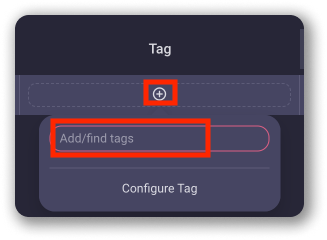
- Click on + in the Tag Field of the Item
- Enter the Tag name in Add/find tags field
- Press Enter to create a Tag
- Tap on the Tag Field of the Item
- Tap on +New Tag to add new tag
- Enter Label name
- Tap to choose the tag color
- Tap Save
- Select the tag by tapping on the radio button/the tag
- Tap Save to complete the action
- Tap on the Tag Field of the Item
- Tap on New tag+
- Enter tag name
- Tap to select the color
- Tap on the tick sign in the top right corner
- Tap Save
- Select the tag by tapping on the tag
- Tap Save to complete the action
To Configure Tag:
Web
iOS
Android
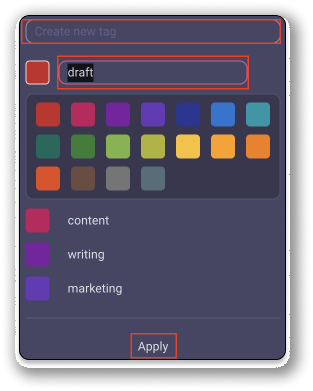
- Click Configure Tag in modal that appears when you click on Tag Field in the Item
- You can modify Tag name and color or create another Tag
- Click Apply to complete the process
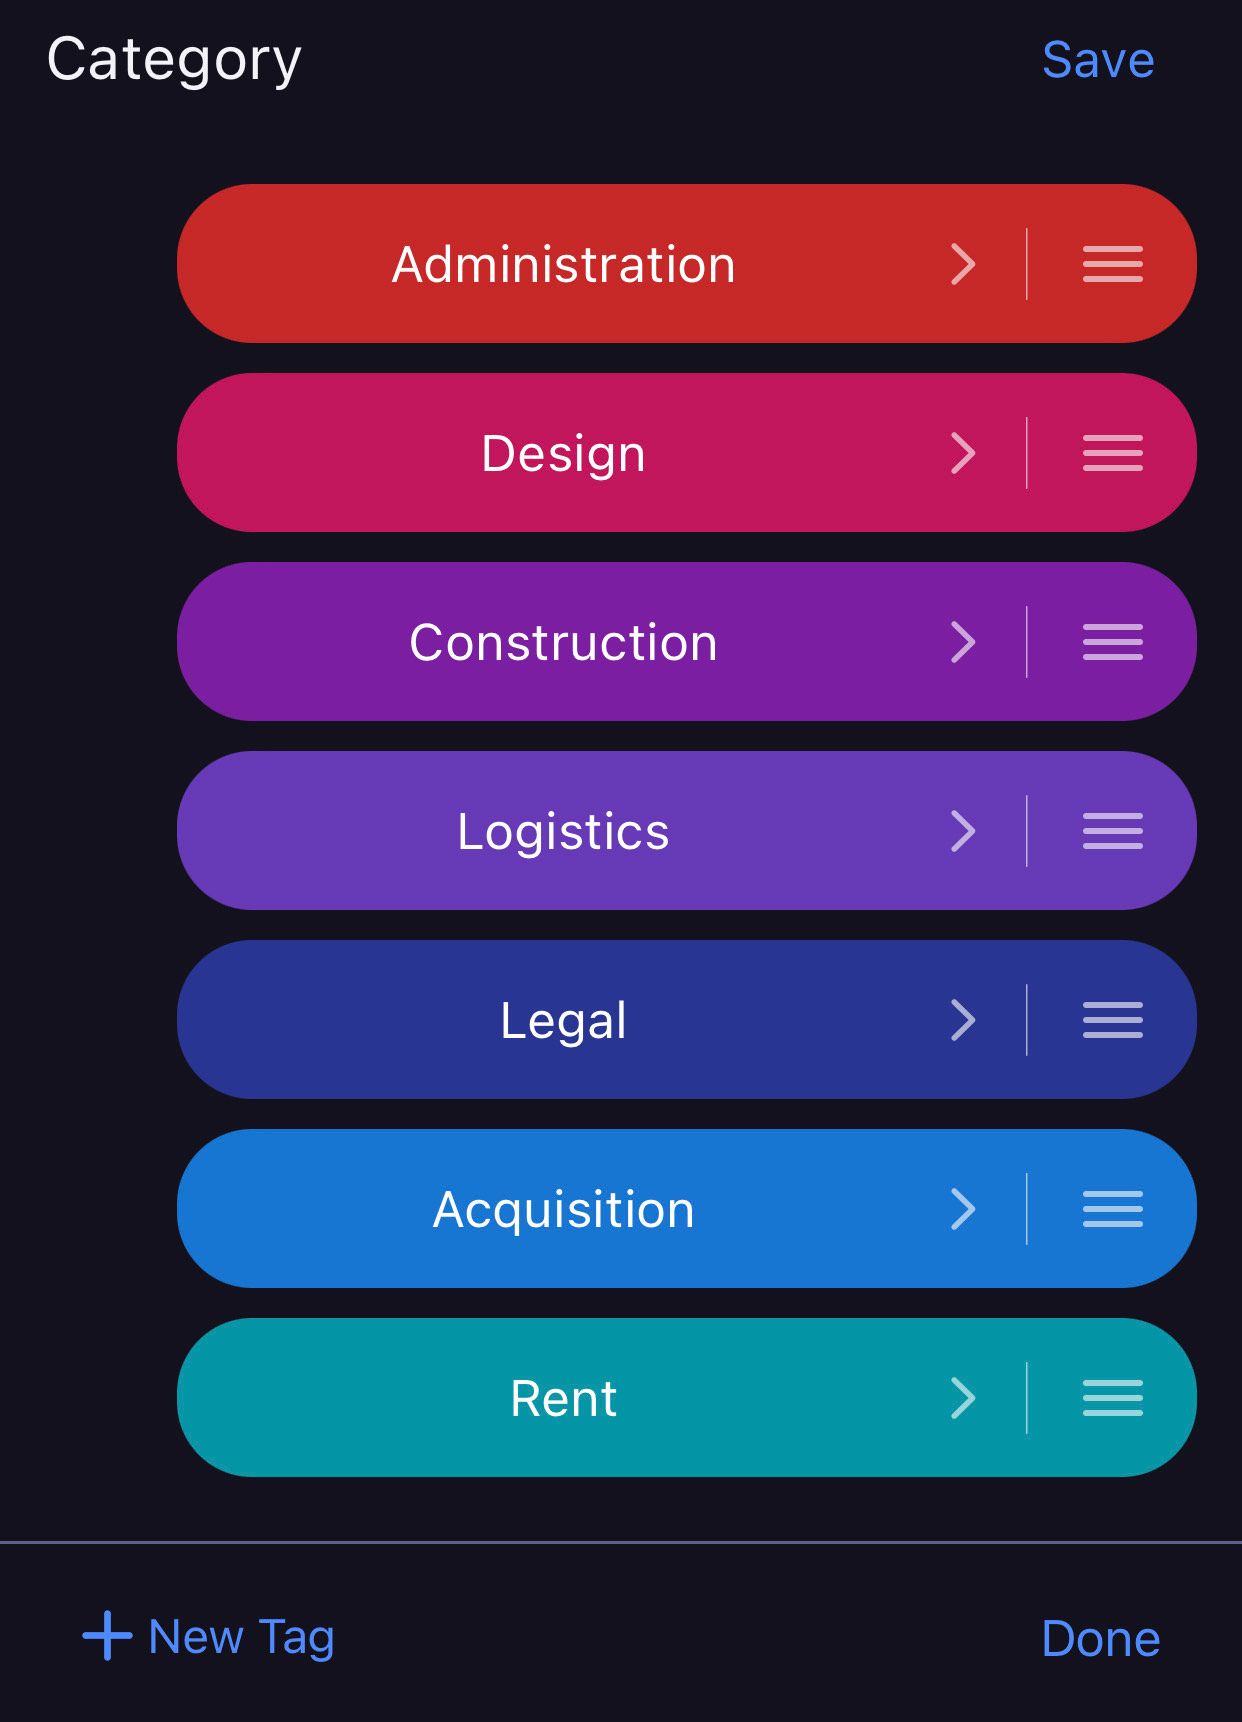
- Tap on the Tag Field
- Tap on Edit in the bottom left corner
- Tap on any label to rename it or change color
- Save changes
- Tap on +New Label to add new label
- Name the label, choose color and tap Save
- Tap Done to complete the action
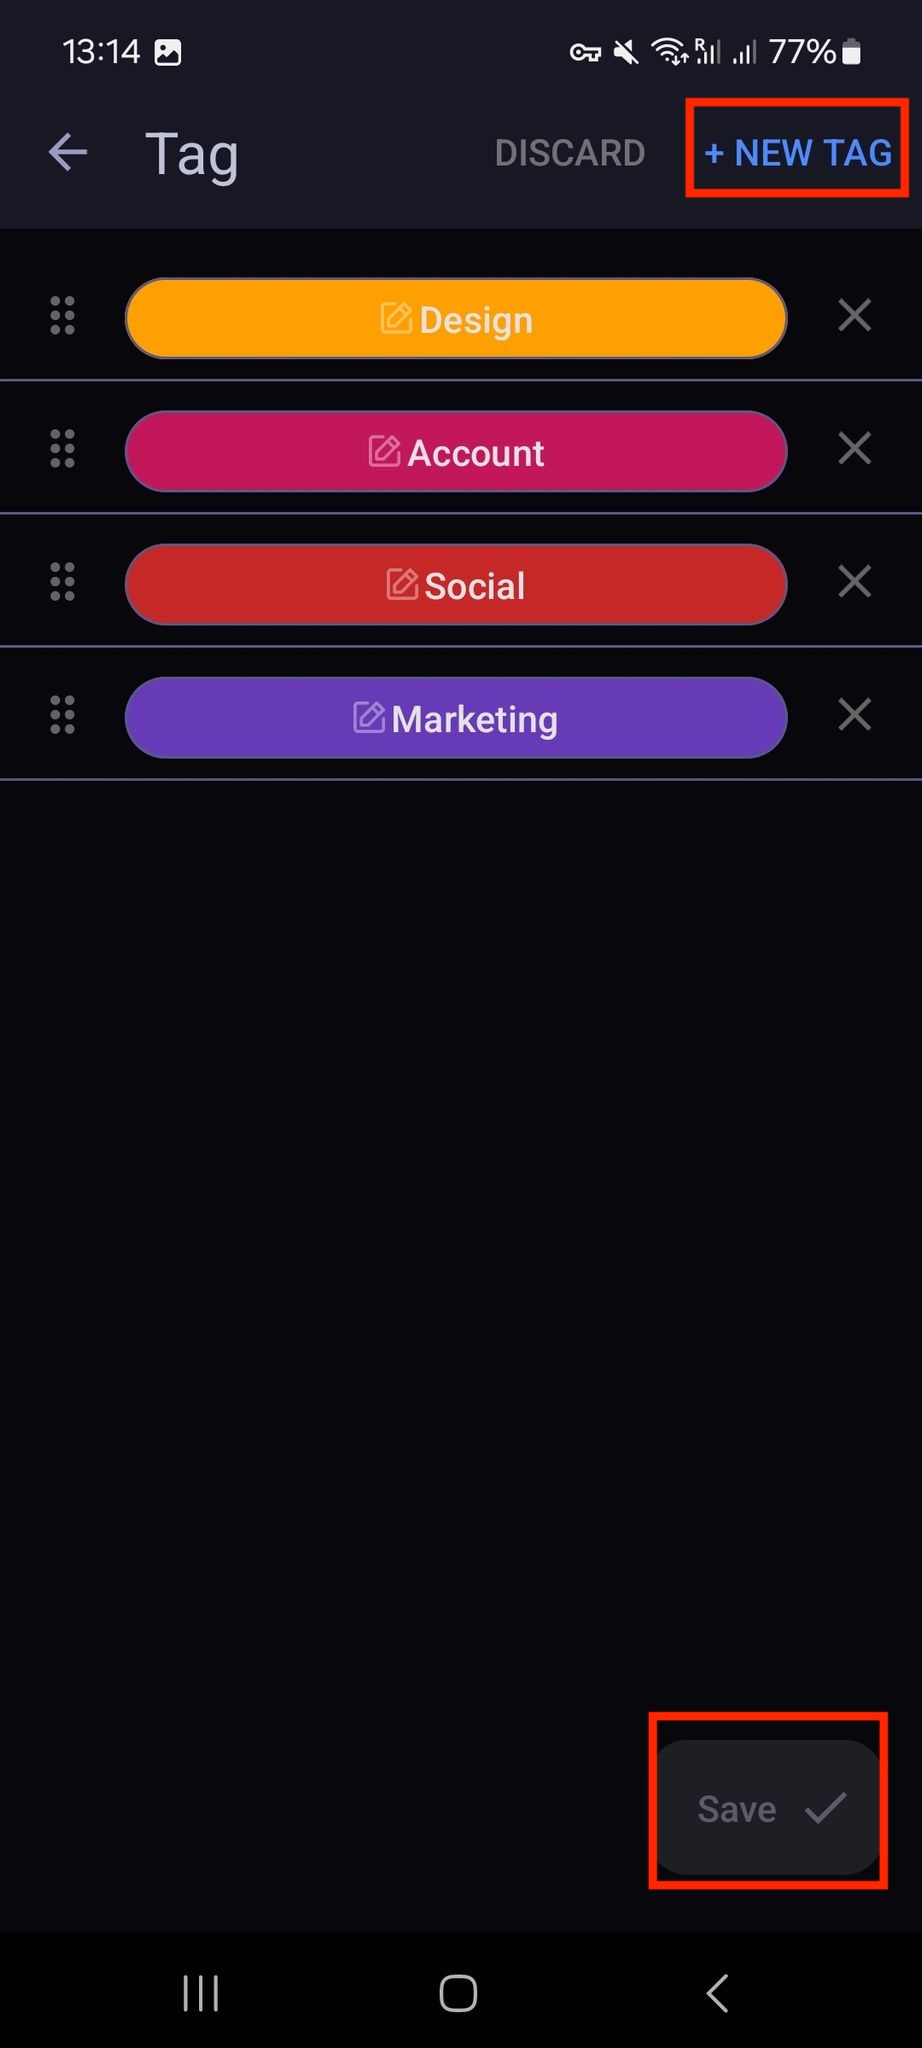
- Tap on the Tag Field
- Tap on Edit
- Tap on any label to rename it or change color
- Tap on +New tag to add new label
- Save changes
You’ve successfully configured Tags for the Tag Field functionality.
Only Team Members with whom the Board is shared can perform this action.
Was this article helpful?
Thank you! If you’d like a member of our support team to respond to you, please drop us a note at support@plaky.com