Getting Started with Plaky on iOS App
If you’d like to use all the benefits that Plaky offers and always keep up with the latest developments, even when you’re on the go, then Plaky mobile app is the right solution for you.
Here’s a brief overview of the main functionalities provided for the mobile app on the iOS device, along with step-by-step instructions to help you get started.
Step 1: Download app #
Prior to configuring anything, go to the iOS App Store and download the app.
Step 2: Register/create Organization #
When you open the app, you’ll see a Home screen with empty fields you’ll be prompted to fill out.
- Organization name
- Your name
- Email address
- Password
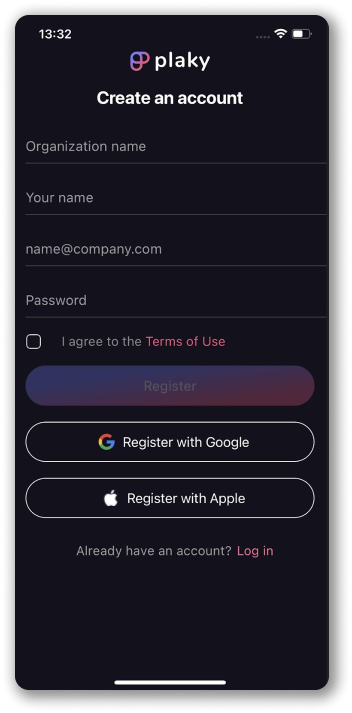
After you filled out all the required fields, tap Register to complete the action.
Step 3: Explore Plaky #
Now that you created the Organization, you can navigate through the app.
In Home screen, go to the hamburger menu at the top left of your screen.
Here you can access:
- Home
- Notifications
- Users and Teams
- Invite Users
- Help Center
- Settings
Home screen #
Home screen allows you to see all the Workspaces and Boards you’ve created.
Please note that, at the moment, the iOS Plaky app allows you to add, edit and modify Item and Board. To add, edit or modify Workspace, you need to use the Plaky web application.
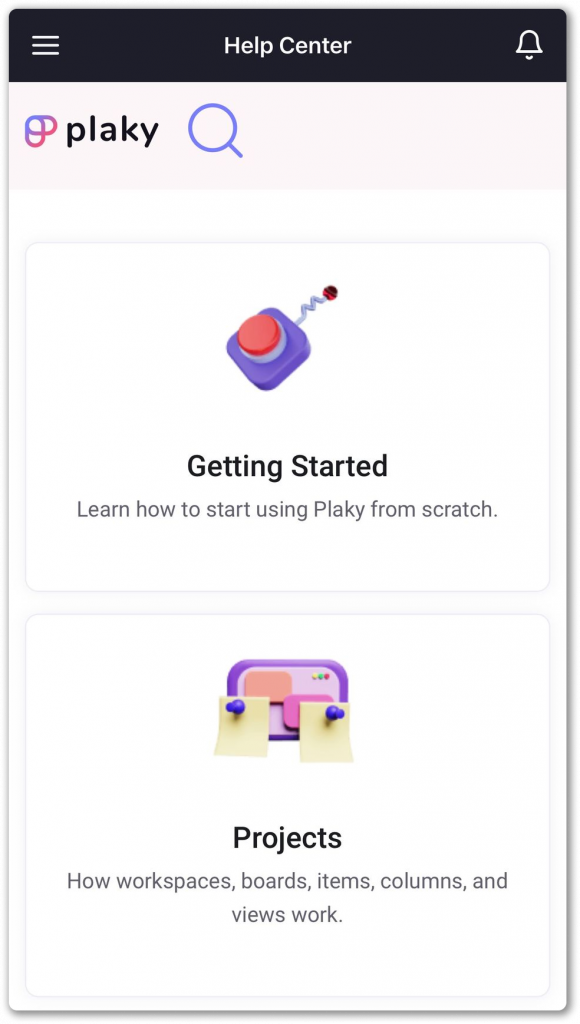
Help Center screen #
Here, you can access Plaky Help documentation with instructions and guides on how to use the app.
- Tap on the hamburger menu at the top left
- Choose Help Center screen
You’ll be able to access basic guidelines on how to use Plaky.