
Getting Started with Plaky on Android App
This getting started guide is a brief overview of the main functionalities and actions that the Plaky Android app offers. Stay in the loop and manage your projects even when you’re away.
Step 1: Download app #
Go to the Google Play Store and download the app.
Step 2: Register/create Organization #
When you open the app, you’ll see a home screen with empty fields you’ll be prompted to fill out.
- Organization name
- Your name
- Email address
- Password
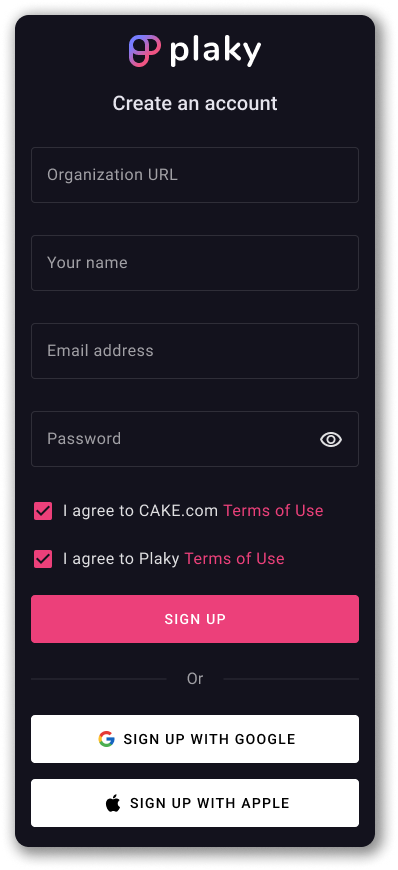
Then agree to the Terms of use and click Register to complete the action, or choose to Register with Apple or Google.
Step 3: Explore Plaky #
Here are some basic concepts you’ll encounter when exploring Plaky:
- Organization
- Workspace
- Board
- Item
Organization #
Organization is a basic unit of your Plaky application. It is a virtual space and it can represent an actual company, organization, corporation, establishment, or any other entity that corresponds to your business logic.
Main elements within one Organization are:
- Workspaces
- Boards
- Items
Workspace #
Use Workspace to manage multiple departments, teams, projects, tasks and all related correspondence with your coworkers in one place.
Board #
Plaky Board has your Team’s tasks, workflows and processes visualized. It helps users stay organized and keep track of you and your Team’s work.
Plaky menu #
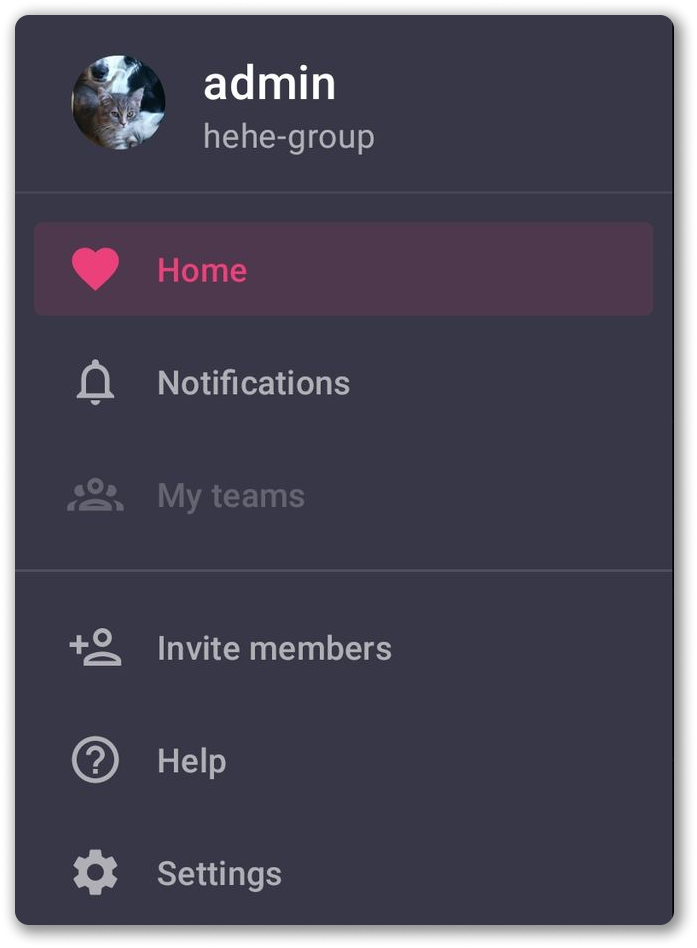
From the hamburger menu at the top right, access the following functionalities:
- Home screen (see the Workspaces and Boards you created and have access to)
- Notifications screen (see all activities that affect you)
- My teams (see all your teams)
- Invite members
- Help Center screen
- Settings
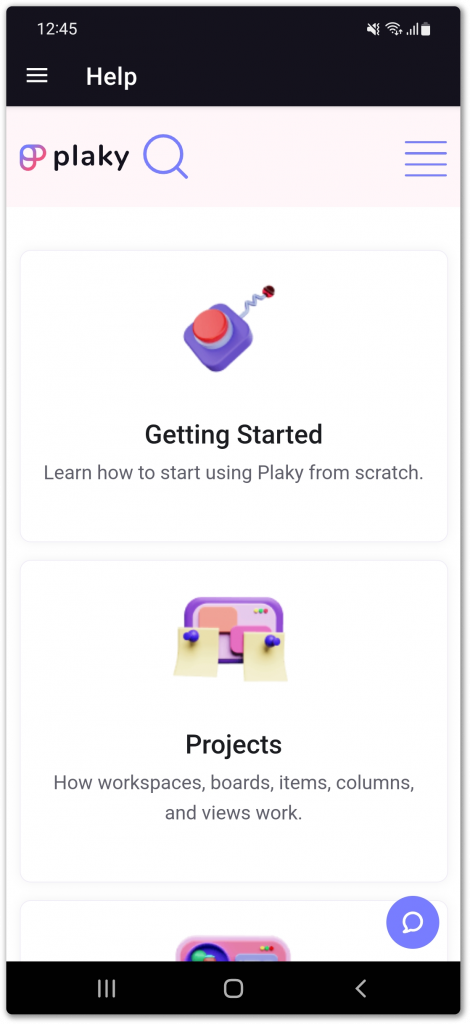
Help #
Here, you can access Plaky Help documentation with instructions and guides on how to use the app.
- Tap on the hamburger menu at the top left
- Choose Help screen
Settings #
In Settings section you can configure your Notification Settings or log out of Plaky.
Notifications #
In this section, you can see the list of all Bell Notifications you received including those that are unread, comments you were mentioned in and the Items you were assigned to.